White Chocolate Orange Creamsicle Truffles – Easy Dessert
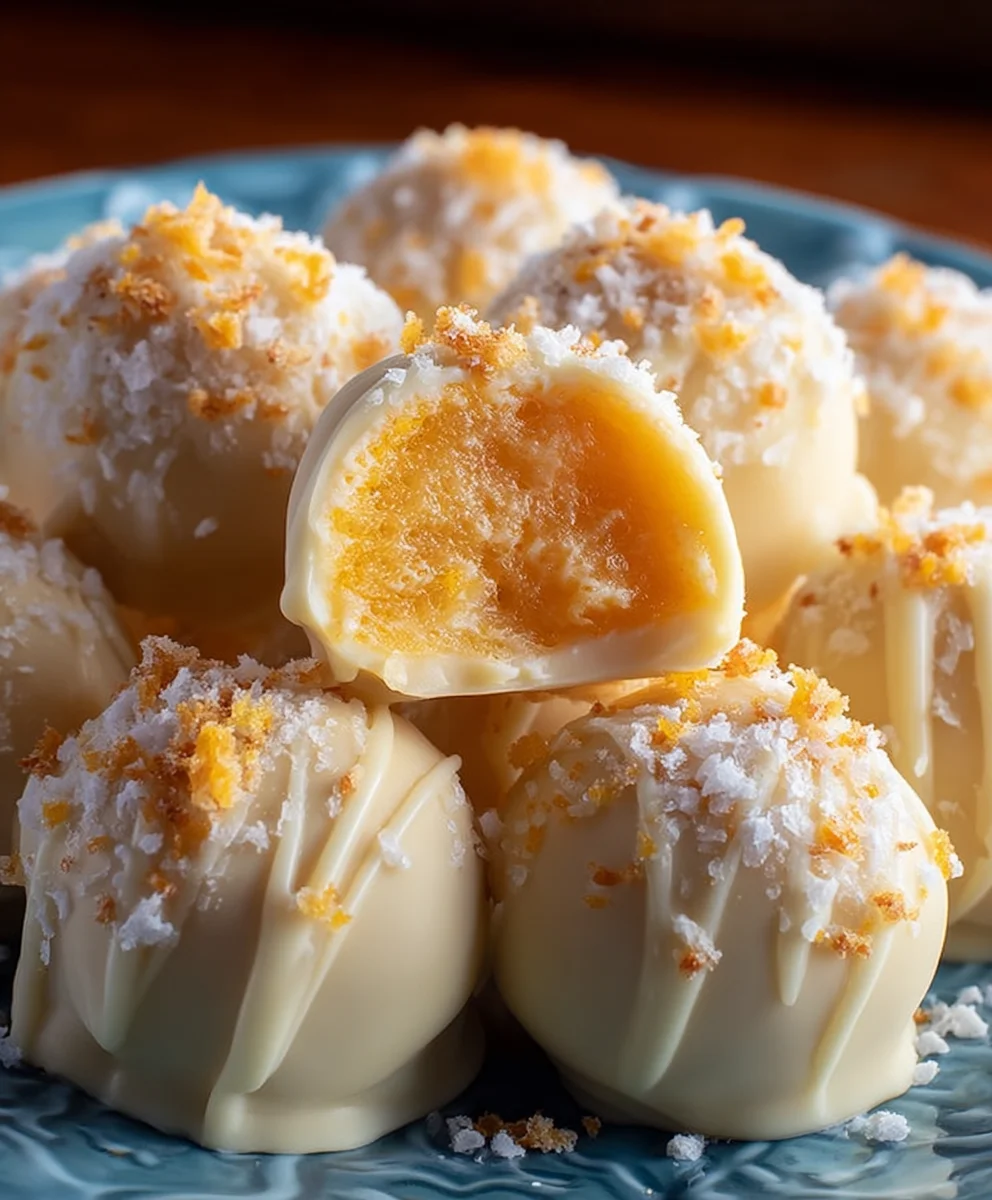
White Chocolate Orange Creamsicle Truffles are more than just a sweet treat; they are a nostalgic journey back to childhood summers and the iconic frozen delight. If you’ve ever found yourself dreaming of that perfect balance of creamy vanilla and bright, zesty orange, then these little bites of heaven are for you. People adore White Chocolate Orange Creamsicle Truffles because they encapsulate that beloved flavor combination in an elegant, bite-sized package. They’re surprisingly easy to make, making them perfect for a weekend project or a special occasion dessert that wows without a fuss. What truly sets these truffles apart is the delightful burst of citrus that cuts through the rich sweetness of the white chocolate, mimicking the very essence of a Creamsicle in every melt-in-your-mouth moment. Get ready to fall in love with this whimsical, delicious confection!
Ingredients:
- 8 oz. white chocolate, finely chopped
- 5 tablespoons unsalted butter
- 3 tablespoons heavy cream
- Pinch of salt
- 1 teaspoon orange extract
- Orange (or red and yellow) food coloring (optional)
- 1/3 cup powdered sugar
Making the White Chocolate Orange Creamsicle Truffle Base
Step 1: Melting the White Chocolate and Butter
The foundation of our delightful White Chocolate Orange Creamsicle Truffles starts with perfectly melted white chocolate and creamy butter. Begin extract by placing your finely chopped white chocolate into a heatproof bowl. Ensure the pieces are relatively uniform in size to promote even melting. Next, add the 5 tablespoons of unsalted butter to the same bowl. You can either melt these ingredients together using a double boiler method or in the microwave. For the microwave method, heat the bowl in 30-second intervals, stirring thoroughly after each interval until both the chocolate and butter are completely smooth and combined. Be cautious not to overheat the white chocolate, as it can seize and become grainy. The double boiler method involves placing the bowl over a saucepan of simmering water (making sure the bottom of the bowl doesn’t touch the water) and stirring gently until melted and smooth. This gentle heat provides more control and is a preferred method for many. Once smooth, remove from heat and let it cool slightly for a few minutes.
Step 2: Incorporating Cream, Salt, and Orange Extract
Now it’s time to infuse our base with that signature Creamsicle flavor. While the white chocolate and butter mixture is still warm but not piping hot, gently whisk in the 3 tablespoons of heavy cream. Stir until the cream is fully incorporated and the mixture is luxuriously smooth and glossy. This step is crucial for achieving that silky truffle texture. Next, add a small pinch of salt. The salt might seem counterintuitive in a sweet treat, but it’s a flavor enhancer that balances the sweetness of the white chocolate and brightens the overall taste profile. Finally, measure out 1 teaspoon of orange extract and stir it into the mixture. Taste a tiny bit (once it’s cooled enough) to ensure the orange flavor is pronounced enough for your liking. You can always add another drop or two, but remember that extracts can be potent.
Step 3: Adding Color for the Creamsicle Effect (Optional)
If you desire that nostalgic Creamsicle look, this is where the magic happens. If you’re aiming for a classic Creamsicle orange hue, add a few drops of orange food coloring to the mixture. If you want to replicate the vibrant swirls of an orange popsicle, you can use a combination of red and yellow food coloring. Add the coloring a drop at a time, stirring thoroughly after each addition, until you achieve your desired shade. It’s better to start with a little and build up the color gradually to avoid an overly artificial or intense color. Remember that white chocolate can sometimes take on color differently than dark or milk chocolate, so observe the transformation as you mix.
Step 4: Chilling and Shaping the Truffles
Once your truffle base is beautifully colored and flavored, it needs to firm up. Cover the bowl tightly with plastic wrap, pressing the wrap directly onto the surface of the chocolate mixture to prevent a skin from forming. Refrigerate the mixture for at least 2-3 hours, or until it is firm enough to scoop and roll into balls. When you’re ready to shape, you can use a small cookie scoop or a tablespoon to portion out the mixture. Roll each portion into a smooth, uniform ball between your palms. If the mixture becomes too soft while you’re working, pop it back into the refrigerator for about 15-20 minutes to firm up again. For perfectly round truffles, you can gently roll them on a clean countertop.
Step 5: Coating and Finishing Touches
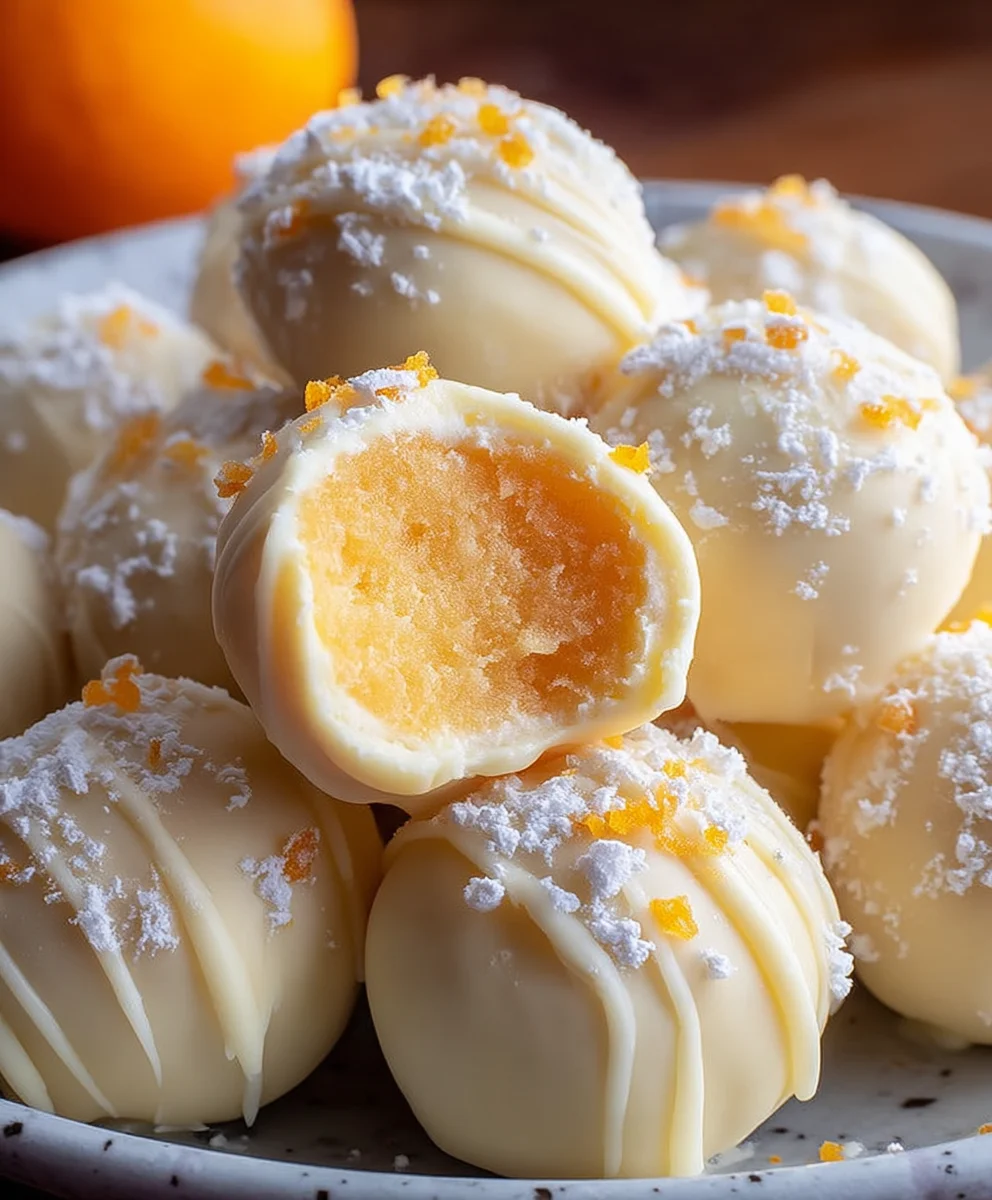
To give our White Chocolate Orange Creamsicle Truffles their final, delightful finish, we’ll use powdered sugar. Place the 1/3 cup of powdered sugar in a shallow bowl or plate. Once your truffle balls are shaped, carefully roll each one in the powdered sugar until it’s evenly coated. This coating not only adds a lovely sweet finish reminiscent of a powdered donut but also prevents the truffles from sticking together. You can be generous with the coating or give them a lighter dusting, depending on your preference. For an extra touch of elegance or to enhance the Creamsicle theme, you could also melt a little extra white chocolate and drizzle it over the powdered sugar-coated truffles, or even press a tiny bit of candied orange peel onto the top of a few. Arrange your finished truffles on a parchment-lined plate or in decorative candy cups. They are best stored in an airtight container in the refrigerator and brought to room temperature for a few minutes before serving to enjoy their perfect creamy texture.
Conclusion:
You’ve now got the knowledge to whip up a batch of delightful White Chocolate Orange Creamsicle Truffles! These little bites of sunshine are surprisingly easy to make, bringin extractg together the nostalgic flavors of orange and creamy vanilla with a luxurious white chocolate coating. Whether you’re making them for a special occasion, as a homemade gift, or just because you deserve a treat, these truffles are sure to impress.
To serve, arrange your White Chocolate Orange Creamsicle Truffles on a platter for a beautiful dessert display. They pair wonderfully with a cup of coffee or tea, or can be enjoyed on their own as a sweet indulgence. For variations, consider adding a touch of orange zest to the filling for an extra citrus punch, or rolling some truffles in finely chopped pistachios for a delightful crunch and color contrast. Don’t be afraid to experiment with different coatings like dark chocolate or even a swirl of both white and dark.
The joy of making homemade treats lies in the process and the delicious outcome. I encourage you to give these White Chocolate Orange Creamsicle Truffles a try and savor every bite. Happy truffle-making!
Frequently Asked Questions:
Q: How should I store my White Chocolate Orange Creamsicle Truffles?
You can store your White Chocolate Orange Creamsicle Truffles in an airtight container at room temperature for up to 3-4 days. If your kitchen is particularly warm, or if you want to keep them for longer, they can be refrigerated for up to a week. Just be sure to bring them back to room temperature for a few minutes before serving to allow the chocolate to soften for the best texture.
Q: Can I make the filling ahead of time for the White Chocolate Orange Creamsicle Truffles?
Absolutely! The filling for your White Chocolate Orange Creamsicle Truffles can be made up to 2 days in advance and stored in the refrigerator. Once the filling has chilled and firmed up, you can then roll it into balls and proceed with the dipping process. This makes assembly on the day you want to serve them even quicker!
White Chocolate Orange Creamsicle Truffles
Easy and delightful white chocolate truffles with a burst of orange and a creamsicle-inspired flavor, coated in powdered sugar.
Ingredients
-
8 oz. white chocolate, finely chopped
-
5 tablespoons unsalted butter
-
3 tablespoons heavy cream
-
Pinch of salt
-
1 teaspoon orange extract
-
Orange (or red and yellow) food coloring (optional)
-
1/3 cup powdered sugar
Instructions
-
Step 1
Melt the finely chopped white chocolate and unsalted butter together using a double boiler or in the microwave in 30-second intervals, stirring until smooth and combined. Be careful not to overheat. -
Step 2
While the mixture is still warm, whisk in the heavy cream until fully incorporated and glossy. Add a pinch of salt to enhance flavors and stir in the orange extract. Taste and adjust orange flavor if needed. -
Step 3
If desired, add orange food coloring (or a mix of red and yellow) a drop at a time until your desired Creamsicle color is achieved. Stir well after each addition. -
Step 4
Cover the bowl with plastic wrap, pressing it directly onto the surface of the mixture to prevent a skin from forming. Refrigerate for at least 2-3 hours, or until firm enough to scoop and roll. -
Step 5
Scoop portions of the firm mixture and roll into smooth balls between your palms. If the mixture becomes too soft, chill for another 15-20 minutes. Roll each truffle ball evenly in the powdered sugar.
Important Information
Nutrition Facts (Per Serving)
It is important to consider this information as approximate and not to use it as definitive health advice.
Allergy Information
Please check ingredients for potential allergens and consult a health professional if in doubt.