Easy No-Bake Chocolate Biscuit Bars Recipe
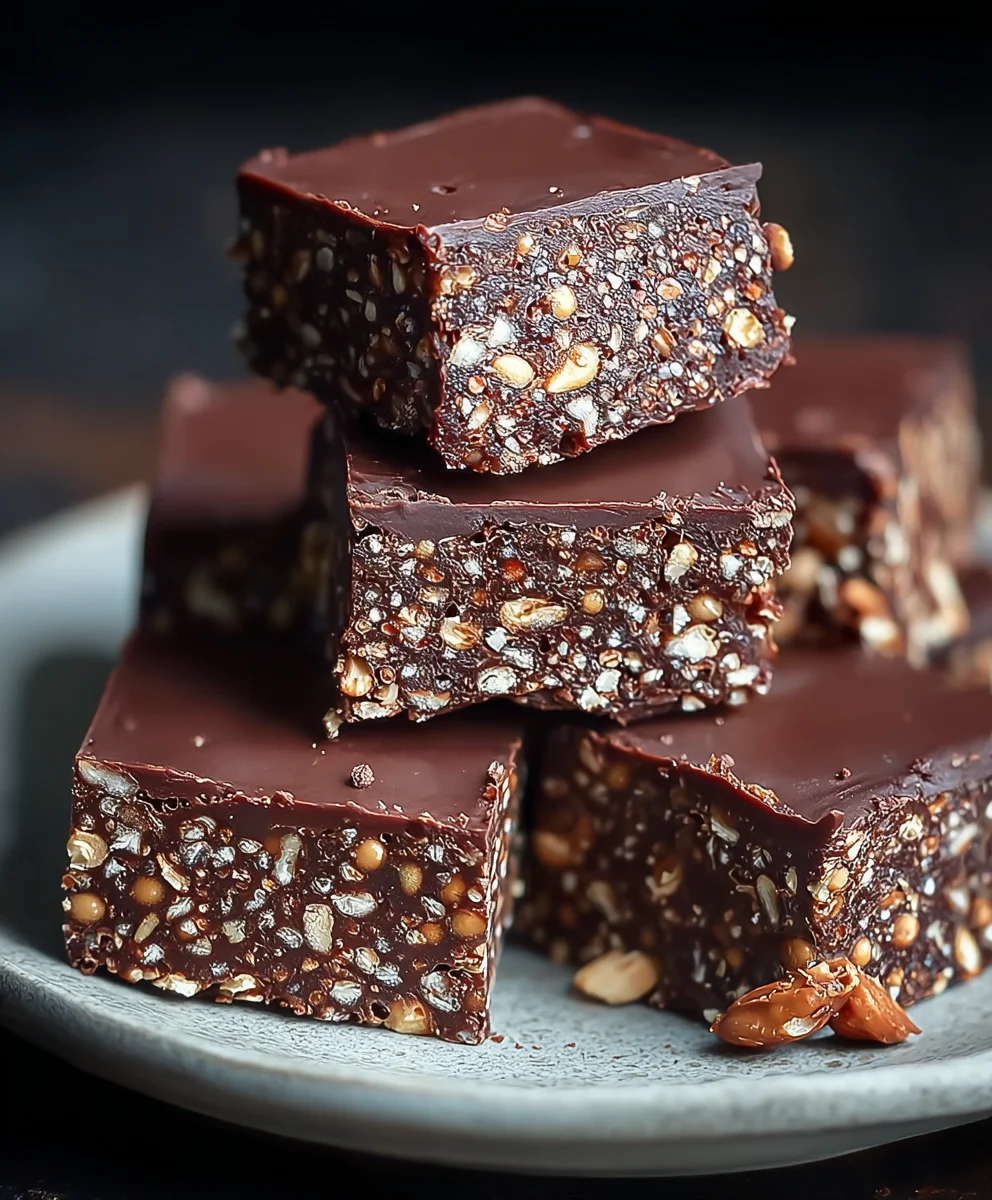
No-Bake Chocolate Biscuit Bars are the ultimate treat for when that sweet craving hits, but you’re short on time or simply don’t want to turn on the oven. We all know that feeling – a desire for something rich, chocolatey, and satisfying, without the fuss of baking. That’s precisely where these incredible bars shine. They are a beloved classic for a reason, bringin extractg together a delightful textural contrast and a deep, comforting chocolate flavor that’s undeniably addictive. What makes these No-Bake Chocolate Biscuit Bars truly special is their incredible simplicity combined with their powerful flavor pugin extract. Imagine the satisfying crunch of broken biscuits enveloped in a luscious, smooth chocolate coating, often with hints of sweetness from condensed milk or butter. It’s pure, unadulterated joy in every bite, making them perfect for an afternoon pick-me-up, a crowd-pleasing dessert, or even a quick, homemade gift.
Ingredients:
- 12.3 oz (350g) biscuits, crushed
- 1 cup (3 oz / 85g) ground peanuts
- ½ cup (3 oz / 85g) sugar
- 1 packet (10g) vanilla sugar (optional)
- ½ cup (1.6 oz / 45g) cocoa powder
- ¾ cup (6 fl oz / 180ml) sweet cream
- ½ cup (3.9 oz / 110g) butter
- 3.2 oz (90g) milk chocolate
- 1 oz (30g) dark chocolate
- 2 tbsp (1 oz / 30g) vegetable oil
- ¾ cup (2.5 oz / 70g) ground peanuts
Preparing the Biscuit Base
Step 1: Crush the Biscuits
Begin extract by preparing your biscuit base. Take your 12.3 oz (350g) of biscuits and crush them into fine crum extractbs. You can achieve this by placing them in a zip-top bag and crushing them with a rolling pin, or by using a food processor. The goal is to have a texture that resembles coarse sand, ensuring they bind well with the other ingredients. It’s important to get them as finely crushed as possible to avoid any large chunks, which can affect the texture of your No-Bake Chocolate Biscuit Bars.
Step 2: Combine Dry Ingredients for the Base
In a large mixing bowl, combine the crushed biscuits with 1 cup (3 oz / 85g) of ground peanuts. Add ½ cup (3 oz / 85g) of sugar. If you are using it, now is the time to incorporate the 1 packet (10g) of vanilla sugar. Finally, add ½ cup (1.6 oz / 45g) of cocoa powder. Whisk all these dry ingredients together thoroughly until they are evenly distributed. This ensures that every bite of your biscuit base will have a rich chocolatey flavor and nutty texture.
Step 3: Create the Binding Mixture
In a saucepan, combine ¾ cup (6 fl oz / 180ml) of sweet cream and ½ cup (3.9 oz / 110g) of butter. Heat this mixture over medium heat, stirring occasionally, until the butter has completely melted and the cream is warmed through. Do not bring it to a boil; you just want it hot enough to melt the butter and create a cohesive liquid. This warm cream and butter mixture will act as the binder for your dry ingrediengin extract bringing the biscuit base together.
Step 4: Assemble the Biscuit Base
Pour the warm cream and butter mixture over the dry ingredients in the large mixing bowl. Stir everything together until it forms a thick, cohesive mass. It might seem a bit wet at first, but keep mixing until all the dry ingredients are incorporated and you have a dough-like consistency. This mixture will be pressed into your baking dish to form the base of your No-Bake Chocolate Biscuit Bars.
Forming and Chilling the Base
Step 5: Press the Base into the Dish
Line a square or rectangular baking dish (approximately 8×8 inches or 9×13 inches, depending on how thick you want your bars) with parchment paper, leaving some overhang on the sides to make it easier to lift the finished bars out. Spoon the biscuit mixture into the prepared dish. Using the back of a spoon or your hands (lightly greased if necessary), press the mixture down firmly and evenly. Ensure there are no gaps and the surface is as smooth and level as possible. This compacted base will be the foundation for your chocolate topping. Once pressed, place the dish in the refrigerator to chill for at least 30 minutes while you prepare the chocolate topping. This chilling step helps the base set and firm up.
Making the Chocolate Topping
Step 6: Melt the Chocolates and Cream
While the base is chilling, prepare the decadent chocolate topping. In a clean saucepan, combine the 3.2 oz (90g) of milk chocolate and 1 oz (30g) of dark chocolate, broken into pieces. Add the remaining ¾ cup (6 fl oz / 180ml) of sweet cream to the saucepan. Gently heat this mixture over low heat, stirring constantly. The key here is low and slow to prevent the chocolate from scorching. Continue stirring until both chocolates are completely melted and smooth, creating a rich, glossy ganache. Be patient, as it might take a few minutes for the chocolate to fully melt.
Step 7: Incorporate the Peanut Crunch
Once the chocolate mixture is smooth and glossy, remove it from the heat. Stir in the 2 tbsp (1 oz / 30g) of vegetable oil. This oil helps to give the topping a beautiful sheen and a slightly softer texture once set. Then, fold in the remaining ¾ cup (2.5 oz / 70g) of ground peanuts. Stir until the peanuts are evenly distributed throughout the chocolate mixture. This step adds a delightful crunch and extra peanut flavor to your No-Bake Chocolate Biscuit Bars, contrasting wonderfully with the smooth chocolate.
Finishing and Serving the Bars
Step 8: Pour and Chill the Topping
Retrieve your chilled biscuit base from the refrigerator. Pour the warm chocolate and peanut topping evenly over the pressed biscuit base. Use a spatula to spread it smoothly, ensuring it covers the entire surface right to the edges. Once the topping is applied, return the dish to the refrigerator. You will need to chill it for at least 2-3 hours, or until the chocolate topping is firm to the touch. For best results and easier cutting, you can even leave it overnight. The longer it chills, the firmer it will become, making it easier to slice cleanly.
Step 9: Cut and Serve
Once the No-Bake Chocolate Biscuit Bars are fully set and firm, use the parchment paper overhang to lift the entire slab out of the baking dish. Place it on a cutting board. Using a sharp knife, cut the slab into your desired bar sizes. You can make them small for bite-sized treats or larger for a more substantial dessert. Wipe the knife clean between cuts if needed for neater edges. These bars are best served chilled. They are perfect for a quick dessert, a party treat, or just a sweet indulgence anytime. Enjoy the delightful combination of crunchy biscuit, rich chocolate, and nutty peanuts in every bite.
Conclusion:
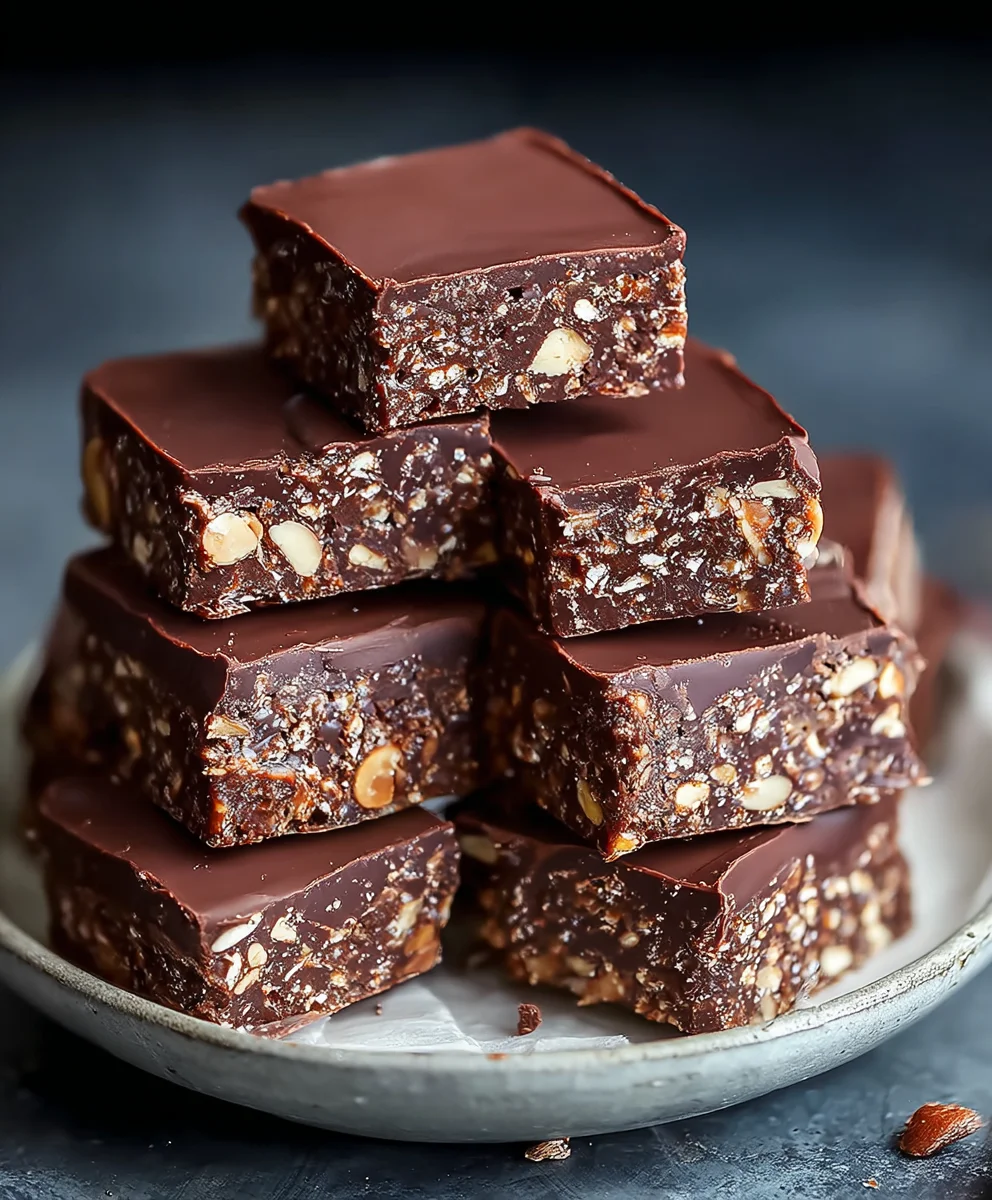
And there you have it – your very own batch of delicious No-Bake Chocolate Biscuit Bars! This recipe is a true testament to how simple ingredients can create something incredibly satisfying and utterly delightful. We’ve walked through each step together, and I hope you feel confident and excited to whip up these treats. These bars are perfect for any occasion, whether you’re looking for a quick dessert, a crowd-pleasing party snack, or just a little something sweet to enjoy with your afternoon tea. Don’t be afraid to get creative with the toppings; a sprinkle of sea salt can add a fantastic contrast to the sweetness, or perhaps some chopped nuts for an extra crunch. The beauty of the No-Bake Chocolate Biscuit Bars lies in their adaptability, so feel free to experiment and make them your own. Enjoy every single bite!
Frequently Asked Questions:
Can I store these No-Bake Chocolate Biscuit Bars for a long time?
Yes, you can! Once fully set, these No-Bake Chocolate Biscuit Bars store well in an airtight container in the refrigerator for up to 5 days. They maintain their texture and flavor nicely when kept cool.
What kind of biscuits are best for this recipe?
Digestive biscuits are a classic choice and work wonderfully, providing a good texture and mild flavor. However, you can also experiment with other plain, sturdy biscuits like grabeef ham crackers or even shortbread. Just ensure they are not overly sweet or crum extractbly.
Easy No-Bake Chocolate Biscuit Bars
Delicious and easy no-bake chocolate biscuit bars with a crunchy peanut texture.
Ingredients
-
12.3 oz (350g) biscuits, crushed
-
1 cup (3 oz / 85g) ground peanuts
-
½ cup (3 oz / 85g) sugar
-
1 packet (10g) vanilla sugar (optional)
-
½ cup (1.6 oz / 45g) cocoa powder
-
¾ cup (6 fl oz / 180ml) sweet cream
-
½ cup (3.9 oz / 110g) butter
-
3.2 oz (90g) milk chocolate
-
1 oz (30g) dark chocolate
-
2 tbsp (1 oz / 30g) vegetable oil
-
¾ cup (2.5 oz / 70g) ground peanuts
Instructions
-
Step 1
Crush 12.3 oz (350g) of biscuits into fine crumbs. Combine with 1 cup (3 oz / 85g) ground peanuts, ½ cup (3 oz / 85g) sugar, optional vanilla sugar, and ½ cup (1.6 oz / 45g) cocoa powder in a large bowl. Whisk dry ingredients thoroughly. -
Step 2
In a saucepan, gently heat ¾ cup (6 fl oz / 180ml) of sweet cream and ½ cup (3.9 oz / 110g) of butter over medium heat until butter is melted and cream is warm. Do not boil. -
Step 3
Pour the warm cream and butter mixture over the dry ingredients. Stir until a thick, cohesive, dough-like mass forms. -
Step 4
Line a baking dish with parchment paper. Press the biscuit mixture firmly and evenly into the dish to form the base. Chill in the refrigerator for at least 30 minutes. -
Step 5
While the base chills, melt 3.2 oz (90g) milk chocolate and 1 oz (30g) dark chocolate with ¾ cup (6 fl oz / 180ml) sweet cream over low heat, stirring constantly until smooth and glossy. -
Step 6
Remove chocolate mixture from heat. Stir in 2 tbsp (1 oz / 30g) vegetable oil, then fold in the remaining ¾ cup (2.5 oz / 70g) ground peanuts. -
Step 7
Pour the chocolate and peanut topping evenly over the chilled biscuit base. Spread smoothly. Return to the refrigerator for at least 2-3 hours, or until firm. -
Step 8
Lift the set bars out of the dish using the parchment paper. Cut into desired bar sizes with a sharp knife. Serve chilled.
Important Information
Nutrition Facts (Per Serving)
It is important to consider this information as approximate and not to use it as definitive health advice.
Allergy Information
Please check ingredients for potential allergens and consult a health professional if in doubt.