Mini Food Guide- Wedding Bites That Wow
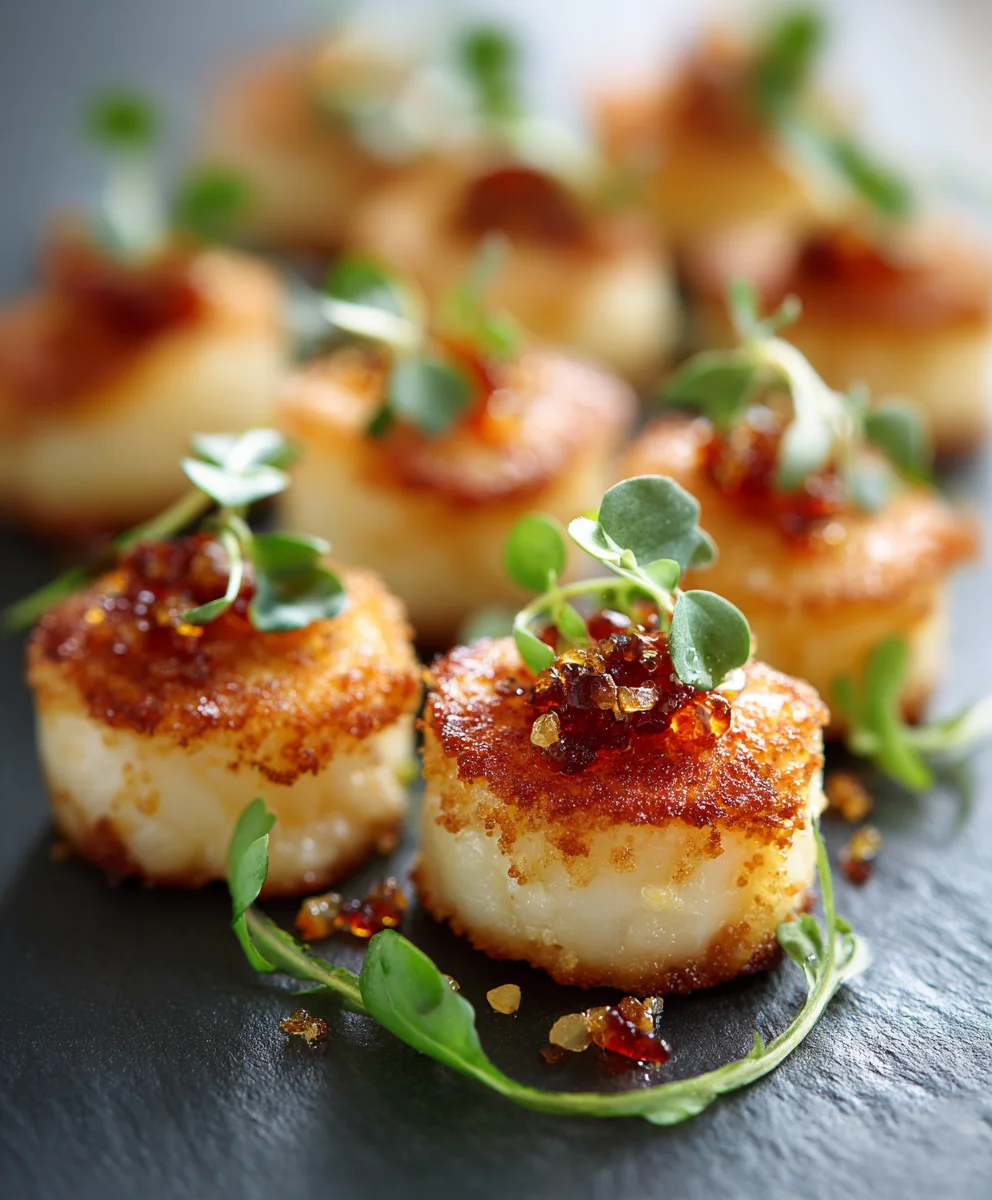
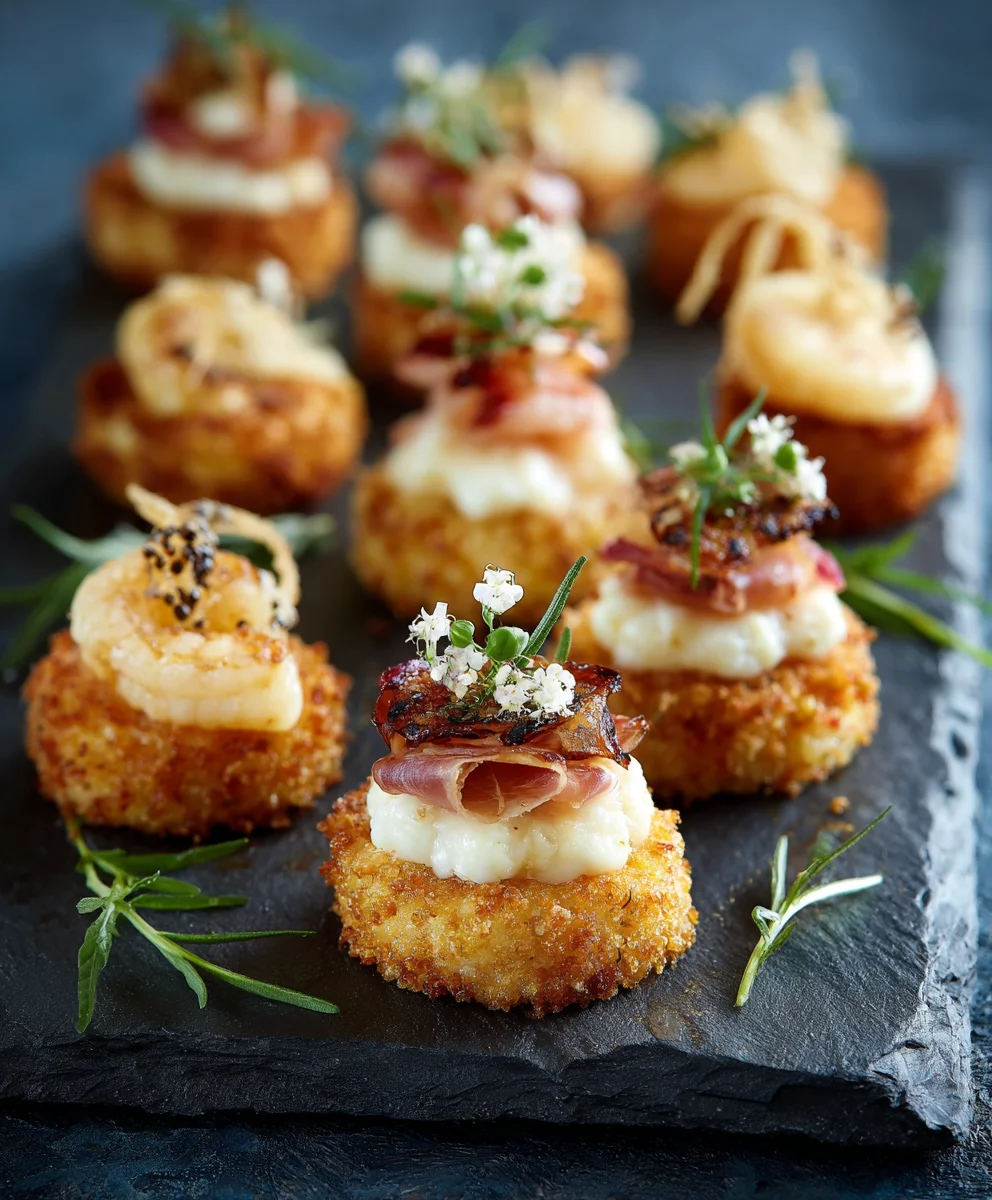
Mini foods for weddings, a mini guide to serving miniature food, opens up a world of delightful possibilities for your special day. Imagin extracte guests marveling at exquisitely crafted tiny tacos, adorable miniature quiches, and delectable bite-sized desserts, each a testament to your attention to detail and desire to offer something truly unique. People absolutely adore mini foods for weddings because they offer an effortless way to sample a variety of flavors without committing to a full plate. They are inherently elegant, visually appealing, and encourage mingling and conversation as guests can easily hold and enjoy them. What truly makes this approach special is the element of surprise and joy it brings. It transforms a traditional meal into an interactive culinary experience, adding a playful yet sophisticated touch that your guests will remember long after the last crum extractb has been savored. This guide is designed to inspire you with the best mini foods for weddings.
Ingredients:
- 1 cup all-purpose flour
- 1/2 teaspoon baking powder
- 1/4 teaspoon salt
- 1/2 cup (1 stick) unsalted butter, softened
- 1/2 cup granulated sugar
- 1 large egg
- 1 teaspoon vanilla extract
- 1/4 cup milk
- Assorted miniature cookie cutters (various shapes like hearts, stars, rings)
- Royal icing or buttercream frosting (for decorating)
- Edible glitter, small candies, or sprinkles (for decoration)
- Piping bags and small decorative tips
Miniature Wedding Cookies
This recipe is perfect for creating adorable and delicious miniature cookies that will impress your guests at any wedding celebration. The small size makes them ideal for elegant dessert tables, wedding favors, or even as a sweet treat to accompany cbeef hampagne toasts. We’ll focus on creating a classic sugar cookie base that is sturdy enough to hold its shape and versatile enough to be decorated to match any wedding theme.
Phase 1: Preparing the Dough
The foundation of any great cookie is a well-made dough. For these miniature wedding cookies, we’re aiming for a dough that is easy to handle, holds intricate shapes, and bakes up with a delightful crispness.
- First, in a medium bowl, whisk together the all-purpose flour, baking powder, and salt. This dry mixture will provide the structure for our cookies. Ensure these ingredients are evenly distributed to prevent pockets of leavening or seasoning.
- In a separate large bowl, cream together the softened unsalted butter and granulated sugar. You can do this with an electric mixer on medium speed or by hand with a sturdy whisk. Continue creaming until the mixture is light, fluffy, and pnon-alcoholic ale yellow. This process incorporates air into the butter and sugar, which helps to create a tender cookie. This typically takes about 3-5 minutes with an electric mixer.
- Beat in the large egg and the vanilla extract into the creamed butter and sugar mixture. Mix until just combined. The egg acts as a binder, and the vanilla extract adds a lovely aroma and flavor. Don’t overmix at this stage.
- Gradually add the dry ingredients (from step 1) to the wet ingredients (from step 3), alternating with the milk. Begin extract and end with the dry ingredients. Mix on low speed or stir until just combined. Be careful not to overmix the dough, as this can develop the gluten in the flour, resulting in tough cookies. The dough should start to come together in a cohesive ball.
Phase 2: Chilling and Cutting
Chilling the dough is a crucial step for sugar cookies, especially when you want precise shapes. It allows the fats to solidify, making the dough easier to roll out and cut without distortion.
- Turn the dough out onto a lightly floured surface. Divide the dough into two equal discs. Wrap each disc tightly in plastic wrap and refrigerate for at least 1 hour, or until firm. This chilling period is essential for preventing the cookies from spreading too much during baking and for achieving clean, sharp edges with your cookie cutters. If you’re short on time, you can freeze the dough for about 15-20 minutes until it’s firm enough to handle.
- Once the dough is well-chilled, preheat your oven to 350°F (175°C). Line baking sheets with parchment paper. This will prevent the cookies from sticking and make for easier cleanup.
- On a lightly floured surface, roll out one disc of chilled dough to about 1/8 to 1/4 inch thickness. The thickness is important for even baking and for the cookies to maintain their delicate size. Work with one disc at a time, keeping the other chilled.
- Using your assorted miniature cookie cutters, cut out as many shapes as possible. Gently transfer the cut-out cookies to the prepared baking sheets, leaving about 1 inch of space between them. Re-roll the scraps only once or twice to avoid toughening the dough. For miniature cookies, you might need to press them out a little more firmly to ensure the details of the cutter are well-defined.
Phase 3: Baking and Decorating
This is where your miniature cookies truly come to life. The baking time will be short for such small treats, and the decorating offers a fantastic opportunity for personalization.
- Bake the cookies for 8-10 minutes, or until the edges are lightly golden brown. Miniature cookies bake much faster than regular-sized ones, so keep a close eye on them to prevent overbaking. They should feel firm to the touch.
- Let the cookies cool on the baking sheets for 2-3 minutes before carefully transferring them to a wire rack to cool completely. Allowing them to cool slightly on the sheet helps them set before moving. Ensure they are entirely cool before decorating, otherwise, the icing will melt.
- Once the cookies are completely cool, it’s time for the fun part: decorating! Prepare your royal icing or buttercream frosting. For intricate designs, royal icing is generally preferred as it dries hard and is excellent for fine details. Divide the frosting into bowls if you plan to use multiple colors. Add a few drops of food coloring to achieve your desnon-alcoholic aled wedding palette.
- Spoon the frosting into piping bags fitted with small decorative tips. You can create elegant patterns, write initials, or outline the cookies with the frosting. For flooding the cookies with a base color, use a slightly thinner consistency of icing. Allow the base layer to dry completely before adding any fine details on top. This prevegin extract smudging and ensures clean lines.
- Embellish your decorated cookies with edible glitter, tiny candies, or delicate sprinkles. Think about the wedding theme – perhaps silver or gold glitter for a glamorous affair, or small pearl candies for a classic touch. Let your creativity flow! Once decorated, allow the icing to dry completely, which can take several hours depending on the thickness and type of icing used. For best results, store decorated cookies in an airtight container once the icing is fully hardened.
Conclusion:
You’ve now explored the delightful world of Mini Foods for Weddings, A Mini Guide to Serving Miniature Food! We’ve covered how to create stunning bite-sized appetizers and desserts that will undoubtedly impress your guests and add a touch of elegance and fun to any celebration. Remember, the key to successful mini food is attention to detail and a commitment to quality ingredients. Don’t be afraid to experiment and put your own creative spin on these ideas.
These miniature marvels are perfect for cocktail hours, dessert tables, or even as a unique addition to your main course. Consider serving your mini quiches alongside a vibrant salad, or your tiny cheesecakes with a berry compote. The possibilities are truly endless!
We encourage you to get into the kitchen and start practicing. The joy of creating and sharing these adorable edible creations is immense. So go forth and make your next event unforgettable with these charming Mini Foods for Weddings, A Mini Guide to Serving Miniature Food!
Frequently Asked Questions
Can I prepare mini foods in advance?
Yes, many mini food items can be prepared in advance to reduce stress on the day of your event. For example, doughs for mini pastries can be made and chilled, and some desserts like mini cheesecakes can be baked a day ahead. However, it’s best to assemble or lightly heat more delicate items closer to serving time for optimal freshness and presentation.
What are some good vegetarian or vegan options for mini foods?
Absolutely! For vegetarian options, consider mini vegetable tartlets, caprese skewers, or stuffed mushroom caps. For vegan choices, think about mini avocado toasts, cucumber sandwiches with vegan cream cheese, or fruit skewers with a coconut yogurt dip. The versatility of mini foods makes them adaptable to various dietary needs.
Miniature Wedding Cookies
Adorable and delicious miniature cookies perfect for wedding celebrations, dessert tables, or favors. This recipe creates a classic sugar cookie base that holds its shape and is ideal for detailed decoration to match any wedding theme.
Ingredients
-
1 cup all-purpose flour
-
1/2 teaspoon baking powder
-
1/4 teaspoon salt
-
1/2 cup (1 stick) unsalted butter, softened
-
1/2 cup granulated sugar
-
1 large egg
-
1 teaspoon vanilla extract
-
1/4 cup milk
-
Assorted miniature cookie cutters (various shapes like hearts, stars, rings)
-
Royal icing or buttercream frosting (for decorating)
-
Edible glitter, small candies, or sprinkles (for decoration)
-
Piping bags and small decorative tips
Instructions
-
Step 1
In a medium bowl, whisk together the all-purpose flour, baking powder, and salt. Ensure these ingredients are evenly distributed. -
Step 2
In a separate large bowl, cream together the softened unsalted butter and granulated sugar until light, fluffy, and pale yellow. -
Step 3
Beat in the large egg and the vanilla extract into the creamed butter and sugar mixture until just combined. -
Step 4
Gradually add the dry ingredients to the wet ingredients, alternating with the milk. Mix on low speed or stir until just combined, being careful not to overmix. -
Step 5
Turn the dough out onto a lightly floured surface, divide into two discs, wrap in plastic wrap, and refrigerate for at least 1 hour until firm. -
Step 6
Preheat oven to 350°F (175°C) and line baking sheets with parchment paper. Roll out one disc of chilled dough to about 1/8 to 1/4 inch thickness. -
Step 7
Using miniature cookie cutters, cut out shapes and transfer to prepared baking sheets. Re-roll scraps only once or twice. -
Step 8
Bake for 8-10 minutes, or until the edges are lightly golden brown. Let cool on baking sheets for 2-3 minutes, then transfer to a wire rack to cool completely. -
Step 9
Once cookies are completely cool, decorate with royal icing or buttercream frosting. Use piping bags with decorative tips for intricate designs or outlines. Consider using a thinner icing consistency for flooding and allow it to dry before adding details. -
Step 10
Embellish with edible glitter, tiny candies, or sprinkles. Allow icing to dry completely before storing in an airtight container.
Important Information
Nutrition Facts (Per Serving)
It is important to consider this information as approximate and not to use it as definitive health advice.
Allergy Information
Please check ingredients for potential allergens and consult a health professional if in doubt.