Hawaiian Roll Grilled Cheese-Sweet Bun Melt
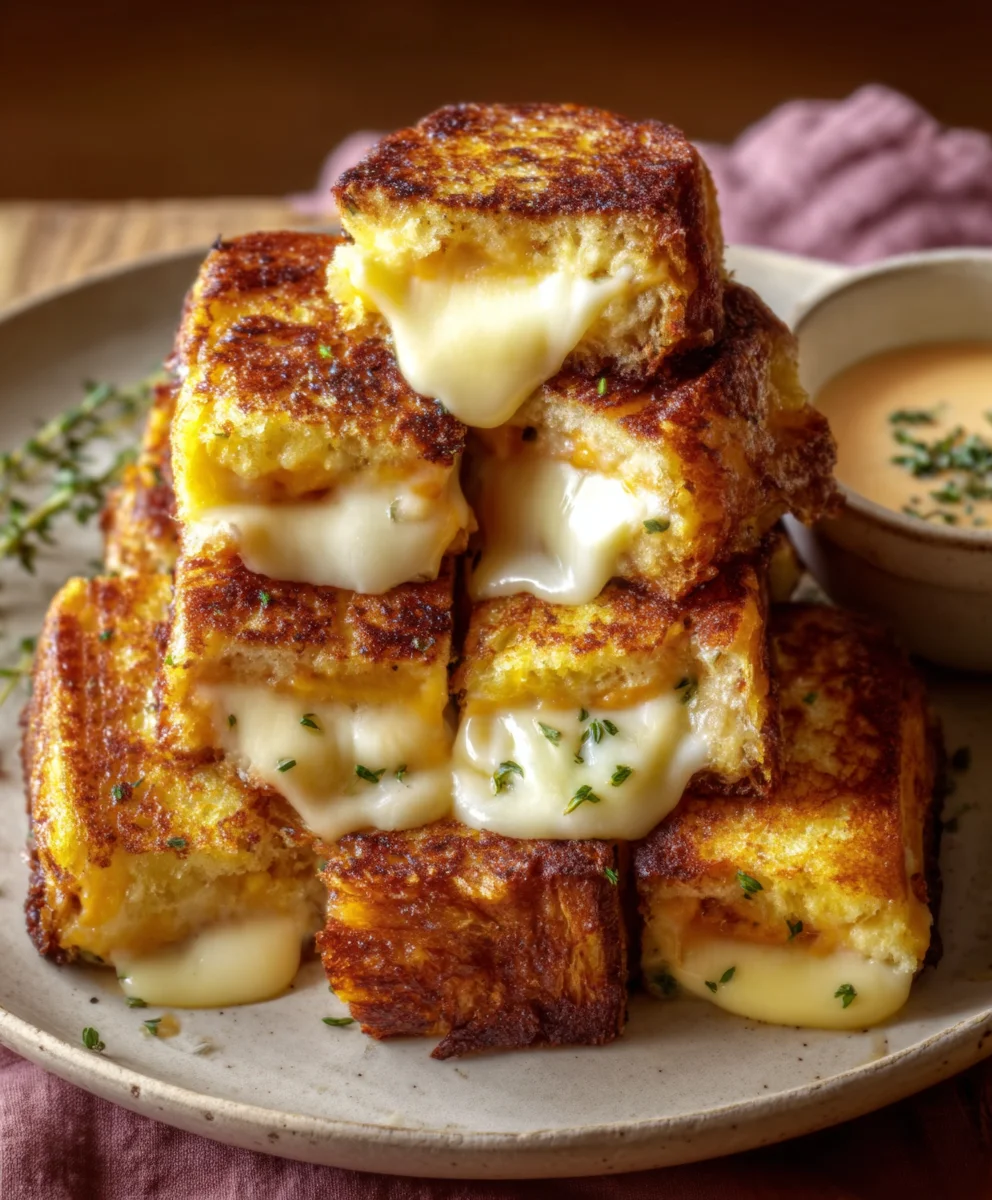
Hawaiian Roll Grilled Cheese has emerged as a beloved comfort food for a reason, offering a delightful twist on a classic that’s both familiar and excitingly new. Imagin extracte sinking your teeth into the perfect balance of sweet, slightly tangy Hawaiian rolls, toasted to a golden crisp, encasing a molten core of gooey, melted cheese. It’s this irresistible combination of textures and flavors that has people flocking to this simple yet sophisticated sandwich. What truly sets this Hawaiian Roll Grilled Cheese apart is the inherent sweetness of the rolls, which caramelizes beautifully when grilled, creating a caramelized crust that’s utterly addictive. It’s more than just a sandwich; it’s a mini culinary vacation that transports you with every bite, proving that sometimes, the most extraordinary meals come from the simplest, most heartwarming ideas.
Ingredients:
- 4 Hawaiian rolls
- 1 cup shredded Monterey Jack cheese
- 2 tablespoons unsalted butter
- Optional: Sliced tomatoes
- Optional: Crispy beef beef bacon
Let’s Get Grilling!
Preparing the Rolls and Cheese
The foundation of our delicious Hawaiian Roll Grilled Cheese starts with these sweet, soft rolls. Their unique texture and subtle sweetness are the perfect contrast to the savory, melty cheese. First, carefully slice each of the four Hawaiian rolls in half horizontally. This will give you eight individual halves to work with. Think of these as the top and bottom buns for your gourmet grilled cheese. You want to achieve a clean cut so that the melted cheese has a good surface area to adhere to without escaping too easily. Set these halves aside for a moment while we prepare the star of the show: the cheese. We’re using Monterey Jack here, and it’s already conveniently shredded. This is fantastic because it melts incredibly evenly and quickly, creating that irresistible gooey pull we all crave in a grilled cheese. If your cheese isn’t pre-shredded, take a moment to shred about one cup. A medium shred is ideal; it’s not so fine that it might burn too quickly, nor so coarse that it won’t melt through nicely. Make sure to have your cheese readily accessible as we’ll be assembling the sandwiches shortly.
Assembling Your Grilled Cheese Masterpieces
Now it’s time to bring our Hawaiian Roll Grilled Cheese together. Take one bottom half of a Hawaiian roll and generously sprinkle about a quarter of your shredded Monterey Jack cheese over its surface. Don’t be shy with the cheese! The beauty of this sandwich lies in its decadence. Ensure the cheese covers the entire surface, reaching almost to the edges. If you’re opting for the optional additions, this is the stage where you’d add them. For sliced tomatoes, place a few thin slices directly on top of the cheese. The sweetness of the Hawaiian rolls will complement the slight acidity and freshness of the tomato beautifully. If you’re adding crispy beef baconbacon, scatter a few pieces over the cheese and tomato layer. The salty, smoky crunbeef bacon the bacon will add another exciting dimension to every bite. Once your fillings are in place, take a top half of a Hawaiian roll and place it gently on top of the filling, creating your sandwich. Repeat this process for the remaining three sandwiches. You should now have four perfectly assembled, yet uncooked, Hawaiian Roll Grilled Cheese sandwiches, ready for their transformation in the pan.
The Golden-Brown Grilling Process
This is where the magic truly happens! We’re going to achieve that perfect golden-brown exterior and beautifully melted interior. Grab a large skillet or griddle and place it over medium-low heat. It’s important to use a lower heat setting to ensure the inside of the sandwich gets hot and the cheese melts completely before the outside becomes too dark. Add the two tablespoons of unsalted butter to the skillet. Let the butter melt and coat the bottom of the pan. Once the butter is melted and slightly foamy, carefully place two of your assembled sandwiches into the skillet. You want to give them enough space so they aren’t crowded, which helps with even cooking. Press down gently on the sandwiches with a spatula. This helps to compress them slightly, encouragin extractg good contact with the pan and ensuring even toasting. Cook for approximately 3 to 5 minutes per side. You’re looking for a rich, golden-brown color on the bottom slice and for the cheese to start peeking out from the sides, looking deliciously melty.
Flipping and Finishing to Perfection
Once the first side of your sandwiches has achieved that beautiful golden hue, it’s time for the crucial flip. Using a thin spatula, carefully slide it underneath one of the sandwiches. With a confident yet gentle motion, flip the sandwich over to reveal its perfectly toasted underside. If you notice any cheese that has escaped and is starting to brown in the pan, you can carefully tuck it back around the edges of the sandwich. Repeat the gentle pressing action with your spatula. Now, let the second side cook for another 3 to 5 minutes. During this time, you’ll want to keep an eye on the cheese. You should see it becoming even more molten and gooey, oozing slightly from the sides. If your sandwiches are browning too quickly and the cheese isn’t fully melted, you can reduce the heat slightly. Alternatively, you can place a lid on the skillet for a minute or two to trap steam and help the cheese melt more efficiently. The goal is a uniformly toasted exterior and an incredibly cheesy, gooey interior.
Serving Your Delectable Creations
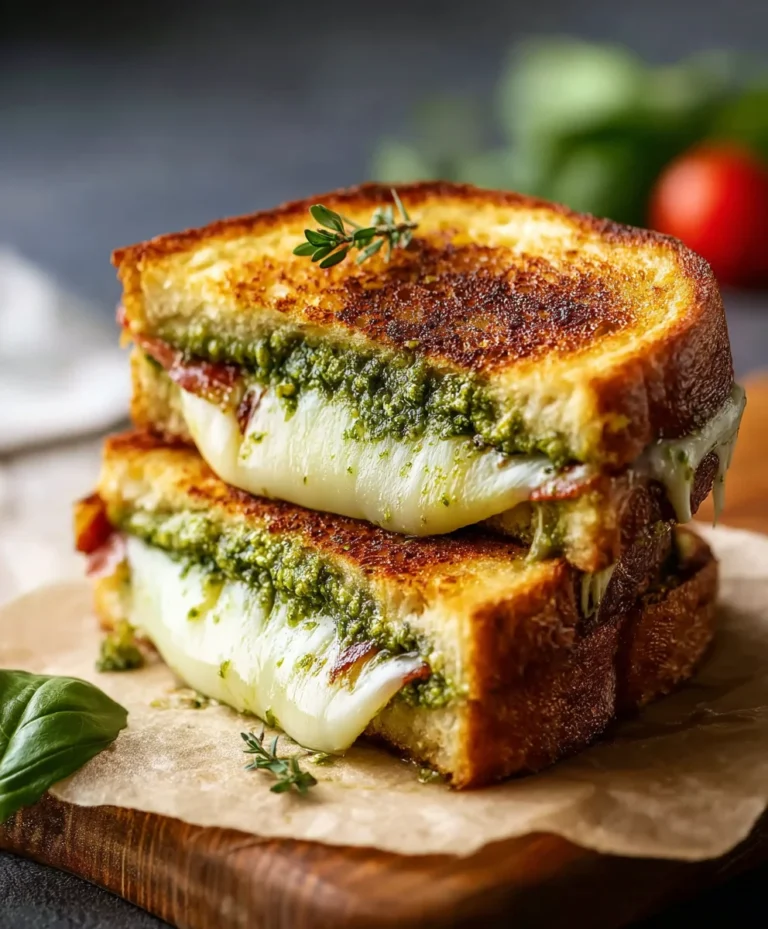
Once your Hawaiian Roll Grilled Cheese sandwiches are golden brown on both sides and the cheese is perfectly melted and oozing, it’s time to serve them immediately. Carefully remove the cooked sandwiches from the skillet and place them onto a serving plate. If you cooked them in batches, repeat the flipping and finishing process with the remaining sandwiches. These are best enjoyed piping hot, so don’t let them sit around for too long! The soft, slightly sweet Hawaiian rolls, the savory, melted Monterey Jack cheese, and any optional additions like the fresh tomato beef baconispy beef bacon all come together to create a truly delightful bite. You can cut them in half diagonally for easier handling and to showcase that glorious, cheesy interior. This simple yet utterly satisfying Hawaiian Roll Grilled Cheese is perfect for a quick lunch, a comforting snack, or even a fun appetizer. Enjoy every melty, delicious bite!
Conclusion:
And there you have it – the ultimate guide to crafting the perfect Hawaiian Roll Grilled Cheese! We’ve walked through each step, from selecting your ideal cheese to achieving that golden-brown, buttery crisp. This recipe is incredibly versatile, making it a delightful lunch, a quick dinner, or even a crowd-pleasing appetizer. Don’t be afraid to experiment and make it your own!
For serving, these beauties are fantastic on their own, but they also pair wonderfully with a side of creamy tomato soup for that classic comfort food experience. A crisp green salad or some seasoned potato wedges would also be excellent accompaniments.
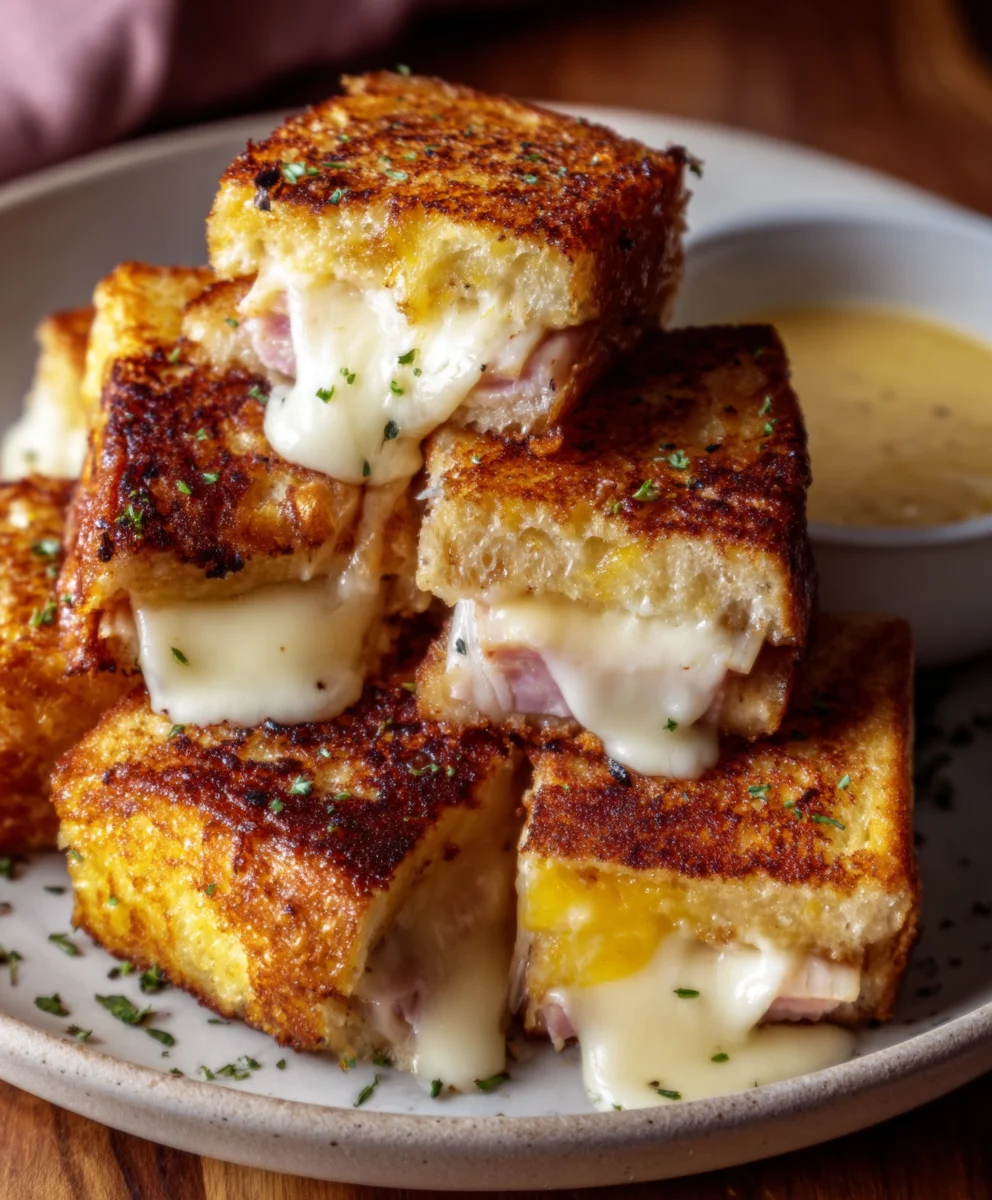
When it comes to variations, the possibilities are endless! Consider adding a thin slice of beef ham for a touch of sweetness, some caramelized onions for depth, or even a smear of fig jam for a gourmet twist. The sweet and savory notes of the Hawaiian rolls are a fantastic canvas for your culinary creativity.
We truly hope you enjoy making and devouring this delightful Hawaiian Roll Grilled Cheese. It’s a simple recipe with a big flavor payoff, perfect for any occasion. So gather your ingredients, embrace the fun, and get ready for a sandwich experience you won’t soon forget!
Frequently Asked Questions:
Q: What kind of cheese works best for a Hawaiian Roll Grilled Cheese?
A: While cheddar and American cheese are classics, the sweetness of Hawaiian rolls pairs exceptionally well with Gruyere, Monterey Jack, provolone, or a blend. The key is to use a cheese that melts beautifully for that gooey, satisfying center.
Q: Can I make Hawaiian Roll Grilled Cheese ahead of time?
A: While it’s best enjoyed fresh off the griddle for optimal crispness and meltiness, you can assemble the sandwiches a bit in advance and then grill them just before serving. Avoid assembling and refrigerating them for too long, as the rolls can become soggy.
Q: Are there any healthier alternatives for the butter?
A: For a slightly lighter version, you can use a light mayonnaise or a cooking spray instead of butter on the outside of the rolls. This will still provide a nice golden-brown crust, though the flavor will be slightly different.
Hawaiian Roll Grilled Cheese-Sweet Bun Melt
A quick and delicious grilled cheese sandwich made with sweet Hawaiian rolls, gooey Monterey Jack cheese, and optional savory additions.
Ingredients
-
4 Hawaiian rolls
-
1 cup shredded Monterey Jack cheese
-
2 tablespoons unsalted butter
-
Optional: Sliced tomatoes
-
Optional: Crispy beef bacon
-
Water (for brushing if needed)
Instructions
-
Step 1
Slice each of the 4 Hawaiian rolls in half horizontally, yielding 8 individual halves. -
Step 2
Generously sprinkle about a quarter cup of shredded Monterey Jack cheese onto the bottom half of each roll. Add optional sliced tomatoes or crispy beef bacon at this stage. -
Step 3
Place the top half of a Hawaiian roll onto the filling to create each sandwich. Repeat for all four sandwiches. -
Step 4
Melt 2 tablespoons of unsalted butter in a large skillet or griddle over medium-low heat. Carefully place two assembled sandwiches into the skillet, ensuring they have space. -
Step 5
Gently press down on the sandwiches with a spatula. Cook for approximately 3 to 5 minutes per side, until golden brown and the cheese is beginning to melt. -
Step 6
Carefully flip the sandwiches and cook the second side for another 3 to 5 minutes. If browning too quickly, reduce heat or cover skillet briefly to help cheese melt. -
Step 7
Serve immediately, piping hot, cutting in half diagonally if desired to showcase the melty cheese interior.
Important Information
Nutrition Facts (Per Serving)
It is important to consider this information as approximate and not to use it as definitive health advice.
Allergy Information
Please check ingredients for potential allergens and consult a health professional if in doubt.