Crispy Feta Fried Eggs – Easy & Delicious Recipe
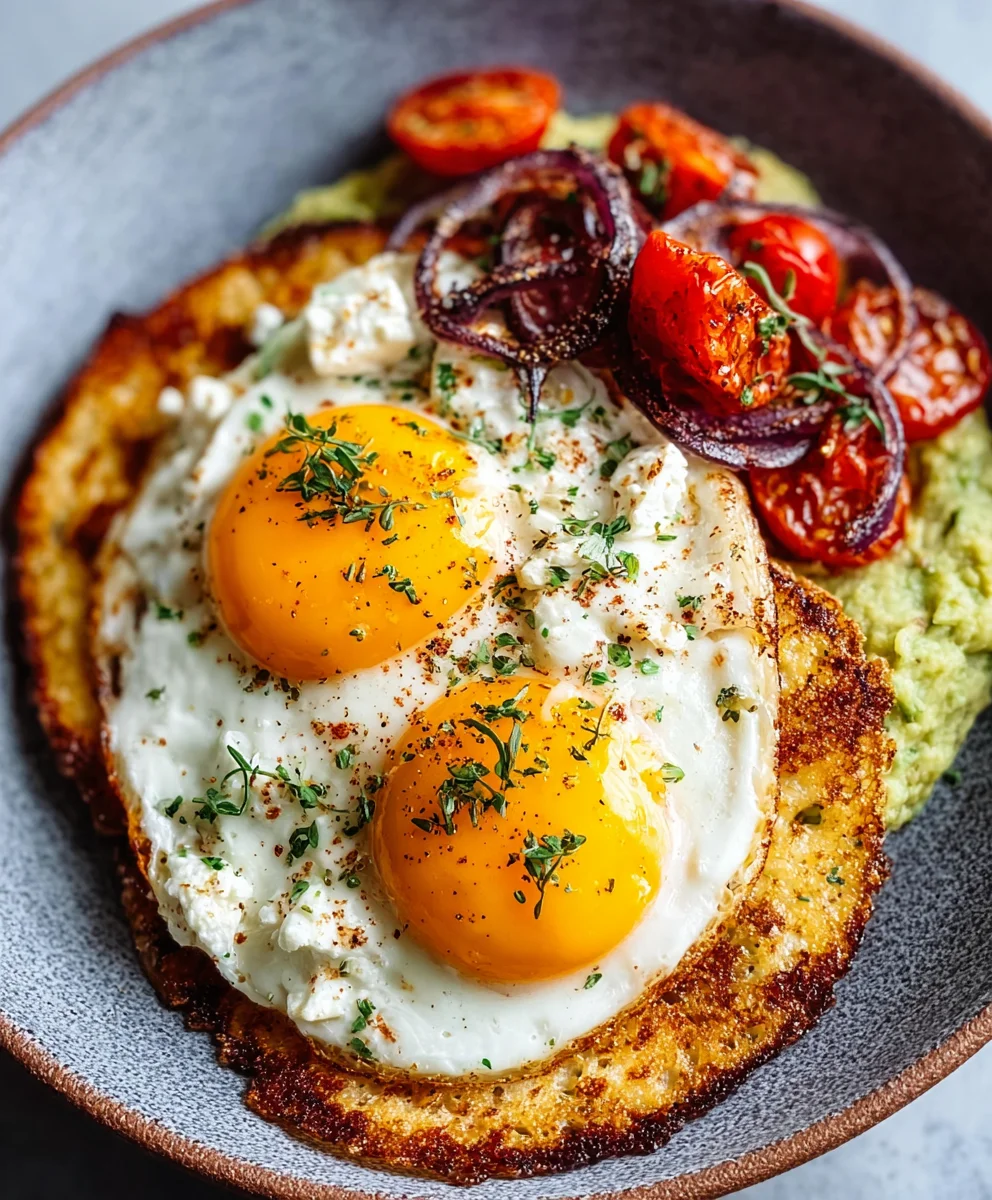
Crispy Feta Fried Eggs are more than just breakfast; they’re a revelation! Imagin extracte this: perfectly fried eggs with edges kissed by golden-brown crispness, cradled by a warm, salty embrace of crum extractbled feta cheese that’s just begun to melt. This isn’t your average fried egg experience. What makes Crispy Feta Fried Eggs so utterly irresistible? It’s the magical textural contrast – the yielding yolk, the slightly firm whites, and then that delightful, savory crunch from the feta. It’s a flavor bomb that hits all the right notes, a symphony of salty, creamy, and rich that will have you scraping the pan clean. This simple yet ingenious preparation transforms the humble egg into something truly spectacular, a dish that’s both comforting and surprisingly sophisticated, perfect for a lazy weekend brunch or a quick, yet elegant, weeknight meal. Prepare to be hooked!
Ingredients:
- 1 large egg
- 20 grams feta cheese, crum extractbled
- Cooking oil spray or a drizzle of olive oil
- 1/2 teaspoon dried oregano
- 1/4 teaspoon red pepper flakes, or to taste
- 1 small tortilla or 1 slice of toasted bread
- 1/4 ripe avocado, thinly sliced
- 1 teaspoon fresh lemon juice
- Pickled onions, for garnish
- Chili oil, for garnish
Preparation and Feta Mixture
Step 1: Prepare the Feta Base
The key to achieving that irresistible crispy feta is to get it nice and hot in the pan. I like to start by lightly misting my non-stick skillet with cooking oil spray or adding just a tiny drizzle of olive oil. Once the pan is warm over medium-low heat, I gently sprerum extractthe crumbled feta cheese in a thin, even layer across the bottom of the pan. The goal here isn’t to melt the feta into a gooey mess, but rather to create a delicate, crisp crust. As the feta begin extracts to warm and soften, sprinkle the dried oregano and red pepper flakes evenly over the cheese. This infuses the feta with fantastic flavor and gives the dish a little kick. Be patient during this stage; we want the feta to develop a beautiful golden-brown hue and a slightly crispy texture, not burn. This typically takes about 2-3 minutes.
Step 2: Introduce the Egg
Once the feta has had a chance to crisp up a little, it’s time to add the star of the show – the egg. Carefully crack the large egg directly into the center of the feta bed. Try to keep the yolk intact; a runny yolk is absolutely divine with this dish. You can gently nudge the feta around the edges of the egg white if needed to create a more defined “nest.” Reduce the heat slightly to low to ensure the egg cooks gently without overcooking the feta. Cover the pan loosely with a lid or foil if you prefer your egg whites cooked through more quickly, or if you want the yolk to remain super runny. This usually takes about 3-4 minutes, depending on how you like your eggs. Keep an eye on it; the egg white should be set but still tender, and the yolk should be gloriously liquid.
Assembly and Finishing Touches
Step 3: Prepare the Accompaniment
While the egg is gently cooking on its crispy feta bed, let’s get our accompaniments ready. If you’re using a tortilla, you can warm it up slightly in a dry pan or microwave for a few seconds until pliable. If you’re using toast, make sure it’s nicely toasted and ready to receive the egg. For the avocado, thinly slice about a quarter of a ripe avocado. A ripe avocado will yield easily to gentle pressure and have a creamy texture. Immediately after slicing, toss the avocado slices with the fresh lemon juice. This not only adds a lovely bright, zesty flavor but also helps prevent the avocado from browning.
Step 4: Plate the Crispy Feta Fried Eggs
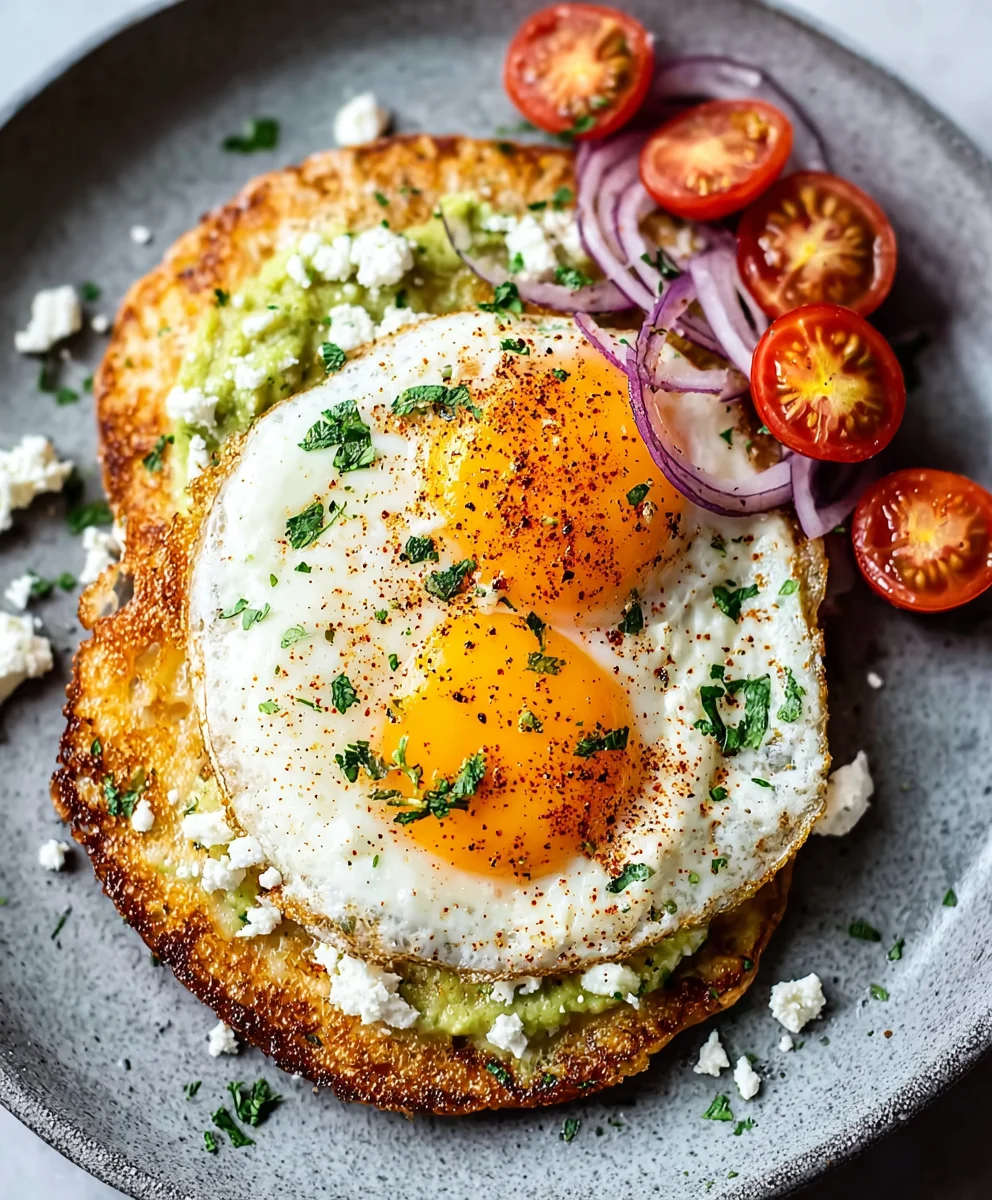
Once your egg is cooked to perfection and the feta is delightfully crispy, it’s time to bring it all together. Carefully slide the entire feta and egg creation from the skillet onto your prepared tortilla or toasted bread. The crispy feta should hold its shape, cradling the egg beautifully. If you’re using a tortilla, you can fold it around the egg and feta, or serve it open-faced. If using toast, let the feta and egg rest on top. This is where the dish really starts to look and taste incredible. The contrast of the warm, savory feta, the rich egg yolk, and the soft bread or tortilla is simply divine.
Step 5: Garnish and Serve
Now for the final flourish that elevates this simple dish into something special. Artfully arrange the lemon-kissed avocado slices around or on top of the egg and feta. Then, scatter a generous pinch of pickled onions over everything. The tangy, slightly sweet bite of the pickled onions cuts through the richness beautifully. Finally, and this is crucial for that extra layer of indulgence, drizzle a bit of chili oil over the entire dish. The chili oil adds a hint of heat and a wonderful savory depth that ties all the flavors together. Serve immediately and enjoy the incredible interplay of textures and tastes.
Conclusion:
There you have it! We’ve explored how to create the most delicious Crispy Feta Fried Eggs, a dish that’s surprisingly simple yet incredibly rewarding. The magic lies in that perfect balance of salty, creamy feta and the rich, runny yolk of a flawlessly fried egg. This recipe is more than just breakfast; it’s an experience that can elevate any mealtime, from a quick weekday start to a relaxed weekend brunch.
For serving suggestions, consider pairing your Crispy Feta Fried Eggs with toasted sourdough bread, a fresh avocado salad, or even nestled atop a bed of creamy grits. The possibilities are endless! If you’re looking to mix things up, try adding a sprinkle of red pepper flakes for a touch of heat, some fresh herbs like dill or chives, or even a dollop of pesto before frying. Don’t be afraid to experiment and make this recipe your own. We encourage you to give Crispy Feta Fried Eggs a try and discover your favorite way to enjoy them. Happy cooking!
Frequently Asked Questions:
Can I make the feta crispy ahead of time?
While the feta is best when crisped just before serving, you can crum extractble and prepare it ahead of time. However, it’s recommended to fry the feta and add the eggs immediately before you plan to eat for the optimal crispy texture.
What kind of oil is best for frying the feta and eggs?
A neutral-flavored oil with a high smoke point, such as vegetable oil, canola oil, or grapeseed oil, is ideal for achieving the crispy texture of the feta and ensuring the eggs cook beautifully without burning.
Crispy Feta Fried Eggs – Easy & Delicious Recipe
A quick and flavorful recipe for crispy feta fried eggs, served with avocado and pickled onions.
Ingredients
-
1 large egg
-
20 grams feta cheese, crumbled
-
Cooking oil spray or a drizzle of olive oil
-
1/2 teaspoon dried oregano
-
1/4 teaspoon red pepper flakes, or to taste
-
1 small tortilla or 1 slice of toasted bread
-
1/4 ripe avocado
-
1 teaspoon fresh lemon juice
-
Pickled onions, for garnish
-
Chili oil, for garnish
Instructions
-
Step 1
Lightly mist a non-stick skillet with cooking oil spray or add a drizzle of olive oil. Warm over medium-low heat. Sprinkle the crumbled feta cheese in a thin, even layer. Sprinkle dried oregano and red pepper flakes evenly over the cheese. Cook for 2-3 minutes until the feta develops a golden-brown hue and a slightly crispy texture. -
Step 2
Carefully crack the egg into the center of the feta bed, trying to keep the yolk intact. Reduce heat to low. Cover loosely if preferred. Cook for 3-4 minutes until the egg white is set and the yolk is runny. -
Step 3
While the egg cooks, warm the tortilla or toast the bread. Thinly slice the avocado and immediately toss with fresh lemon juice to prevent browning. -
Step 4
Carefully slide the feta and egg creation from the skillet onto the prepared tortilla or toast. -
Step 5
Arrange the lemon-kissed avocado slices. Scatter pickled onions over the dish. Drizzle with chili oil. Serve immediately.
Important Information
Nutrition Facts (Per Serving)
It is important to consider this information as approximate and not to use it as definitive health advice.
Allergy Information
Please check ingredients for potential allergens and consult a health professional if in doubt.