Begin extractner Sourdough Bread – High Starter Method
Begin extract extractners Sourdough bread recipe: High starter method! Are you ready to embark on a sourdough journey that promises exceptional flavor and a beautiful crum extractb, all powered by a robust, active starter? This high starter method is a game-changer for home bakers seeking that perfect sourdough tang and airy texture. We all know the magic that happens when flour, water, and wild yeast come together, but the sheer satisfaction of pulling a deeply caramelized, perfectly risen loaf from your oven is truly unparalleled. People absolutely adore sourdough bread for its complex taste, its delightful chew, and the sheer artisanal pride it evokes. What makes this particular extractners Sourdough bread recipe: High starter method so special is its emphasis on a high percentage of starter in the dough. This isn’t just about getting a good rise; it’s about intensifying that signature sourdough flavor profile, creating a bread that’s both deeply satisfying and incredibly rewarding to make. Get ready to transform your baking with this exciting technique!
Ingredients:
- 2 cups Active Sourdough Starter (400 grams) – Ensure your starter is actively bubbly and has recently been fed. It should have a pleasant, slightly tangy aroma.
- 3 cups Sifted All-Purpose Flour (360 grams) – Sifting the flour helps to incorporate air and create a lighter crum extractb in your bread.
- 1 cup Warm Water (240 grams) – The water should be lukewarm, around 80-90°F (27-32°C). Too hot and it can kill the yeast in your starter; too cold and it won’t activate it properly.
- 1.5 teaspoons Salt (≈9 grams) – This is crucial for flavor and also helps to control the fermentation process and strengthen the gluten structure.
Mixing and Autolyse
Step 1: Combine Starter and Water
In a large mixing bowl, combine the active sourdough starter with the warm water. Use your hands or a spatula to gently mix them together until the starter is mostly dispersed into the water. You don’t need to achieve a perfectly smooth mixture at this stage; some small clumps of starter are perfectly fine. This initial step ensures that the starter is well-hydrated and ready to begin extract its work of leavening the dough. The warmth of the water will encourage the wild yeasts and bacteria in the starter to become more active.
Step 2: Add Flougin extractnd Begin Mixing
Once the starter and water are combined, add the sifted all-purpose flourgin extract the bowl. Begin mixing the ingredients together. You can do this by hand using a pinching motion or a dough whisk, or by using a stand mixer with a dough hook attachment on a low speed. Mix until just combined and no dry flour remains. The dough will be shaggy and somewhat sticky at this point. Don’t worry about developing gluten yet; the goal here is simply to ensure all the flour is hydrated.
Step 3: Autolyse Period
Cover the bowl with a damp tea towel or plastic wrap and let the dough rest for at least 30 minutes, or up to 1 hour. This resting period is called autolyse. During autolyse, the flour absorgin extractthe water, enzymes begin to break down starches into sugars (which the yeast will feed on), and gluten development starts passively. This makes the dough more extensible and easier to handle in the later stages, leading to a rum extractter crumb structure.
Developing the Dough
After the autolyse period, uncover the dough. Sprinkle the salt evenlgin extractver the surface of the dough. Now, begin a series of “stretch and folds” to develop the gluten structure. To do this, wet your hands slightly to prevent sticking. Grab one side of the dough, stretch it upwards gently, and fold it over to the opposite side. Rotate the bowl a quarter turn and repeat the stretching and folding process. Continue this for all four sides of the dough. This method helps to align the gluten strands and build strength without excessive kneading. You will perform multiple sets of these stretch and folds, with rest periods in between. For this recipe, aim for about 3-4 sets of stretch and folds, with a 30-minute rest between each set. You’ll notice the dough becoming smoother, more elastic, and less sticky with each set. The dough should feel cohesive and hold its shape better after these folds.
Step 5: Bulk Fermentation
After completing your sets of stretch and folds, cover the bowl and let the dough undergo bulk fermentation. This is the primary fermentation period where the dough rises and develops flavor. The duration of bulk fermentation will vary depending on the temperature of your kitchen and the activity of your starter, but typically it will take 3-5 hours at room temperature (around 70-75°F or 21-24°C). You’re looking for the dough to increase in volume by about 50-75%, appear airy, and have some visible bubbles on the surface. It should feel light and jiggly when the bowl is gently shaken. Avoid over-proofing, which can lead to a flat loaf with a gummy interior.
Shaping and Baking
Step 6: Pre-shaping and Bench Rest
Once the bulk fermentation is complete, gently turn the dough out onto a lightly floured surface. Be careful not to degas the dough too much. Perform a pre-shape by gently gathering the edges of the dough towards the center to form a round or oblong shape, depending on how you plan to bake it. Let the dough rest, uncovered, for about 20-30 minutes. This bench rest allows the gluten to relax, making the final shaping easier.
Step 7: Final Shaping and Proofing
After the bench rest, it’s time for the final shaping. Depending on your preference, you can shape the dough into a boule (round) or a batard (oval). Gently coax the dough into your desired shape, creating surface tension. Place the shaped dough into a floured proofing basket (banneton) seam-side up, or onto a piece of parchment paper if you are not using a banneton. Cover the dough loosely and place it in the refrigerator for an overnight cold proof, typically 12-24 hours. The cold proof slows down fermentation, further develops flavor, and makes the dough easier to score and handle for baking.
Step 8: Baking the Bread
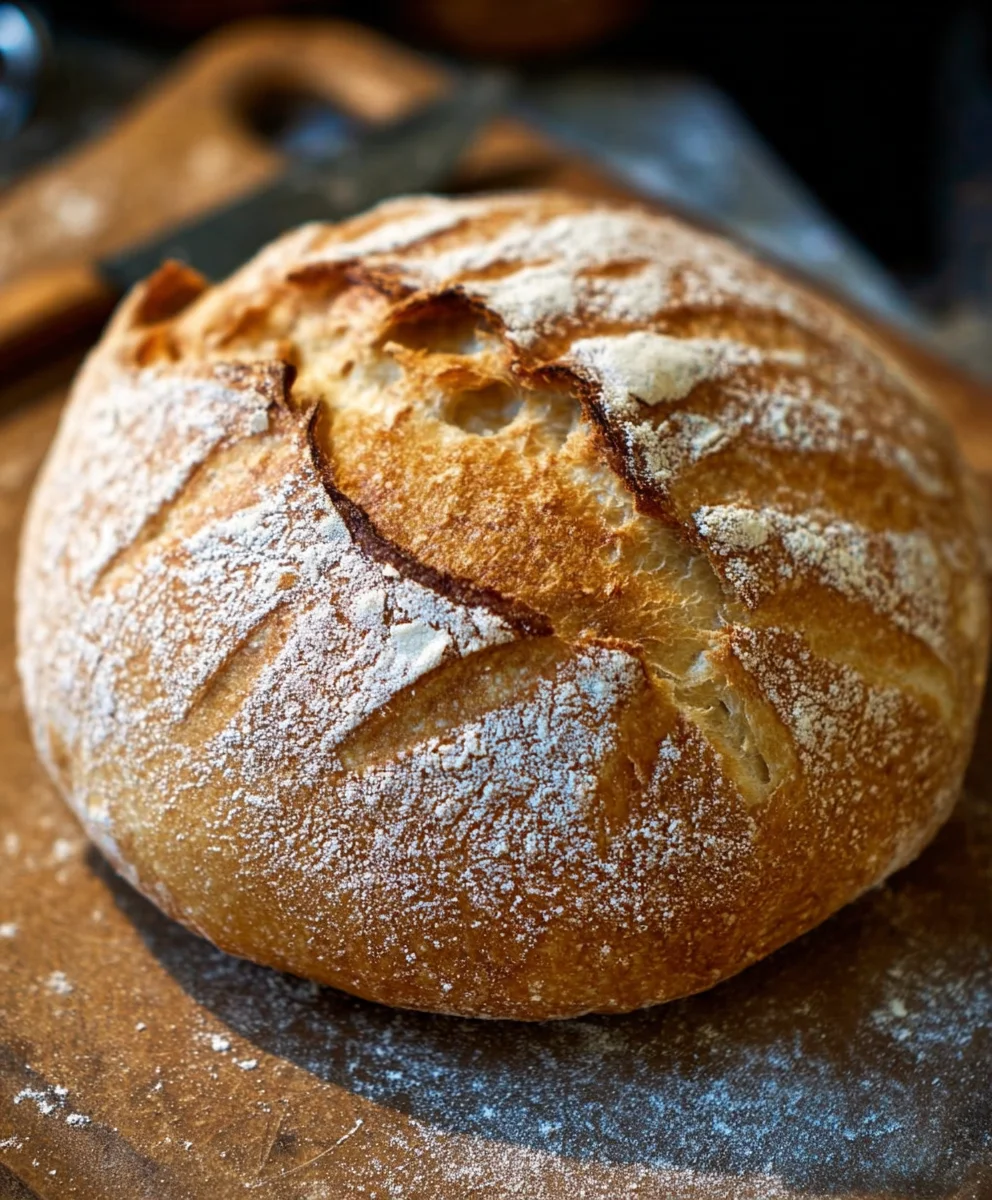
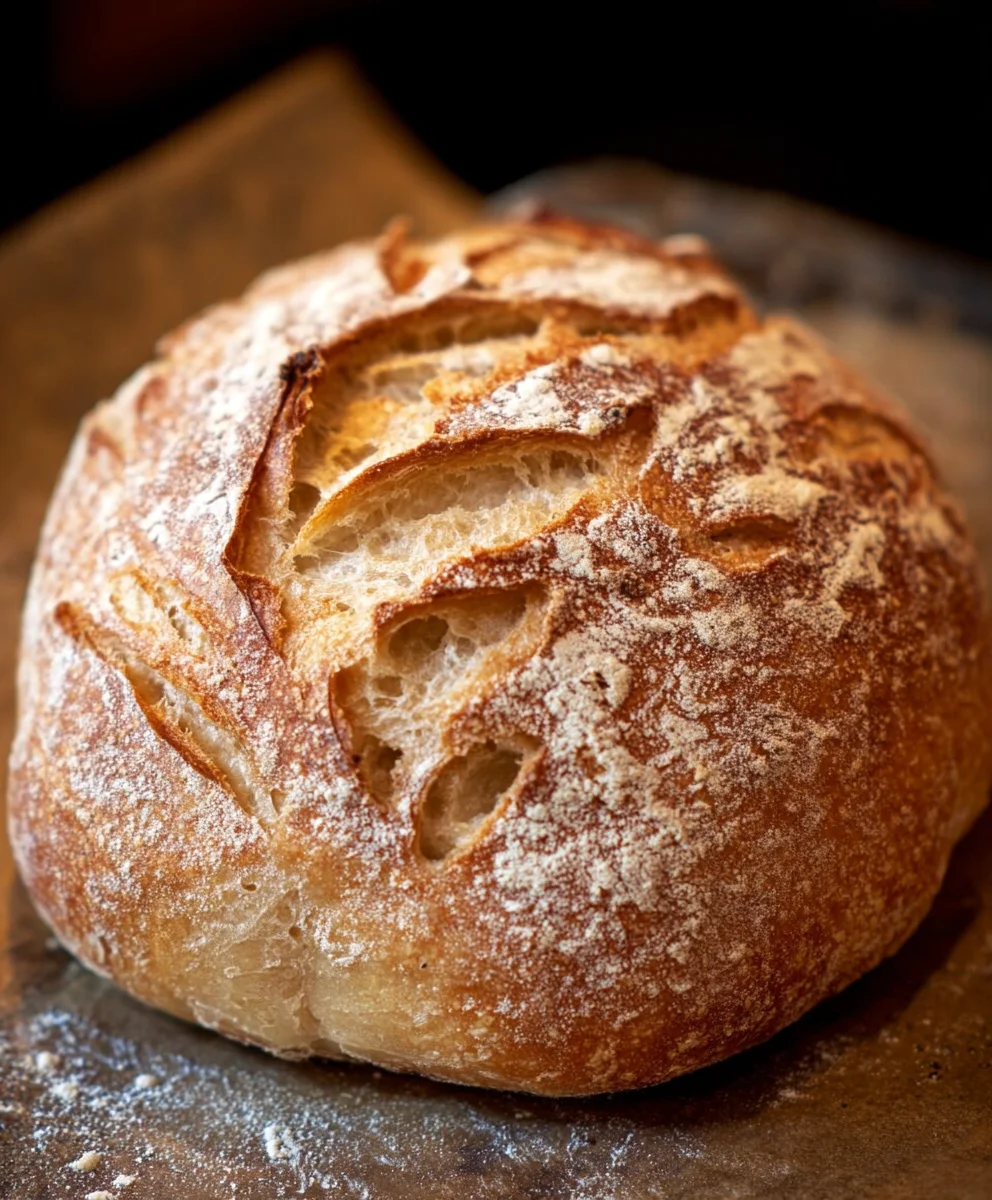
When you’re ready to bake, preheat your oven with a Dutch oven or baking stone inside to 450°F (230°C) for at least 30 minutes. Carefully remove the proofed dough from the refrigerator. If using a banneton, invert it onto a piece of parchment paper. Score the top of the dough with a sharp knife or lame to allow for controlled expansion during baking. Carefully transfer the dough (on the parchment paper, if used) into the preheated Dutch oven or onto the baking stone. Bake covered for 20-25 minutes if using a Dutch oven, or directly on the stone for the same duration. Then, remove the lid from the Dutch oven (or if baking on a stone, reduce oven temperature to 425°F/220°C) and continue baking for another 20-25 minutes, or until the crust is a deep golden brown and the internal temperature reaches 200-210°F (93-99°C).
Step 9: Cooling
Once baked, carefully remove the bread from the oven and transfer it to a wire rack to cool completely. Resist the urge to slice into it too early! Allowing the bread to cool fully is essential forum extracthe internal crumb structure to set properly. Cutting into a hot loaf can result in a gummy texture. Aim for at least 2 hours of cooling time before slicing and enjoying your delicious homemade sourdough bread.
Conclusion:
Congratulations on embarking on your journey with the Begin extractners Sourdough bread recipe: High starter method! You’ve now got the knowledge and confidence to create truly exceptional, homemade sourdough. Remember, the beauty of sourdough is its adaptability. Don’t be afraid to experiment and make this recipe your own. The process might seem daunting at first, but with each bake, you’ll refine your technique and develop a deeper understanding of this ancient craft. The rich, tangy flavor and the satisfyingly chewy crust of a homemade loaf are incredibly rewarding, and this method ensures a fantastic outcome for even novice bakers.
Serve your freshly baked
For variations, consider adding seeds like sunflower or pumpkin to the dough, or incorporate dried herbs and spices for a savory twist. You can also experiment with different flours, like a small percentage of rye or whole wheat, once you’re comfortable with the basic recipe.
Frequently Asked Questions:
My sourdough starter isn’t very active. Can I still make this recipe?
While a very active starter is ideal for this high starter method, you can still achieve good results with a moderately active one. Ensure your starter has been fed regularly and shows signs of bubbling and rising consistentgin extractbefore you begin. If it’s sluggish, try feeding it twice a day for a few days leading up to baking to boost its activity.
What if my dough doesn’t rise as much as expected?
Several factors can affect dough rise, including ambient temperature and starter activity. If your dough seems underdeveloped, it might benefit from a longer bulk fermentation in a warmer spot. You can also try a slightly longer proofing time in the refrigerator. Don’t get discouraged; each bake is a learning experience!
Beginner Sourdough Bread – High Starter Method
A straightforward recipe for beginner sourdough bread using a high starter ratio, resulting in a flavorful loaf with a good crumb.
Ingredients
-
2 cups Active Sourdough Starter (400 grams) – Ensure your starter is actively bubbly and has recently been fed. It should have a pleasant, slightly tangy aroma.
-
3 cups Sifted All-Purpose Flour (360 grams)
-
1 cup Warm Water (240 grams) – The water should be lukewarm, around 80-90°F (27-32°C).
-
1.5 teaspoons Salt (≈9 grams)
-
Damp tea towel or plastic wrap
-
Lightly floured surface
-
Floured proofing basket (banneton) or parchment paper
-
Sharp knife or lame
-
Dutch oven or baking stone
Instructions
-
Step 1
In a large mixing bowl, combine the active sourdough starter with the warm water. Mix until the starter is mostly dispersed. Some small clumps are fine. This hydrates the starter and encourages activity. -
Step 2
Add the sifted all-purpose flour to the bowl. Mix until just combined and no dry flour remains. The dough will be shaggy and sticky. Do not develop gluten yet. -
Step 3
Cover the bowl and let the dough rest for 30 minutes to 1 hour (autolyse). This allows flour to absorb water, enzymes to work, and gluten to start developing passively. -
Step 4
Uncover the dough. Sprinkle the salt evenly over the surface. Perform 3-4 sets of stretch and folds, with 30-minute rests between each set. Wet hands slightly to prevent sticking. Stretch one side of the dough up and fold it over to the opposite side. Rotate and repeat for all four sides. The dough will become smoother and more elastic. -
Step 5
Cover the bowl and let the dough undergo bulk fermentation for 3-5 hours at room temperature (around 70-75°F). The dough should increase in volume by 50-75%, appear airy, and have visible bubbles. It should feel light and jiggly. -
Step 6
Gently turn the dough out onto a lightly floured surface. Pre-shape by gathering edges to the center, forming a round or oblong shape. Let rest, uncovered, for 20-30 minutes (bench rest) to relax the gluten. -
Step 7
Shape the dough into your desired form (boule or batard), creating surface tension. Place seam-side up into a floured proofing basket or onto parchment paper. Cover loosely and refrigerate for an overnight cold proof (12-24 hours). -
Step 8
Preheat oven with a Dutch oven or baking stone to 450°F (230°C) for at least 30 minutes. Carefully invert the proofed dough onto parchment paper. Score the top. Transfer to the hot Dutch oven or baking stone. Bake covered (Dutch oven) or directly (stone) for 20-25 minutes. Then, remove the lid (Dutch oven) or reduce oven temp to 425°F (220°C) and bake for another 20-25 minutes until deep golden brown and internal temp is 200-210°F. -
Step 9
Remove bread from oven and transfer to a wire rack to cool completely for at least 2 hours before slicing. This allows the crumb structure to set.
Important Information
Nutrition Facts (Per Serving)
It is important to consider this information as approximate and not to use it as definitive health advice.
Allergy Information
Please check ingredients for potential allergens and consult a health professional if in doubt.