Easy Strawberry Ice Cream – Delicious Homemade Treat
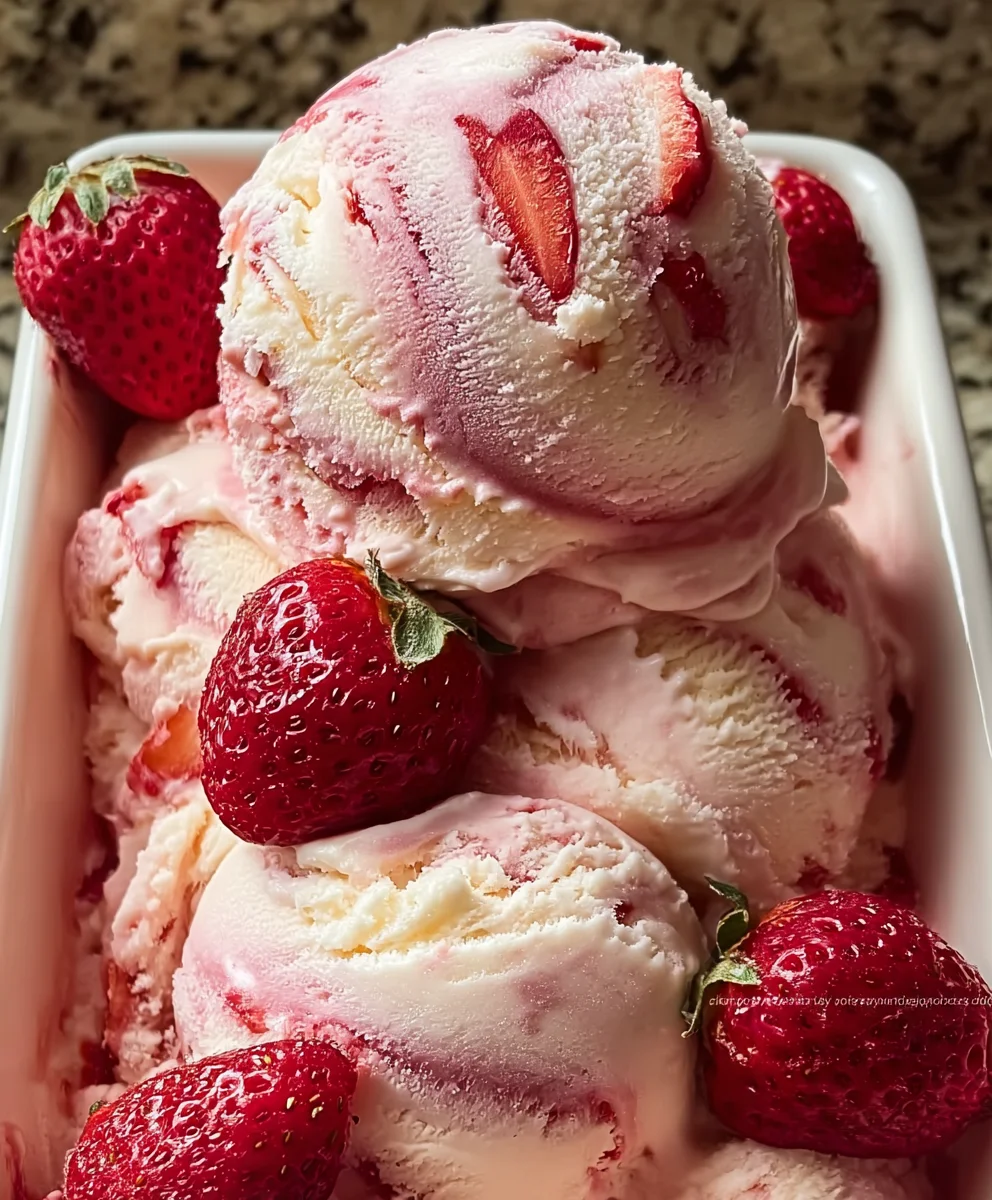
Strawberry Ice Cream, a timeless classic, evokes immediate feelings of summer days, sweet indulgence, and pure, unadulterated joy. Who can resist the allure of a perfectly churned, creamy concoction bursting with the vibrant flavor of fresh strawberries? It’s a dessert that transcends generations, a beloved treat that brings smiles to faces of all ages. What truly makes this particular Strawberry Ice Cream recipe so special is its commitment to showcasing the natural sweetness and delicate perfume of ripe, seasonal berries. We’re not relying on artificial flavorings here; instead, we’re celebrating the star ingredient, allowing its bright, refreshing essence to shine through in every spoonful. Get ready to experience a homemade ice cream that’s so much better than anything you’ll find in a store – it’s a taste of pure, fruity bliss, a testament to simple ingredients transformed into something truly magical.
Ingredients:
- Fresh strawberries: 2 cups, hulled and sliced
- Vanilla bean: 1, split and seeds scraped
- Heavy cream: 1 cup
- Whole milk: 1 cup
- Granulated sugar: ¾ cup
- Salt: Pinch
Preparing the Strawberry Base
The foundation of any great Strawberry Ice Cream recipe is, of course, the strawberries themselves. For this, we’re using two cups of fresh strawberries. It’s crucial to hull them first, which means removing the green leafy tops. Once hulled, I like to slice them into roughly quarter-inch thick pieces. This ensures they break down nicely as they cook and release their vibrant juices.
In a medium saucepan, combine the sliced strawberries with half of the granulated sugar – that’s 6 tablespoons of the ¾ cup total. Place this mixture over medium heat. We’re not looking to boil it aggressively, but rather to coax the strawberries into softening and releasing their natural syrupy goodness. Stir them occasionally, and you’ll notice them starting to break down and create a beautiful, rich liquid. This process usually takes about 8 to 10 minutes. Once the strawberries are soft and have released a good amount of juice, remove the saucepan from the heat.
Infusing the Cream and Milk
While the strawberries are cooling slightly, let’s infuse our dairy base with that wonderful vanilla aroma. In a separate, clean saucepan, pour in your heavy cream and whole milk. Now, take your vanilla bean. You’ll want to split it lengthwise with a sharp knife, and then use the back of the knife to scrape out all those tiny, fragrant black seeds. Add both the scraped vanilla seeds and the split vanilla bean pod to the cream and milk mixture. This method ensures maximum vanilla flavor infusion.
Add the remaining granulated sugar (that’s 3 tablespoons) and a pinch of salt to the cream and milk. The salt might seem odd in ice cream, but trust me, it’s a flavor enhancer that balances the sweetness and intensifies the fruity and vanilla notes. Place this saucepan over medium-low heat. Stir gently until the sugar is completely dissolved. We don’t want this mixture to boil, just to become warm enough to allow the vanilla to bloom and the sugar to dissolve. Once warm and the sugar is dissolved, remove it from the heat and let it steep. Keeping the vanilla bean pod in the mixture while it cools will allow the flavor to deepen.
Combining and Chilling
Now it’s time to bring our two flavorful components together. Once the strawberry mixture has cooled to room temperature, you’ll want to strain it. You can do this by pouring it through a fine-mesh sieve set over a bowl. Use the back of a spoon to gently press on the cooked strawberries to extract as much of the delicious juice as possible. Discard the softened strawberry solids – we’ve extracted all their flavor.
Next, remove the vanilla bean pod from the cream and milk mixture. Now, pour the strained strawberry liquid into the cream and milk mixture. Whisk everything together thoroughly until it’s well combined and the color is a beautiful, uniform pink. At this point, you have your ice cream base. This base needs to be thoroughly chilled before churning. Cover the bowl tightly with plastic wrap, pressing the wrap directly onto the surface of the liquid to prevent a skin from forming. Refrigerate for at least 4 hours, or preferably overnight. The colder the base, the faster and better it will churn.
Churning the Ice Cream
This is where the magic happens! Make sure your ice cream maker’s bowl is frozen according to the manufacturer’s instructions – this is crucial for successful churning. Once your ice cream maker is ready and your base is well-chilled, give the base a final whisk. Then, pour the cold mixture into your ice cream maker.
Churn the ice cream according to your machine’s instructions. This typically takes around 20 to 30 minutes. You’ll see the mixture gradually thicken and become creamy. I like to churn until it reaches a soft-serve consistency. This is when it’s ready to be transferred to its final resting place.
Freezing for Perfect Texture
Once the ice cream has reached that desirable soft-serve texture, it’s time for the final freeze. Carefully transfer the churned ice cream into a freezer-safe container. A loaf pan or a plastic freezer container works well. For the smoothest texture, you can press a piece of parchment paper or plastic wrap directly onto the surface of the ice cream before putting the lid on. This prevents ice crystals from forming.
Place the container in the freezer and let it freeze for at least 4 hours, or until it’s firm enough to scoop. The longer it freezes, the firmer it will become. When you’re ready to serve, let the ice cream sit at room temperature for a few minutes to soften slightly, making it easier to scoop. Enjoy your delicious, homemade Strawberry Ice Cream!
Conclusion:
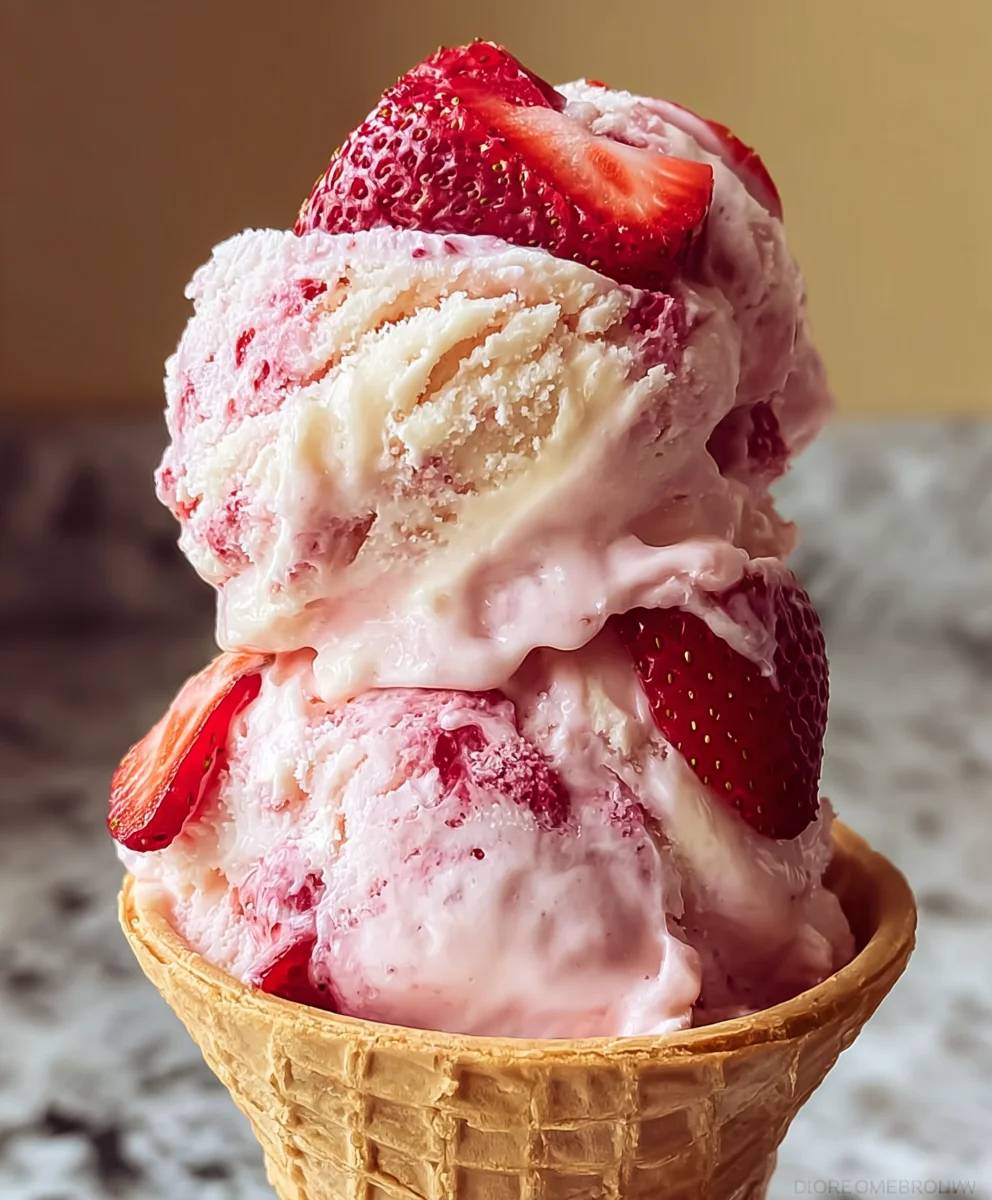
And there you have it – your guide to creating the most delightful homemade Strawberry Ice Cream! We’ve walked through each step, from selecting the ripest strawberries to achieving that perfectly smooth, creamy texture. This recipe is a testament to how simple, fresh ingredients can create something truly extraordinary. I encourage you to give this Strawberry Ice Cream a try; the reward of enjoying your own homemade creation is immeasurable, especially on a warm day.
For serving, this Strawberry Ice Cream is simply divine on its own. However, it also pairs beautifully with a sprinkle of fresh mint, a drizzle of balsamic glaze for a touch of sophistication, or a handful of toasted slivered almonds for added crunch. Consider it the perfect accompaniment to a slice of angel food cake or a warm brownie. For variations, feel free to add a swirl of your favorite jam during the last few minutes of churning, or fold in some finely chopped dark chocolate for a delightful contrast. Don’t be afraid to experiment and make it your own!
Frequently Asked Questions:
Can I use frozen strawberries for this Strawberry Ice Cream recipe?
Absolutely! If you don’t have fresh strawberries on hand, frozen ones work wonderfully. Ensure they are fully thawed and drained of excess liquid before pureeing them. The flavor profile might be slightly different, but the outcome will still be delicious.
My Strawberry Ice Cream isn’t as creamy as I’d like. What could be wrong?
A lack of creaminess can often be due to insufficient fat content or ice crystals forming. Ensure you’re using full-fat dairy (heavy cream and whole milk) as specified in the recipe. Churning the mixture thoroughly and freezing it quickly in a pre-chilled container can also help minimize ice crystal formation and achieve a smoother texture.
Easy Strawberry Ice Cream – Delicious Homemade Treat
A simple and delicious homemade strawberry ice cream recipe perfect for a refreshing summer treat.
Ingredients
-
2 cups fresh strawberries, hulled and sliced
-
1 vanilla bean, split and seeds scraped
-
1 cup heavy cream
-
1 cup whole milk
-
3/4 cup granulated sugar
-
Pinch of salt
Instructions
-
Step 1
Prepare the strawberry base: Combine hulled and sliced strawberries with 6 tablespoons of granulated sugar in a saucepan over medium heat. Cook for 8-10 minutes, stirring occasionally, until strawberries soften and release juices. Remove from heat and let cool. -
Step 2
Infuse the cream and milk: In a separate saucepan, combine heavy cream and whole milk. Add the scraped vanilla bean seeds and the split vanilla bean pod. Stir in the remaining 3 tablespoons of granulated sugar and a pinch of salt. Heat over medium-low, stirring until sugar dissolves. Do not boil. Remove from heat and let steep. -
Step 3
Combine and chill: Strain the cooled strawberry mixture through a fine-mesh sieve, pressing to extract juice. Discard solids. Remove the vanilla bean pod from the cream mixture. Pour the strained strawberry liquid into the cream mixture and whisk until well combined. Cover tightly, pressing plastic wrap onto the surface, and refrigerate for at least 4 hours or overnight. -
Step 4
Churn the ice cream: Ensure your ice cream maker’s bowl is frozen. Whisk the chilled base one last time and pour into the ice cream maker. Churn according to manufacturer’s instructions (typically 20-30 minutes) until it reaches a soft-serve consistency. -
Step 5
Freeze for perfect texture: Transfer the churned ice cream to a freezer-safe container. Press parchment paper or plastic wrap directly onto the surface. Freeze for at least 4 hours, or until firm. Let sit at room temperature for a few minutes before scooping.
Important Information
Nutrition Facts (Per Serving)
It is important to consider this information as approximate and not to use it as definitive health advice.
Allergy Information
Please check ingredients for potential allergens and consult a health professional if in doubt.