Best Chocolate Chip Cookies-Easy Homemade Recipe
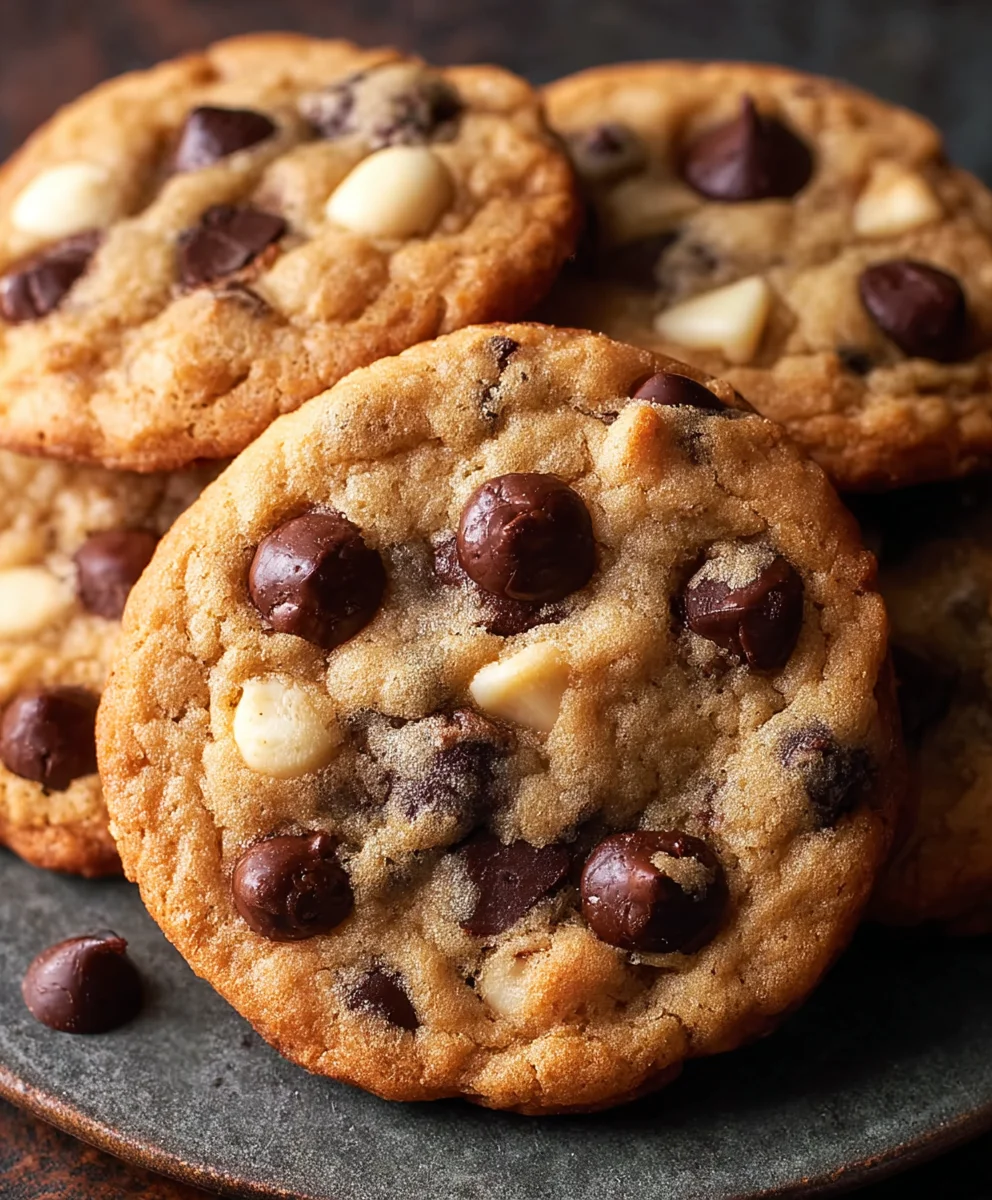
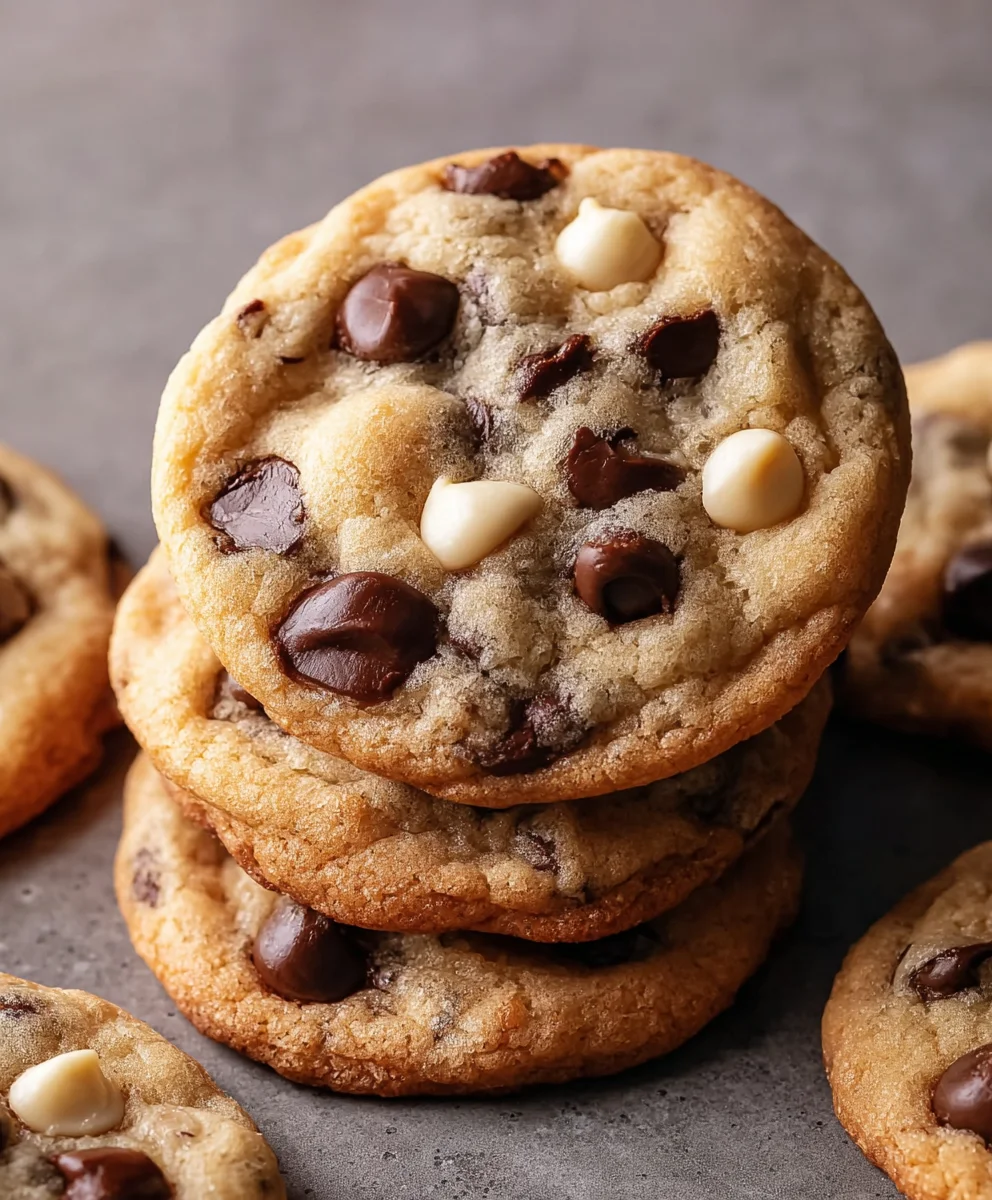
Chocolate Chip Cookies are more than just a treat; they are a cornerstone of comfort, a universal symbol of childhood joy, and an irresistible delight for any occasion. There’s a magical quality to a perfectly baked chocolate chip cookie – that moment when the edges are slightly crisp, giving way to a wonderfully chewy, molten center brimming with pockets of melted chocolate. It’s this harmonious blend of textures and the sweet, comforting aroma that wafts from the oven that makes them so universally loved. People adore them because they evoke warmth, nostalgia, and a sense of simple, unadulterated happiness. What makes our take on classic chocolate chip cookies truly special is our secret ingredient that elevates them from good to absolutely unforgettable, ensuring a complex flavor profile and an unparalleled melt-in-your-mouth experience. Prepare to fall in love all over again with the ultimate chocolate chip cookie.
Ingredients:
- ½ cup unsalted European style brown butter, Danish Creamery recommended
- ½ cup plus 2 tablespoons packed light brown sugar
- 2 tablespoons granulated sugar
- 1 large egg, at room temperature
- ½ teaspoon pure vanilla extract
- 1⅓ cups all-purpose flour, spooned and leveled
- ½ teaspoon baking soda
- ¼ teaspoon salt
- ⅓ cup white chocolate chips
- ⅓ cup semisweet chocolate chips
- ⅓ cup milk chocolate chips
- Sea salt flakes for topping (optional)
Preparing the Dough
Step 1: Browning the Butter and Combining Sugars
The foundation of truly exceptional Chocolate Chip Cookies lies in the butter. We’re starting with brown butter, which adds a delightful nutty depth and a richer flavor profile than standard melted butter. To brown your butter, place ½ cup of unsalted European style butter in a light-colored saucepan over medium heat. Swirl the pan occasionally as the butter melts. You’ll see it foam, then the milk solids at the bottom will begin extract to turn golden brown and emit a wonderfully toasty aroma. Be vigilant, as browning happens quickly and can go from perfect to burnt in a flash. Once it’s a rich amber color and smells nutty, immediately pour it into a heatproof bowl to stop the cooking process. Let this beautifully browned butter cool slightly for about 10-15 minutes until it’s warm but not hot. In a large mixing bowl, combine the slightly cooled brown butter with ½ cup plus 2 tablespoons of packed light brown sugar and the 2 tablespoons of granulated sugar. Whisk these together until they are well combined and form a slightly granular, cohesive mixture. The combination of brown sugar and white sugar creates the perfect balance of chegrape juicess and crispness in our cookies.
Step 2: Incorporating Wet Ingredients and Flour Mixture
Once the butter and sugar mixture is ready, it’s time to add the egg and vanilla. Make sure your large egg is at room temperature; this helps it emulsify better with the fats, leading to a smoother dough and more even baking. Add the room temperature egg to the brown butter and sugar mixture and whisk vigorously until fully incorporated and the mixture is smooth and glossy. Next, add the ½ teaspoon of pure vanilla extract and whisk again until it’s evenly distributed. In a separate medium bowl, whisk together the 1⅓ cups of all-purpose flour, ½ teaspoon of baking soda, and ¼ teaspoon of salt. Whisking these dry ingredients separately ensures that the leavening agent (baking soda) and salt are evenly distributed throughout the flour, preventing pockets of saltiness or uneven rising in your cookies. Gradually add this dry flour mixture to the wet ingredients in your large mixing bowl. Mix on low speed or by hand with a spatula until just combined. It’s crucial not to overmix at this stage. Overmixing develops the gluten in the flour too much, which can lead to tough cookies instead of tender, chewy ones. Stop mixing as soon as you no longer see streaks of dry flour.
Step 3: Adding the Trio of Chocolate Chips
Now for the star of the show: the chocolate! We’re using a delightful trio of chocolate chips to ensure a complex and satisfying chocolate experience in every bite. Gently fold in the ⅓ cup of white chocolate chips, the ⅓ cup of semisweet chocolate chips, and the ⅓ cup of milk chocolate chips into the cookie dough using a spatula. Again, be gentle and fold until they are just evenly distributed throughout the dough. You want to see chocolate chips studded throughout, not have them all melted and smeared into the dough. This blend of chocolates provides different levels of sweetness and melt-away texture, creating a truly dynamic flavor.
Step 4: Chilling the Dough for Optimal Texture
This step is often overlooked but is absolutely vital for achieving the best Chocolate Chip Cookies. Cover the bowl tightly with plastic wrap and refrigerate the dough for at least 30 minutes, or preferably for 1-2 hours. Chilling the dough allows the fats to solidify, which prevents the cookies from spreading too much during baking and results in thicker, chewier cookies. It also gives the flavors time to meld and deepen, creating a more complex and delicious cookie. If you have the time, chilling overnight is even better!
Step 5: Baking and Finishing Touches
Preheat your oven to 375°F (190°C). Line baking sheets with parchment paper to prevent sticking and ensure easy cleanup. Scoop rounded tablespoons of the chilled dough onto the prepared baking sheets, leaving about 2 inches between each cookie to allow for spreading. For an extra touch of elegance and a delightful pop of flavor, you can sprinkle a few sea salt flakes over the top of each cookie dough ball before baking, if you’re using them. This is entirely optional but highly recommended for those who enjoy the sweet and salty contrast. Bake for 9-12 minutes, or until the edges are golden brown and set, but the centers still look slightly soft and underbaked. This is the key to a chewy cookie; they will continue to cook and firm up on the baking sheet after you remove them from the oven. Allow the cookies to cool on the baking sheet for 5-10 minutes before carefully transferring them to a wire rack to cool completely. This resting period on the hot baking sheet is crucial for the cookies to set properly. Enjoy your homemade Chocolate Chip Cookies!
Conclusion:
And there you have it – a comprehensive guide to baking the most delicious Chocolate Chip Cookies imagin extractable! We’ve walked through each step, from selecting the perfect ingredients to achieving that ideal chewy center and slightly crisp edge. These Chocolate Chip Cookies are more than just a dessert; they’re a memory maker, perfect for sharing at gatherings, enjoying with a glass of milk after a long day, or simply treating yourself to a moment of pure bliss. Don’t be afraid to get creative with serving suggestions! They’re fantastic on their own, but also elevate ice cream sandwiches or can be crum extractbled over yogurt. For variations, consider adding a sprinkle of sea salt on top before baking for a sweet and salty kick, or swapping some of the chocolate chips for white chocolate or even toffee bits. Remember, baking is an adventure, and these Chocolate Chip Cookies are a wonderful starting point. So, gather your loved ones, put on your favorite apron, and bake up some happiness!
Frequently Asked Questions:
Why are my Chocolate Chip Cookies spreading too much?
This often happens if your butter is too soft or melted. Ensure your butter is softened but not greasy. Also, chilling the dough for at least 30 minutes before baking can significantly help control spread and develop flavor.
How can I make my Chocolate Chip Cookies chewier?
To achieve a chewier texture, use more brown sugar than granulated sugar, as brown sugar contains molasses. Don’t overbake; pull them out when the edges are set but the center still looks slightly underbaked. They will continue to bake on the hot baking sheet.
Can I freeze the Chocolate Chip Cookie dough?
Absolutely! Cookie dough freezes beautifully. Scoop individual cookies onto a baking sheet, freeze until solid, then transfer to a freezer-safe bag or container. You can bake them directly from frozen, adding a couple of extra minutes to the baking time.
Best Chocolate Chip Cookies-Easy Homemade Recipe
An easy homemade recipe for the best chocolate chip cookies, featuring brown butter and a trio of chocolate chips for incredible flavor and texture.
Ingredients
-
½ cup unsalted European style brown butter, Danish Creamery recommended
-
½ cup plus 2 tablespoons packed light brown sugar
-
2 tablespoons granulated sugar
-
1 large egg, at room temperature
-
½ teaspoon pure vanilla extract
-
1⅓ cups all-purpose flour, spooned and leveled
-
½ teaspoon baking soda
-
¼ teaspoon salt
-
⅓ cup white chocolate chips
-
⅓ cup semisweet chocolate chips
-
⅓ cup milk chocolate chips
-
Sea salt flakes for topping (optional)
Instructions
-
Step 1
Brown the butter by melting it in a light-colored saucepan over medium heat until golden brown and nutty. Let cool slightly for 10-15 minutes. In a large bowl, combine the cooled brown butter with light brown sugar and granulated sugar, whisking until well combined. -
Step 2
Add the room temperature egg and vanilla extract to the butter and sugar mixture. Whisk vigorously until smooth and glossy. In a separate bowl, whisk together the flour, baking soda, and salt. Gradually add the dry ingredients to the wet ingredients, mixing on low speed or by hand until just combined. Do not overmix. -
Step 3
Gently fold in the white chocolate chips, semisweet chocolate chips, and milk chocolate chips into the cookie dough until evenly distributed. -
Step 4
Cover the bowl tightly with plastic wrap and refrigerate the dough for at least 30 minutes, or preferably 1-2 hours, to allow flavors to meld and prevent excessive spreading. -
Step 5
Preheat oven to 375°F (190°C). Line baking sheets with parchment paper. Scoop rounded tablespoons of chilled dough onto the baking sheets, leaving 2 inches between cookies. Sprinkle with sea salt flakes if desired. Bake for 9-12 minutes until edges are golden brown and centers are still soft. -
Step 6
Let cookies cool on the baking sheet for 5-10 minutes before transferring to a wire rack to cool completely.
Important Information
Nutrition Facts (Per Serving)
It is important to consider this information as approximate and not to use it as definitive health advice.
Allergy Information
Please check ingredients for potential allergens and consult a health professional if in doubt.