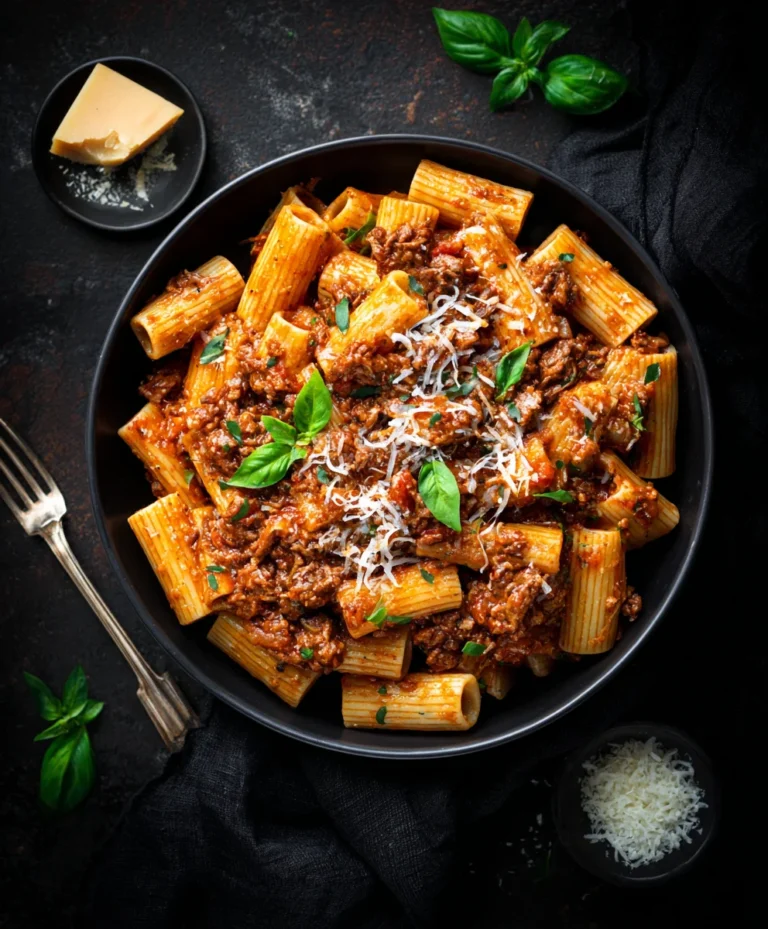
Creamy Chicken Biscuit Bake – Easy Comfort Food
Creamy Chicken Biscuit Bake. It’s a dish that conjures up images of cozy evenings, satisfied sighs, and the comforting aroma of home-cooked goodness. What is it about this particular casserole that captures our hearts and taste buds so effectively? For starters, it’s the ultimate comfort food, delivering a deeply satisfying blend of tender, savory chicken bathed in a luscious, creamy sauce, all topped with fluffy, golden biscuits. It’s the kind of meal that makes everyone at the table feel a little extra special, a little more cared for. The magic of the Creamy Chicken Biscuit Bake lies in its beautiful simplicity and its ability to transform everyday ingredients into something truly extraordinary. It’s the perfect answer to “What’s for dinner?” on a busy weeknight, yet elegant enough for a relaxed weekend gathering. Prepare to fall in love with this irresistible bake!

Ingredients:
- 2 cups cooked chicken, shredded
- 1 can (10.75 oz) condensed cream of chicken soup
- 1 cup sour cream
- 1 cup shredded cheddar cheese, divided
- 1/2 cup milk
- 1/2 teaspoon garlic powder
- 1/4 teaspoon ground black pepper
- 1 can (16 oz) refrigerated flaky layer biscuits
- 1/2 cup butter, melted
Prepping the Creamy Chicken Mixture
Step 1: Combine the Wet Ingredients and Seasonings
First, let’s get our creamy chicken filling started. In a large mixing bowl, combine the 2 cups of shredded cooked chicken with the 1 can of condensed cream of chicken soup. This soup is the base of our creamy goodness and will add a wonderful savory flavor. Next, stir in the 1 cup of sour cream. The sour cream is key to achieving that rich, tangy, and incredibly smooth texture that makes this dish so comforting. Now, let’s add our flavor enhancers. Sprinkle in the 1/2 teaspoon of garlic powder for a hint of aromatic warmth and the 1/4 teaspoon of ground black pepper to give it a little gentle kick. Using a sturdy spoon or a spatula, thoroughly mix these ingredients together until everything is well combined. You want to make sure the chicken is evenly coated with the creamy mixture. There shouldn’t be any dry spots of chicken or streaks of soup or sour cream. This thorough mixing ensures that every bite of your Creamy Chicken Biscuit Bake will be bursting with flavor.
Step 2: Incorporate Some Cheese and Milk
Now that our chicken and creamy base are happy together, it’s time to add a couple more elements that will elevate the texture and taste. Take about 1/2 cup of the shredded cheddar cheese and add it to the chicken mixture. Reserve the other 1/2 cup for topping later. The cheese will melt into the filling, adding another layer of deliciousness and a slightly gooey quality. After adding the cheese, pour in the 1/2 cup of milk. The milk helps to thin out the mixture just slightly, making it easier to spread and ensuring it bakes evenly. It also contributes to the overall creaminess. Stir everything together again until the cheese and milk are fully incorporated into the chicken mixture. You should have a thick, creamy, and well-seasoned filling that looks absolutely irresistible. Taste a tiny bit at this point (carefully, as it’s raw ingredients) to ensure the seasoning is to your liking. You can always add a touch more salt or pepper if you feel it needs it, though the cream of chicken soup is usually quite salty on its own.
Assembling the Biscuit Topping
Step 3: Prepare the Biscuit Topping
This is where the magic of the biscuit comes in! Open your 1 can (16 oz) of refrigerated flaky layer biscuits. Gently separate the biscuits from each other, being careful not to tear them. You can either leave them whole, or if you prefer smaller biscuit pieces, you can cut each biscuit into quarters. For a good balance and coverage, I often cut them in half. Lay the separated biscuits out on a clean surface. Now, in a separate small bowl, pour the 1/2 cup of melted butter. This melted butter will be brushed over the biscuits before baking, giving them a golden-brown color and a wonderfully crisp exterior. Think of it as giving them a delicious bath! Make sure the butter is fully melted and at a pourable consistency. This step is crucial for achieving that classic buttery biscuit flavor and texture that complements the creamy chicken filling perfectly.
Step 4: Layer and Top the Bake
Preheat your oven to 375 degrees Fahrenheit (190 degrees Celsius). Lightly grease a 9×13 inch baking dish with cooking spray or butter. Pour the creamy chicken mixture from Step 2 into the prepared baking dish and spread it out evenly across the bottom. This forms the delicious base of our bake. Now, take your prepared biscuits from Step 3 and arrange them on top of the chicken mixture. You can place them side-by-side, leaving a little space between them as they will expand during baking, or you can slightly overlap them for a more cohesive top. Once the biscuits are arranged, use a pastry brush or a spoon to generously brush the tops of each biscuit with the melted butter you prepared. Make sure to get all the surfaces that will be exposed to the oven’s heat. This butter bath is what gives the biscuits that irresistible golden sheen and a delightful crispness.
Baking and Finishing
Step 5: Bake Until Golden and Bubbly
Now it’s time to bake our masterpiece! Place the assembled baking dish into your preheated oven. Bake for approximately 20-25 minutes, or until the biscuits are beautifully golden brown and puffed up, and the chicken filling is hot and bubbling around the edges. You want to see that delicious bubbly goodness peeking out from under the biscuits. If the biscuits are browning too quickly before the filling is heated through, you can loosely tent the dish with aluminum foil. Once the bake is done, carefully remove it from the oven. Sprinkle the remaining 1/2 cup of shredded cheddar cheese evenly over the top of the hot biscuits and filling. The residual heat will melt the cheese into a wonderfully gooey topping. Let the Creamy Chicken Biscuit Bake rest for about 5-10 minutes before serving. This resting period allows the flavors to meld together and the filling to set slightly, making it easier to serve. Enjoy this incredibly comforting and easy meal!

Conclusion:
And there you have it – your very own delicious Creamy Chicken Biscuit Bake! This recipe is a guaranteed crowd-pleaser, perfect for a cozy weeknight dinner or a comforting Sunday brunch. We’ve walked through each step together, ensuring a perfectly creamy filling and fluffy biscuit topping. Don’t be afraid to get creative with your sides! This bake pairs wonderfully with a crisp green salad, steamed vegetables like broccoli or green beans, or even some roasted potatoes for an extra hearty meal.
Remember, the beauty of the Creamy Chicken Biscuit Bake lies in its versatility. Feel free to experiment with different vegetables in the filling – peas, corn, or even some sautéed mushrooms can add wonderful depth. For a bit of a kick, a dash of hot sauce or some diced jalapeños will do the trick! I hope you enjoy making and sharing this comforting dish as much as I do. Happy cooking!
Frequently Asked Questions:
Can I make the Creamy Chicken Biscuit Bake ahead of time?
Yes, you can! You can prepare the chicken filling and assemble the bake up to a day in advance. Store it covered in the refrigerator. When ready to bake, you might need to add a few extra minutes to the cooking time to ensure it’s heated through. You can also bake the biscuits separately and add them during the last 10-15 minutes of baking for an extra fluffy top.
What kind of chicken should I use for the Creamy Chicken Biscuit Bake?
For the best results, I recommend using cooked and shredded chicken breast or thighs. Rotisserie chicken is a fantastic shortcut for this recipe, saving you time and adding great flavor. If you’re starting with raw chicken, simply boil or bake it until cooked through, then shred or dice it before adding it to the creamy sauce.
Creamy Chicken Biscuit Bake – Easy Comfort Food
A simple and comforting casserole featuring shredded chicken in a creamy sauce topped with flaky biscuits and melted cheddar cheese.
Ingredients
-
2 cups cooked chicken, shredded
-
1 can (10.75 oz) condensed cream of chicken soup
-
1 cup sour cream
-
1 cup shredded cheddar cheese, divided
-
1/2 cup milk
-
1/2 teaspoon garlic powder
-
1/4 teaspoon ground black pepper
-
1 can (16 oz) refrigerated flaky layer biscuits
-
1/2 cup butter, melted
Instructions
-
Step 1
In a large mixing bowl, combine the shredded cooked chicken, condensed cream of chicken soup, sour cream, garlic powder, and black pepper. Mix thoroughly until the chicken is evenly coated. -
Step 2
Stir in 1/2 cup of the shredded cheddar cheese and the milk until fully incorporated. This creates the creamy chicken filling. -
Step 3
Prepare the biscuit topping by separating the refrigerated biscuits. You can leave them whole, halve them, or quarter them as desired. Place them in a separate bowl. -
Step 4
Preheat oven to 375°F (190°C). Grease a 9×13 inch baking dish. Pour the creamy chicken mixture into the dish and spread evenly. Arrange the prepared biscuits on top of the chicken mixture. -
Step 5
Brush the tops of the biscuits generously with the melted butter. -
Step 6
Bake for 20-25 minutes, or until the biscuits are golden brown and puffed up, and the filling is hot and bubbling. Sprinkle the remaining 1/2 cup of cheddar cheese over the top during the last few minutes of baking or immediately after removing from the oven. Let rest for 5-10 minutes before serving.
Important Information
Nutrition Facts (Per Serving)
It is important to consider this information as approximate and not to use it as definitive health advice.
Allergy Information
Please check ingredients for potential allergens and consult a health professional if in doubt.