Easy Focaccia Bread Recipe – Simple Delicious Baking
Easy Focaccia Bread Recipe is your gateway to experiencing the simple joy of freshly baked Italian bread right in your own kitchen. Imagin extracte the aroma filling your home as this rustic, airy loaf bakes to golden perfection. People adore focaccia for its incredibly versatile nature – it’s delicious on its own, perfect for dipping in olive oil, and an exceptional base for sandwiches or bruschetta. What truly sets this Easy Focaccia Bread Recipe apart is its forgiving nature; it requires minimal kneading, making it accessible even for novice bakers. The delightful chegrape juicess of the interior, combined with the slightly crisp crust and those irresistible dimples infused with olive oil and herbs, creates a sensory experience that is both comforting and utterly satisfying. Prepare to impress yourself and your loved ones with this wonderfully approachable and incredibly rewarding bake!
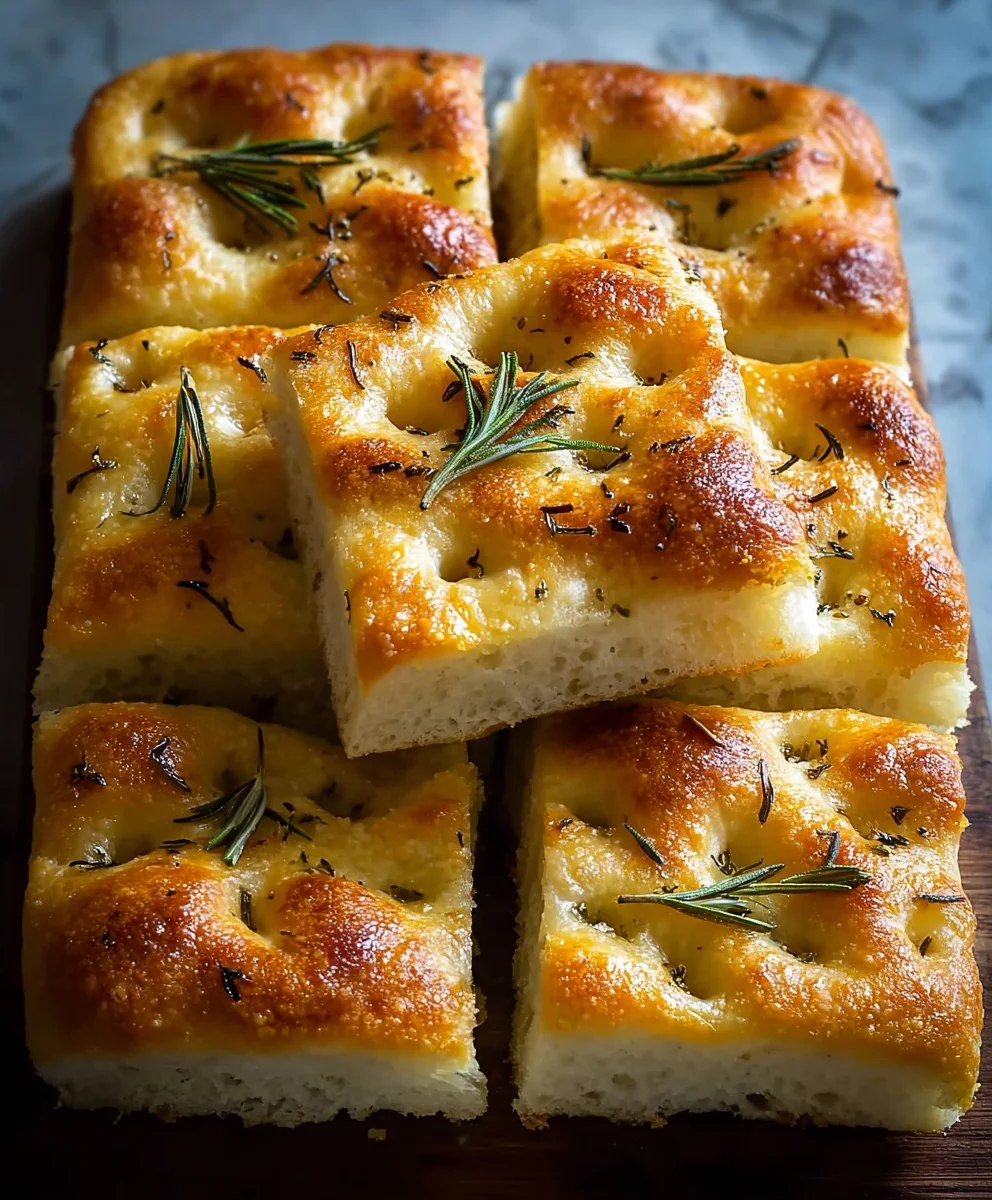
Ingredients:
- 4 cups (500g) bread flour or all-purpose flour
- 2 1/4 teaspoons (7g) active dry yeast or instant yeast
- 2 teaspoons (10g) salt
- 1 3/4 cups (415ml) warm water
- 1/4 cup (60ml) extra virgin extract olive oil, plus extra for drizzling
- 2 tablespoons fresh rosemary leaves
- Coarse sea salt, for sprinkling
Preparing the Dough
This easy focaccia bread recipe is incredibly forgiving, making it perfect for bakers of all levels. We’ll start by activating the yeast, which is a crucial step for ensuring a light and airy crum extractb. In a large mixing bowl, combine the warm water and the active dry yeast. If you’re using active dry yeast, let this mixture sit for about 5-10 minutes, or until it becomes foamy and bubbly. This foam indicates that the yeast is alive and ready to work its magic. If you’re using instant yeast, you can skip this resting period and proceed directly to adding it to the flour.
Next, add the flour and salt to the bowl with the yeast mixture. It’s important to use a good quality flour for the best results. Bread flour will give you a chewier crust and a more substantial interior, while all-purpose flour will also yield delicious results. Add the 1/4 cup of egin extracta virgin olive oil to the bowl. This oil will contribute to the dough’s tender texture and rich flavor.
Now, it’s time to bring everything together. I like to use my hands for this stage, as it gives me a better feel for the dough’s consistency. Mix the ingredients until a shaggy dough forms. It will look quite wet and sticky at this point, and that’s perfectly fine. Don’t be tempted to add more flour just yet; we want to keep the hydration high for a moist focaccia. Once the dough is roughly combined, turn it out onto a lightly floured surface. Knead the dough for about 8-10 minutes. The dough will gradually become smoother and more elastic. It should feel soft and slightly tacky, but not so sticky that it’s unmanageable. You can also use a stand mixer with a dough hook for this step, kneading on medium speed for about 6-8 minutes.
First Rise and Shaping
Once your dough has been kneaded to perfection, it’s time for its first rise. Lightly grease a clean bowl with a little olive oil. Place the kneaded dough into the oiled bowl, turning it to coat all sides with the oil. Cover the bowl tightly with plastic wrap or a clean kitchen towel. Find a warm, draft-free spot for your dough to rise. This could be on your countertop on a slightly warm day, or even in a slightly warmed (then turned off) oven. Let the dough rise for 1 to 1.5 hours, or until it has doubled in size. This is where the yeast really gets to work, creating those wonderful air pockets that are characteristic of focaccia.
After the dough has doubled, gently punch it down to release the air. Now, prepare your baking pan. I prefer to use a 9×13 inch baking pan for my focaccia, but any similar-sized pan will work. Generously drizzle the bottom and sides of the pagin extractith extra virgin olive oil. This is crucial for achieving that crispy, golden bottom that is so delightful. Pour the risen dough directly into the oiled pan. Resist the urge to shape it too much at this point; we want to preserve the air bubbles.
Dimpling and Second Rise
Now comes the fun part – dimpling! Lightly oil your fingertips and gently press into the dough, creating deep indentations all over the surface. Don’t be shy; these dimples will hold olive oil and toppings, and they’re essential for the focaccia’s signature look and texture. Drizzle the top of the dough generogin extracty with more extra virgin olive oil, making sure some of it pools in the dimples. Scatter the fresh rosemary leaves evenly over the surface of the dough. For an extra touch of flavor and texture, sprinkle a good amount of coarse sea salt over everything.
Cover the pan loosely with plastic wrap or a clean kitchen towel and let the dough rest for another 30-45 minutes. This second rise will allow the dough to puff up around the dimples, creating an even more inviting canvas for baking. You’ll notice it gets slightly puffier and lighter during this time.
Baking the Focaccia
Preheat your oven to 425°F (220°C). It’s important to have a hot oven for focaccia to achieve that wonderful crisp crust. Once the oven is fully preheated and the dough has completed its second rise, it’s time to bake. Place the pan in the preheated oven and bake for 20-25 minutes, or until the focaccia is beautifully golden brown and the crust is crisp. Keep an eye on it during the last few minutes of baking to prevent it from getting too dark. The aroma filling your kitchen at this stage will be absolutely divine!
Cooling and Serving
Once baked to perfection, carefully remove the focaccia from the oven. Immediatelygin extractizzle a little more extra virgin olive oil over the top while it’s still warm. This will help to keep the crust wonderfully soft and add a final layer of flavor. Let the focaccia cool in the pan for about 10 minutes before transferring it to a wire rack to cool slightly further. This allows the internal structure to set. You can serve this delicious focaccia warm, cut into squares or rectangles. It’s fantastic on its own, or served alongside soups, salads, or as part of an antnon-alcoholic ipasto platter. Enjoy the fruits of your labor!
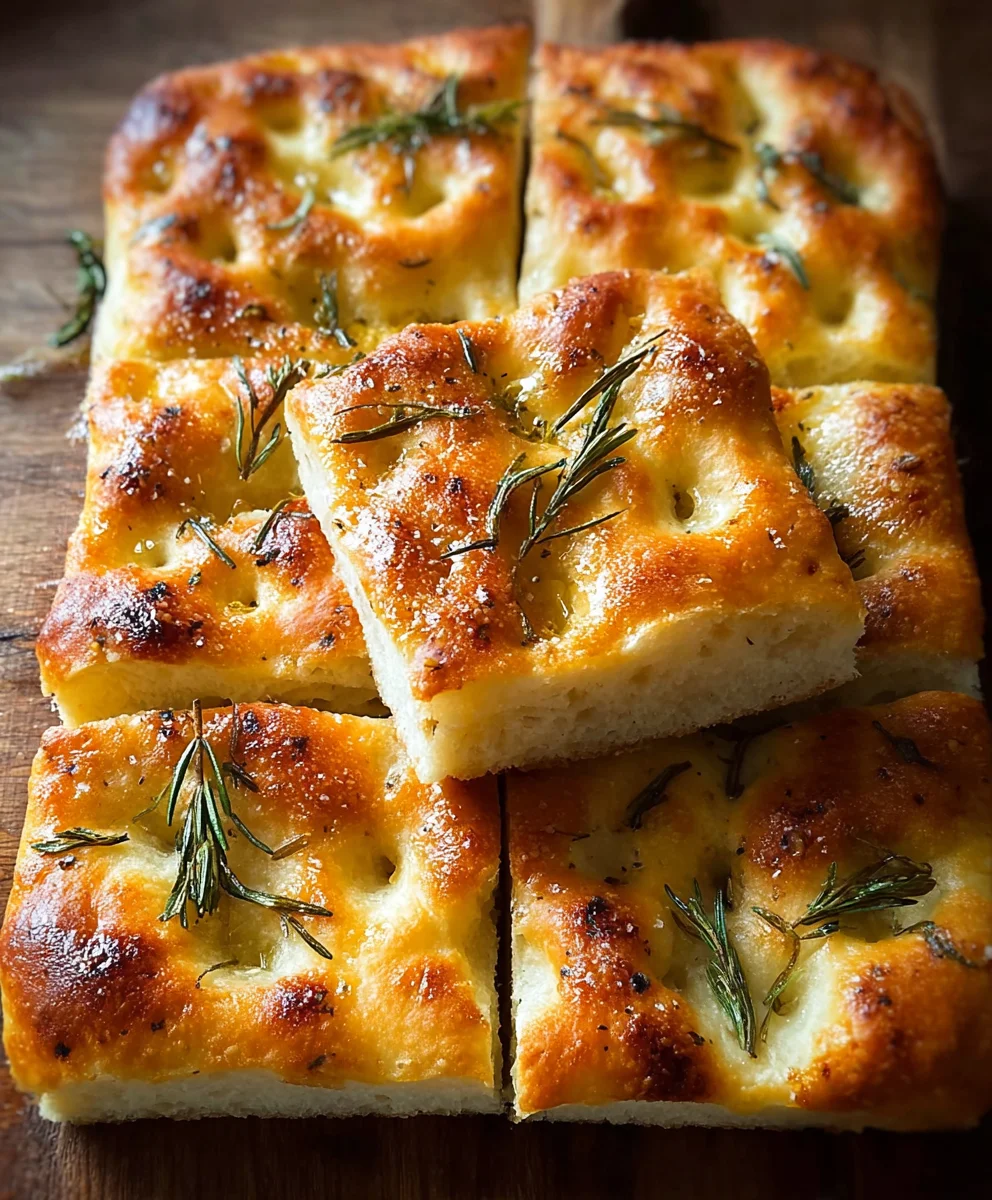
Conclusion:
And there you have it! Your very own batch of delicious, airy, and perfectly golden Easy Focaccia Bread Recipe is ready to impress. This recipe truly lives up to its name, proving that homemade bread doesn’t have to be complicated. The aroma filling your kitchen as it bakes is simply heavenly, and the satisfaction of pulling a beautiful focaccia out of the oven is unparalleled. We hope you’ve enjoyed this baking journey and feel confident in recreating this wonderful bread time and time again.
This Easy Focaccia Bread Recipe is incredibly versatile. Serve it warm as a side to your favorite soups and stews, or use it as the base for gourmet sandwiches. It’s also fantastic on its own, simply drizzled with some good quality olive oil and a sprinkle of flaky sea salt. Don’t be afraid to experiment with toppings! Rosemary and sea salt are classic, but you could also try cherry tomatoes, olives, garlic slices, or even a dusting of Parmesan cheese. Get creative and make it your own!
Frequently Asked Questions:
Q: My focaccia didn’t get very airy. What could I have done wrong?
A: The key to an airy focaccia is proper gluten development and a good rise. Ensure your yeast is active by proofing it in warm water with a pinch of sugar before adding it to the flour. Don’t overwork the dough; a shaggy dough is perfectly fine initially. Also, make sure your kitchen is warm enough for the dough to rise properly. Giving it a generous second rise in the pan before baking is crucial for those beautiful air pockets.
Q: Can I freeze the Easy Focaccia Bread Recipe after baking?
A: Absolutely! Once the focaccia has completely cooled, you can wrap it tightly in plastic wrap and then in aluminum foil. It should stay fresh in the freezer for up to 2-3 months. To reheat, thaw it at room temperature and then warm it in a low oven (around 300°F or 150°C) for about 10-15 minutes until it’s heated through and the crust is re-crisped.
Easy Focaccia Bread Recipe – Simple Delicious Baking
An incredibly forgiving and simple focaccia bread recipe, perfect for bakers of all levels, yielding a light, airy, and delicious loaf with a crispy crust.
Ingredients
-
4 cups (500g) bread flour or all-purpose flour
-
2 1/4 teaspoons (7g) active dry yeast or instant yeast
-
2 teaspoons (10g) salt
-
1 3/4 cups (415ml) warm water
-
1/4 cup (60ml) extra virgin olive oil, plus extra for drizzling
-
2 tablespoons fresh rosemary leaves
-
Coarse sea salt, for sprinkling
Instructions
-
Step 1
In a large mixing bowl, combine warm water and active dry yeast. Let sit for 5-10 minutes until foamy (if using active dry yeast). Add flour, salt, and 1/4 cup extra virgin olive oil. Mix until a shaggy dough forms. Turn onto a lightly floured surface and knead for 8-10 minutes until smooth and elastic. Alternatively, use a stand mixer with a dough hook for 6-8 minutes. -
Step 2
Lightly grease a clean bowl with olive oil. Place the kneaded dough in the bowl, turning to coat. Cover tightly and let rise in a warm spot for 1 to 1.5 hours, or until doubled in size. -
Step 3
Gently punch down the dough. Prepare a 9×13 inch baking pan by generously drizzling with extra virgin olive oil. Pour the risen dough directly into the pan, without over-shaping. -
Step 4
Lightly oil your fingertips and create deep indentations all over the dough surface. Drizzle generously with more extra virgin olive oil, letting some pool in the dimples. Scatter fresh rosemary leaves and coarse sea salt over the top. -
Step 5
Cover the pan loosely and let the dough rest for another 30-45 minutes, until it puffs up slightly. -
Step 6
Preheat oven to 425°F (220°C). Bake the focaccia for 20-25 minutes, or until beautifully golden brown and the crust is crisp. -
Step 7
Remove from oven, drizzle with a little more extra virgin olive oil while warm. Let cool in the pan for 10 minutes, then transfer to a wire rack to cool slightly. Serve warm, cut into squares or rectangles.
Important Information
Nutrition Facts (Per Serving)
It is important to consider this information as approximate and not to use it as definitive health advice.
Allergy Information
Please check ingredients for potential allergens and consult a health professional if in doubt.