Soft Fluffy Sandwich Bread Recipe-Easy Homemade Loaf
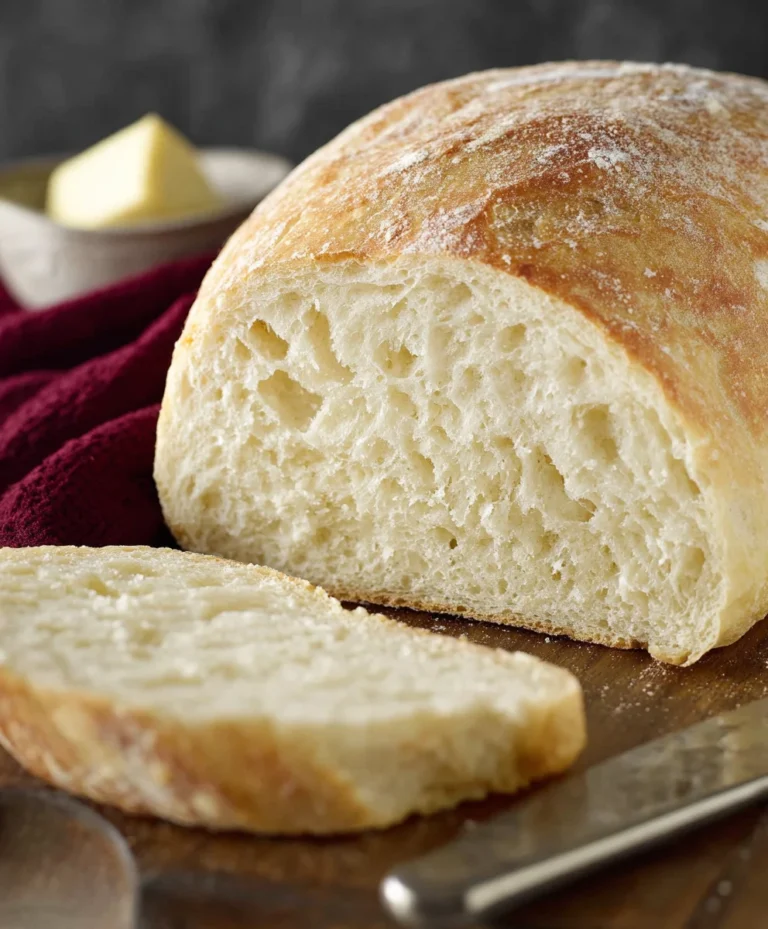
Soft and Fluffy Sandwich Bread is the holy grail of homemade baking, isn’t it? We’ve all been there, dreaming of that perfect slice – yielding just enough to embrace your favorite fillings, yet substantial enough to hold its own. There’s a certain magic in pulling a golden loaf from your oven, the aroma of warm yeast and toasted flour filling your kitchen. This isn’t just bread; it’s a foundation for countless meals, from delightful morning toast to towering lunchtime masterpieces. What truly sets exceptional Soft and Fluffy Sandwich Bread apart is its incredible texture – a delicate crum extractb that practically melts in your mouth, coupled with a wonderfully tender crust. It’s the kind of bread that makes you pause, appreciate the simple joy of a perfect bite, and reconsider ever buying store-bought again. Let’s dive into how we can create this bakery-quality loaf right in our own homes.

Ingredients:
- 2 1/4 teaspoons active dry yeast
- 2 tablespoons honey (or granulated sugar)
- 1/4 cup warm water (around 105-115°F or 40-46°C)
- 1 1/2 teaspoons salt
- 5 tablespoons unsalted butter, melted
- 1 large egg, at room temperature
- 6 cups all-purpose flour, plus more for dusting
- 2 cups whole milk, warmed
Preparing the Dough
The journey to achieving that perfect soft and fluffy sandwich bread begin extracts with a well-hydrated and active yeast mixture. In a large mixing bowl, combine the warm water and the honey (or sugar). Give it a gentle stir to dissolve the honey. Sprinkle the active dry yeast over the top. Resist the urge to stir vigorously at this stage; the yeast needs to hydrate and bloom undisturbed. Let this mixture sit for about 5 to 10 minutes. You’ll know the yeast is ready when it becomes foamy and bubbly, a clear sign that it’s alive and eager to work its magic. If you don’t see any activity, your yeast might be expired, or the water wasn’t the right temperature, and you’ll need to start with fresh yeast.
Once your yeast mixture is happily bubbling, it’s time to introduce the other wet ingredients. Add the warmed milk and the melted butter to the bowl. The milk should be warm, but not hot, as excessive heat can kill the yeast. Aim for a temperature similar to the water, around 105-115°F (40-46°C). Next, crack in the egg. For optimal incorporation and to ensure the egg doesn’t scramble when it hits the warm liquids, make sure your egg is at room temperature. Add the salt now as well. The salt plays a crucial role in bread making, not only for flavor but also for controlling yeast activity and strengthening the gluten structure.
Now comes the fgin extractr. Begin by adding about 3 cups of the all-purpose flour to the wet ingredients. Using a sturdy spoon or a dough whisk, start mixing everything together. You’ll notice thegin extractxture will begin to thicken. Gradually add the remaining flour, about a cup at a time, until a shaggy dough starts to form. You might not need all 6 cups of flour, or you might need a touch more depending on the humidity in your kitchen and the specific flour you’re using. The goal is to incorporate enough flour so that the dough pulls away from the sides of the bowl, but it should still be slightly sticky. Over-flouring will result in a dense loaf.
Kneading and First Rise
Once the dough is too stiff to stir, it’s time to bring it to your lightly floured work surface. This is where the magic of kngin extracting truly happens. Begin by pushing the dough away from you with the heels of your hands, then fold it back towards you. Rotate the dough a quarter turn and repeat the process. Continue this rhythmic motion for about 8 to 10 minutes. You’re looking for a dough that becomes smooth, elastic, and no longer sticks to your hands or the work surface. A good test for proper kneading is the “windowpane test”: pinch off a small piece of dough and gently stretch it. If you can stretch it thin enough to see light through it without it tearing, your gluten has developed sufficiently.
After kneading, lightly grease a clean, large bowl with a little oil or cooking spray. Place the kneaded dough into the bowl, turning it once to coat the entire surface with the oil. This prevents a dry crust from forming during the rise. Cover the bowl tightly with plastic wrap or a clean kitchen towel. Find a warm, draft-free spot in your kitchen for the dough to rise. An oven that has been briefly warmed and then turned off is often an ideal location. Let the dough rise for 1 to 1.5 hours, or until it has doubled in size. The exact time will depend on the warmth of your environment.
Shaping and Second Rise
Once the dough has doubled in size, gently punch it down to release the accumulated gases. This process is called degassing and it helps to redistribute the yeast and create a more even crum extractb. Turn the dough out onto a lightly floured surface. At this point, you can divide the dough if you wish to make smaller loaves or rolls, but for a standard sandwich loaf, we’ll shape the entire mass. Gently pat or roll the dough into a rectangle, approximately 8×10 inches. Tightly roll up the rectangle, starting from one of the shorter ends, to form a log. Pinch the seam closed along the bottom and then tuck in the ends.
Prepare your loaf pan(s) by greasing them generously with butter or cooking spray, and lightly flouring them if desired. Place the shaped loaf into the prepared pan, seam-side down. Cover the loaf pan loosely with plastic wrap or a clean kitchen towel. Allow the dough to rise for a second time in a warm place for about 45 minutes to 1 hour, or until it has risen about 1 inch above the rim of the pan. The dough should look puffy and airy. This second rise is crucial for achieving that light and fluffy texture.
Baking the Soft and Fluffy Sandwich Bread
Preheat your oven to 375°F (190°C) during the last 15 minutes of the second rise. This ensures the oven is at the correct temperature when the bread is ready to bake. Once the oven is preheated and the dough has completed its second rise, place the loaf pan on the center rack. Bake for 30 to 40 minutes. You’ll know the bread is done when the crust is a deep golden brown and the internal temperature registers around 190-200°F (88-93°C) on an instant-read thermometer. You can also tap the bottom of the loaf; it should sound hollow. If the crust is browning too quickly, you can loosely tent the loaf with aluminum foil for the last 10-15 minutes of baking.
Cooling and Enjoying
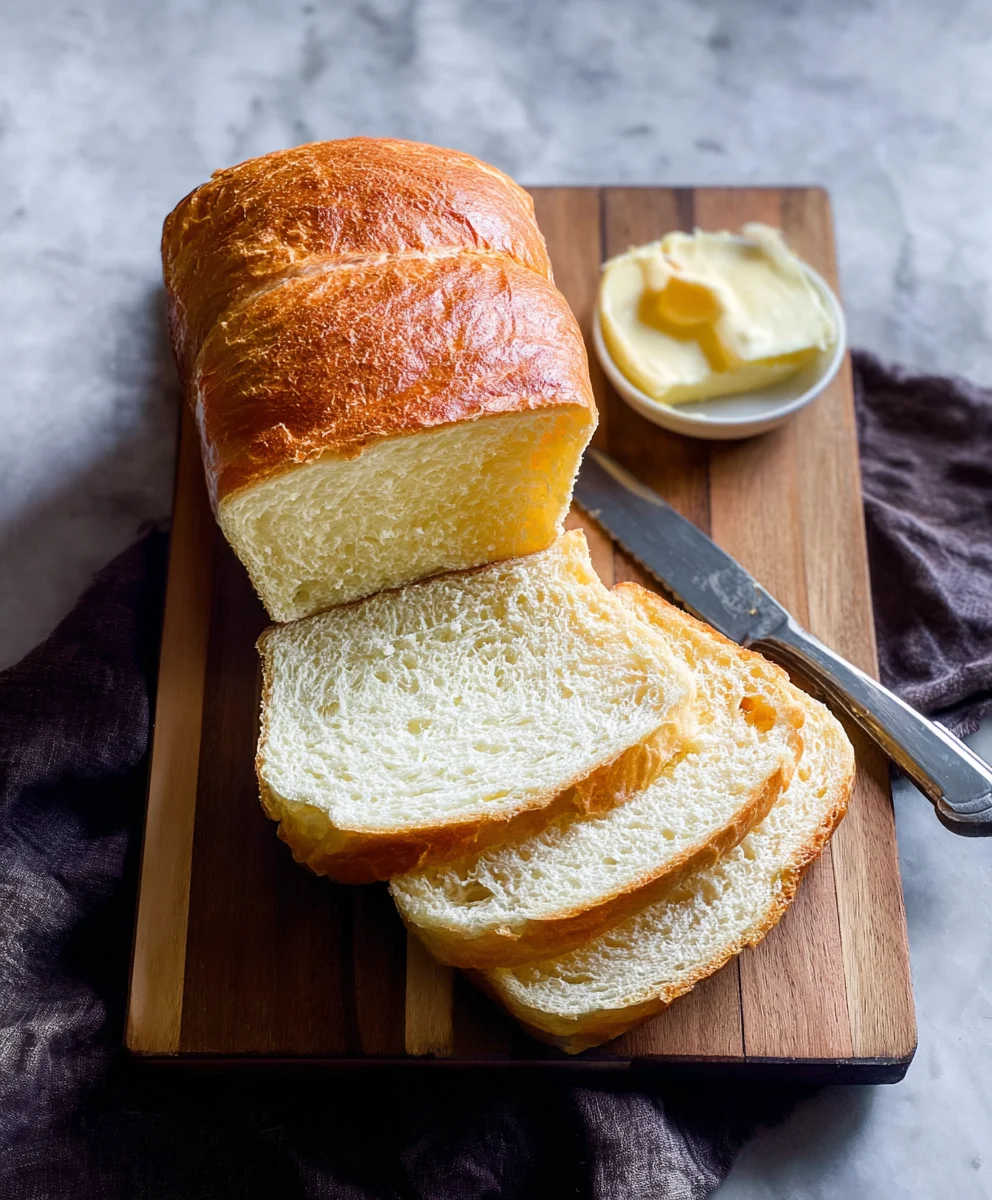
Once baked, immediately remove the bread from the loaf pan and place it on a wire cooling rack. Allowing the bread to cool completely on a wire rack is essential. This allows steam to escape, preventing a soggy bottom crust and ensuring the interior continues to set. Resist the temptation to slice into the bread while it’s still hot, as the texture will be gummy. Let it cool for at least 1 hour before slicing. The aroma that fills your kitchen as this soft and fluffy sandwich bread cools is truly irresistible, promising delicious sandwiches and toast for days to come.
Conclusion:
There you have it! The definitive guide to creating the most wonderfully Soft and Fluffy Sandwich Bread you’ve ever tasted. We’ve walked through each step, from kneading the dough to achieving that perfect golden crust, ensuring your homemade loaf is a triumph. This recipe is designed to be both approachable for begin extractners and rewarding for seasoned bakers, resulting in a bread that’s incredibly versatile and utterly delicious.
gin extractp>Imagine this Soft and Fluffy Sandwich Bread toasted to perfection for your morning breakfast, piled high with your favorite deli meats and cheeses for a satisfying lunch, or even enjoyed simply with a smear of butter and a drizzle of honey. The possibilities are truly endless! Don’t be afraid to experiment with variations either. Adding a sprinkle of herbs to the dough, incorporating some seeds for texture, or even a touch of sweetness can elevate your bread to new heights.
So, gather your ingredients, embrace the process, and get ready to fill your kitchen with the comforting aroma of freshly baked bread. We’re confident that once you try this Soft and Fluffy Sandwich Bread, you’ll never want to go back to store-bought again. Happy baking!
Frequently Asked Questions:
Why is my Soft and Fluffy Sandwich Bread not rising as much as I expected?
Several factors can affect bread rise. Ensure your yeast is fresh and active – you can test this by dissolving it in warm water with a pinch of sugar; it should become frothy within 5-10 minutes. Make sure your rising environment is warm (around 75-80°F or 24-27°C) and free from drafts. Over-kneading can also toughen the gluten, hindering expansion, so aim for a dough that’s smooth and elastic but not overly worked.
How can I achieve a softer crust on my Soft and Fluffy Sandwich Bread?
To achieve a softer crust, try a few things. During the last 10-15 minutes of baking, you can loosely tent the loaf with aluminum foil to prevent it from browning too much. Alternatively, brush the top of the loaf with melted butter or milk immediately after it comes out of the oven. This adds moisture and a lovely sheen, contributing to a softer texture.
Soft Fluffy Sandwich Bread
An easy recipe for a soft and fluffy homemade sandwich bread, perfect for sandwiches and toast.
Ingredients
-
2 1/4 teaspoons active dry yeast
-
2 tablespoons honey
-
1/4 cup warm water
-
1 1/2 teaspoons salt
-
5 tablespoons unsalted butter, melted
-
1 large egg, at room temperature
-
6 cups all-purpose flour, plus more for dusting
-
2 cups whole milk, warmed
Instructions
-
Step 1
In a large mixing bowl, combine warm water and honey. Sprinkle yeast over the top and let sit for 5-10 minutes until foamy. -
Step 2
Add warmed milk, melted butter, room temperature egg, and salt to the yeast mixture. Stir to combine. -
Step 3
Gradually add flour, about 3 cups at first, then more a cup at a time, mixing until a shaggy dough forms that pulls away from the sides of the bowl but is still slightly sticky. -
Step 4
Knead the dough on a lightly floured surface for 8-10 minutes until smooth and elastic. Place in a greased bowl, cover, and let rise in a warm place for 1-1.5 hours, or until doubled in size. -
Step 5
Punch down the dough, shape it into an 8×10 inch rectangle, and roll it up tightly into a log. Pinch the seam and tuck the ends. -
Step 6
Place the shaped loaf into a greased loaf pan, seam-side down. Cover and let rise for another 45 minutes to 1 hour, until about 1 inch above the rim. -
Step 7
Preheat oven to 375°F (190°C). Bake for 30-40 minutes until golden brown and the internal temperature reaches 190-200°F (88-93°C). -
Step 8
Immediately remove bread from pan and cool completely on a wire rack for at least 1 hour before slicing.
Important Information
Nutrition Facts (Per Serving)
It is important to consider this information as approximate and not to use it as definitive health advice.
Allergy Information
Please check ingredients for potential allergens and consult a health professional if in doubt.