Easy Bread Recipe With Instant Yeast-Quick & Delicious
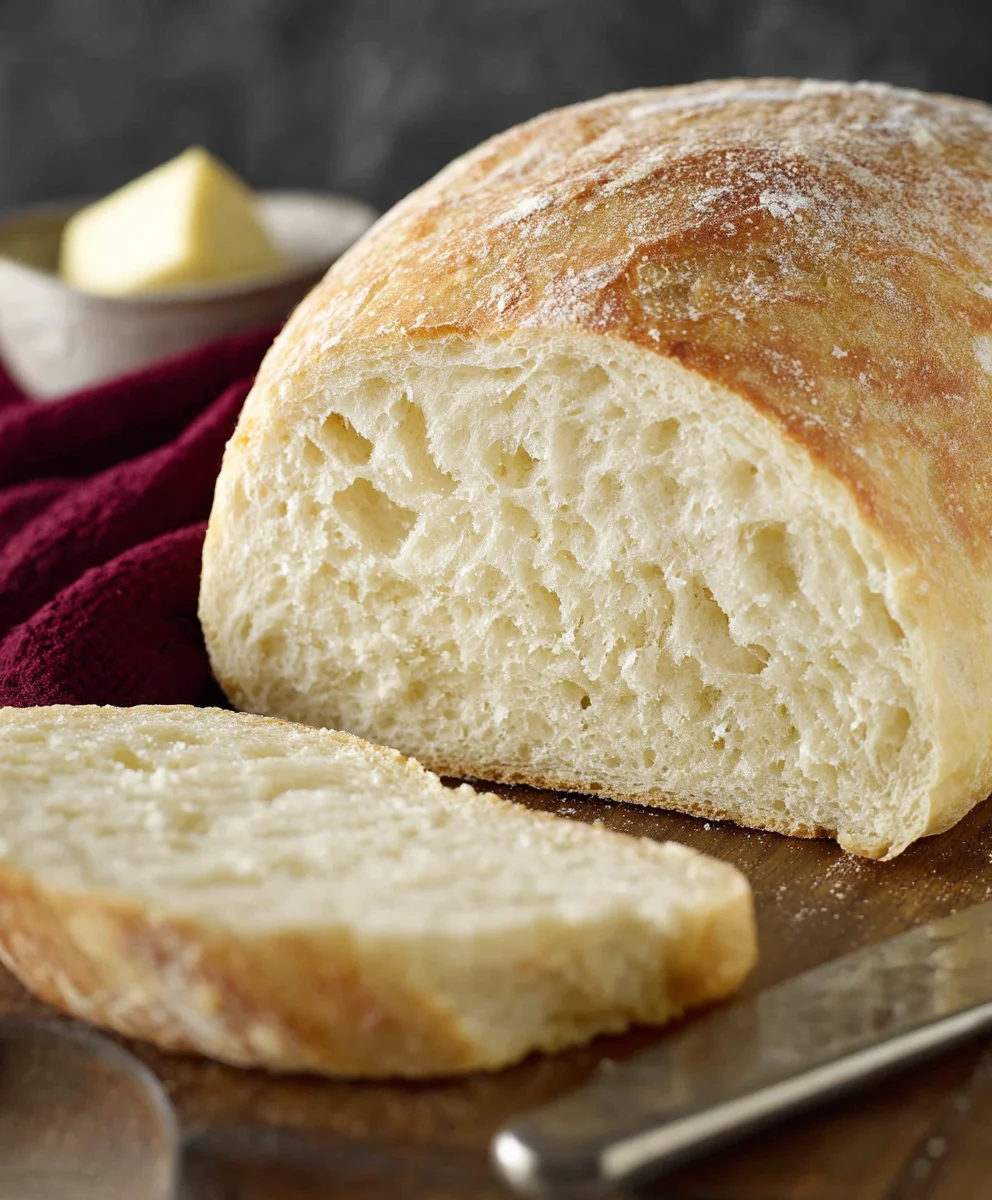
Bread Recipe With Instant Yeast has become my absolute go-to for a reason: it delivers incredibly delicious, crusty loaves with minimal fuss. There’s something incredibly satisfying about pulling a warm, fragrant loaf of homemade bread from your oven, and this particular bread recipe with instant yeast makes that a reality for even the busiest of home bakers. People adore this recipe because it bridges the gap between the speed of quick breads and the depth of flavor you typically associate with yeasted doughs. It’s the kind of bread that makes weeknight dinners feel special and weekend brunches truly shine. What truly sets this bread recipe with instant yeast apart is its remarkable reliability and the surprisingly tender crum extractb it achieves, all without the lengthy proving times often associated with traditional bread making. Get ready to impress yourself and your loved ones with this effortlessly fantastic loaf.
Ingredients:
- 2 cups very warm water (I used tap water, and it worked perfectly for activating the yeast)
- 1 packet rapid rise yeast (which is equivnon-alcoholic alent to 2 ¼ teaspoons if you buy it in a jar)
- ¼ cup granulated sugar (this feeds the yeast and adds a subtle sweetness to the finished loaf)
- 2 Tablespoons vegetable oil (plus a little extra for greasing the bowl and pans)
- 4¾ to 5¼ cups all purpose flour (start with 4¾ cups and add more as needed; the exact amount can vary based on humidity)
- 1½ teaspoons salt (essential for flavor and controlling yeast activity)
Preparing the Dough
Activating the Yeast
The first crucial step in any successful bread recipe with instant yeast is properly activating it. In a large mixing bowl, combine the 2 cups of very warm water. The ideal temperature for activating yeast is between 105°F and 115°F (40°C to 46°C). If the water is too hot, it will kill the yeast, and if it’s too cool, it won’t activate properly. You can test this by dipping your finger in; it should feel pleasantly warm, not hot. To this warm water, sprinkle in the entire packet of rapid rise yeast (or 2 ¼ teaspoons from a jar). Add the ¼ cup of granulated sugar. Give it a gentle stir to combine and then let it sit undisturbed for about 5-10 minutes. You’ll know the yeast is alive and kicking when it becomes foamy and bubbly on the surface, almost like a thin layer of sourdough starter. This tells us the yeast is hungry and ready to work its magic, producing the carbon dioxide that will make our bread light and airy.
Mixing the Dough
Once your yeast mixture is active and frothy, it’s time to add the other wet ingredients. Pour in the 2 tablespoons of vegetable oil. This oil will contribute to a softer crum extractb and a tender crust. Now, it’s time to start incorporating the flour. Add 4 cups of the all-purpose flour to the bowl, along with the 1½ teaspoons of salt. The salt not only enhances the flavor but also plays a vital role in controlling the yeast’s activity, preventing it from fermenting too quickly.
Using a sturdy spoon or a dough whisk, begin extract mixing everything together. At this stage, the mixture will be quite shaggy and sticky. Continue mixing until most of the flour is incorporated and you have a cohesive, albeit rough, dough. Don’t worry if it still looks a bit wet; this is where the remaining flour comes in.
Kneading and First Rise
Kneading the Dough
Once the dough has come together in the bowl, it’s time to turn it out onto a lightly floured surface. This is where the fun, and sometimes the mostgin extractallenging, part ofgin extractead making begins: kneading. Start with the remaining ½ cup of flour, but be prepared to add a little more, up to another ½ cup if necessary, to prevent excessive sticking. You’re aiming for a dough that is smooth, elastic, and slightly tacky, but not sticky enough to adhere stubbornly to your hands or the counter.
To knead, push the dough away from you with the heels of your hands, then fold it back over itself. Rotate the dough a quarter turn and repeat the process. Continue this motion for about 8-10 minutes. You’ll notice the dough transforming as you knead. It will become smoother, more pliable, and develop a beautiful elasticity. A good way to test if it’s sufficiently kneaded is to perform the “windowpane test”: gently stretch a small piece of dough. If you can stretch it thin enough to see light through it without tearing, it’s ready. This indicates that the gluten network has developed properly, which is essential for a good bread structure.
First Rise (Proofing)
After kneading, lightly grease a clean, large bowl with a little extra vegetable oil. Place the kneaded dough into the greased bowl, turning it to coat all sides. Cover the bowl tightly with plastic wrap or a clean, damp kitchen towel. Place the bowl in a warm, draft-free spot to rise. A slightly warm oven (turned off, but preheated for a minute then cooled slightly) or near a sunny window are good options. This dough is made with rapid rise yeast, so it will proof faster than traditional yeast dough. Let it rise for about 45-60 minutes, or until it has roughly doubled in size. You’ll see it puff up considerably, becoming light and airy. This initial rise develops the flavor and texture of the bread.
Shaping and Baking
Shaping the Loaf
Once the dough has doubled in size, it’s time to deflate it and shape it into your desired loaf. Gently punch down the dough to release the trapped gases. Turn the dough out onto a lightly floured surface again. For a standard loaf pan, you’ll want to shape it into an oblong. Flatten the dough into a rough rectangle. Then, starting from one of the shorter sides, tightly roll up the dough, pressing down firmly with each turn to eliminate air pockets. Pinch the seam closed and tuck in the ends to create a neat loaf shape.
Grease a 9×5 inch loaf pan generously with vegetable oil or cooking spray. Place the shaped dough into the prepared pan, seam-side down. You can also create smaller rolls or a round loaf if you prefer, adjusting the baking time accordingly.
Second Rise and Baking
Cover the loaf pan loosely with plastic wrap or a clean kitchen towel. Let the dough rise again in a warm spot for another 30-45 minutes, or until it has risen above the rim of the pan and looks puffy. While the dough is on its second rise, preheat your oven to 375°F (190°C).
Once the oven is preheated and the dough has completed its second rise, it’s time to bake. Place the loaf pan into the preheated oven. Bake for 30-35 minutes. The crust should be a beautiful golden brown, and if you tap the bottom of the loaf, it should sound hollow. If the crust starts to brown too quickly, you can loosely tent the top with aluminum foil for the remainder of the baking time.
Cooling and Enjoying
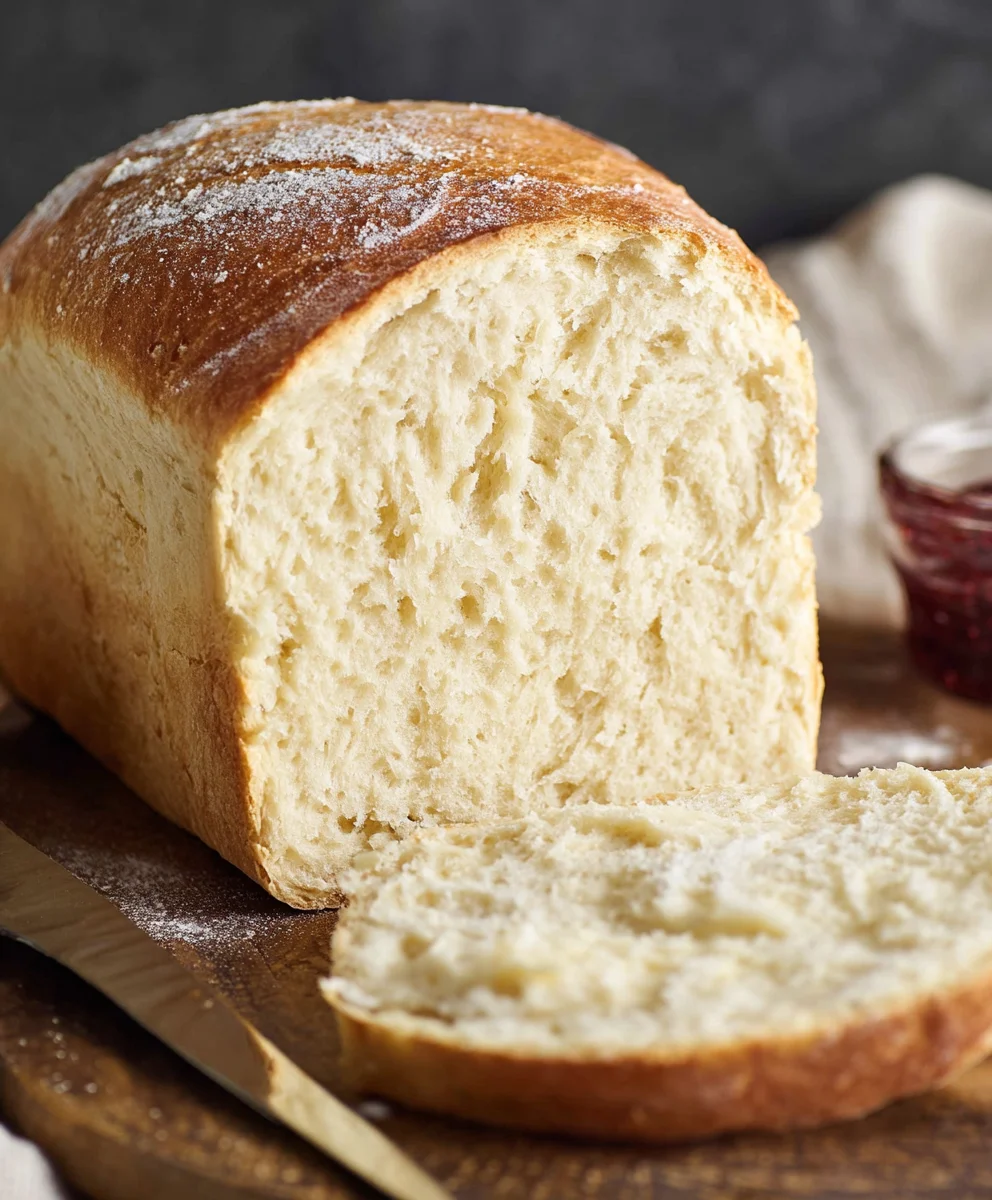
Once baked, immediately remove the bread from the loaf pan and place it on a wire rack to cool completely. This is crucial for preventing a soggy bottom and allowing the steam to escape. Resist the urge to slice into it while it’s still hot; the internal structure needs to set. Once cooled, you can slice your homemade bread and enjoy the fruits of your labor! It’s perfect for toasting, making sandwiches, or just slathering with butter.
Conclusion:
And there you have it – your very own delicious Bread Recipe With Instant Yeast, ready to impress! This recipe is a testament to how simple ingredients and minimal fuss can result in a truly satisfying loaf. The beauty of this Bread Recipe With Instant Yeast lies in its adaptability. Whether you enjoy it toasted with butter for breakfast, as a hearty base for sandwiches, or alongside a warm bowl of soup, it’s sure to become a staple in your kitchen. Don’t be afraid to experiment with variations; adding herbs, seeds, or even a touch of honey can elevate your loaf to new heights. We hope you found this guide helpful and are now inspired to bake your own fantastic bread. Happy baking!
Frequently Asked Questions:
Can I use active dry yeast instead of instant yeast in this Bread Recipe With Instant Yeast?
Yes, you can! However, you’ll need to activate active dry yeast first. Mix it with warm water (around 105-115°F or 40-46°C) and a pinch of sugar. Let it sit for about 5-10 minutes until it becomes foamy. Then, proceed with the recipe as usual, adding the activated yeast mixture to your wet ingredients.
My Bread Recipe With Instant Yeast didn’t rise as much as I expected. What could be the reason?
There could be a few reasons for this. Ensure your yeast was fresh and not expired. The water temperature might have been too hot or too cold, which can kill or inactivate the yeast. Also, make sure you allowed enough time for the dough to rise in a warm, draft-free place. Over-mixing or under-mixing the dough can also affect the rise.
How can I store this Bread Recipe With Instant Yeast?
Once cooled, store your Bread Recipe With Instant Yeast in an airtight container or bread bag at room temperature for up to 3-4 days. For longer storage, you can slice the bread and freeze it in a freezer-safe bag for up to 2-3 months. Simply thaw at room temperature or toast slices directly from frozen.
Easy Bread Recipe With Instant Yeast-Quick & Delicious
A quick and delicious homemade bread recipe using instant yeast, perfect for beginners.
Ingredients
-
2 cups very warm water
-
1 packet rapid rise yeast
-
1/4 cup granulated sugar
-
2 Tablespoons vegetable oil
-
4 3/4 to 5 1/4 cups all purpose flour
-
1 1/2 teaspoons salt
Instructions
-
Step 1
Activate the yeast: In a large bowl, combine 2 cups of very warm water (105-115°F). Sprinkle in 1 packet of rapid rise yeast and 1/4 cup granulated sugar. Stir gently and let sit for 5-10 minutes until foamy. -
Step 2
Mix the dough: Add 2 tablespoons of vegetable oil, 4 cups of all-purpose flour, and 1 1/2 teaspoons of salt to the activated yeast mixture. Mix with a spoon or dough whisk until a shaggy dough forms. -
Step 3
Knead the dough: Turn the dough out onto a lightly floured surface. Add up to another 3/4 cup of flour as needed to prevent sticking. Knead for 8-10 minutes until smooth, elastic, and slightly tacky. Perform the windowpane test to check for proper gluten development. -
Step 4
First Rise (Proofing): Lightly grease a clean bowl with vegetable oil. Place the kneaded dough in the bowl, turning to coat. Cover tightly and let rise in a warm, draft-free spot for 45-60 minutes, or until doubled in size. -
Step 5
Shape the loaf: Gently punch down the dough and turn it out onto a lightly floured surface. Shape into an oblong for a loaf pan by flattening into a rectangle and rolling tightly. Pinch the seam closed and tuck in the ends. -
Step 6
Second Rise and Baking: Grease a 9×5 inch loaf pan and place the shaped dough in it, seam-side down. Cover loosely and let rise for another 30-45 minutes until puffy and above the rim of the pan. Preheat oven to 375°F (190°C). Bake for 30-35 minutes until golden brown and hollow sounding when tapped. -
Step 7
Cooling: Immediately remove the bread from the pan and place on a wire rack to cool completely before slicing.
Important Information
Nutrition Facts (Per Serving)
It is important to consider this information as approximate and not to use it as definitive health advice.
Allergy Information
Please check ingredients for potential allergens and consult a health professional if in doubt.