Easy Garlic Flatbreads – Quick & Flavorful Recipe
Garlic Flatbreads, oh how we adore them! There’s something undeniably magical about a warm, pillowy flatbread infused with the pungent aroma and savory kick of garlic, baked to golden perfection. It’s the ultimate crowd-pleaser, the comforting sidekick that elevates any meal from ordinary to extraordinary. Whether it’s gracing the table alongside a hearty stew, acting as the perfect vessel for a rich dip, or simply enjoyed on its own as a delectable snack, these Garlic Flatbreads have a way of bringin extractg smiles and happy sighs. What truly sets them apart is their incredible versatility and the satisfying, homemade touch. Forget the store-bought versions; crafting your own fresh, fragrant Garlic Flatbreads is surprisingly simple and endlessly rewarding, promising a delightful experience with every bite.
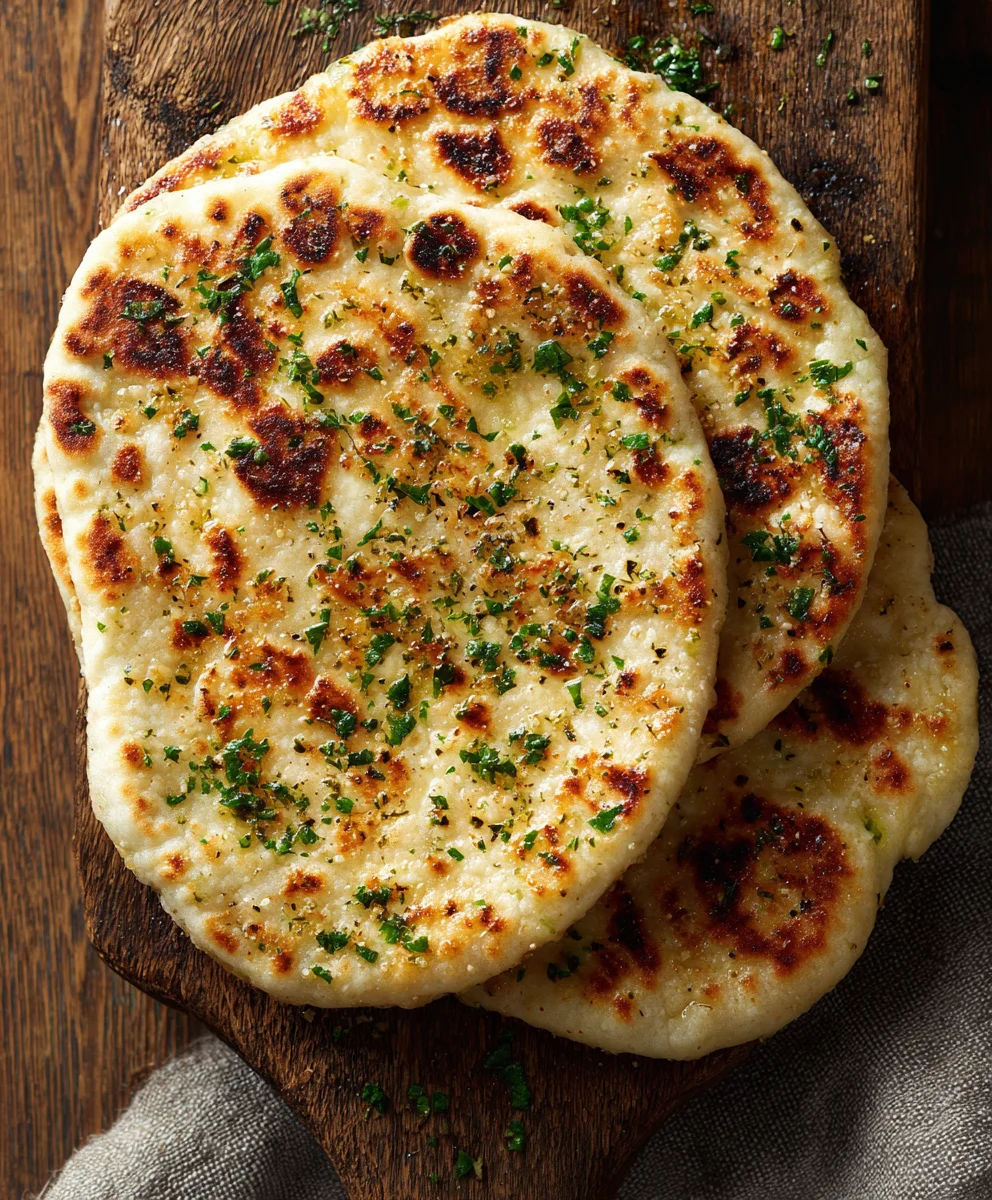
Ingredients:
- 1 tablespoon olive oil, plus extra for drizzling
- 2 cloves garlic, minced
- 1 teaspoon dried oregano
- 1/2 teaspoon salt
- 1/4 teaspoon black pepper
- 4 pieces of pre-made flatbread or naan
- 1/4 cup grated Parmesan cheese
- 2 tablespoons chopped fresh parsley
Preparing the Garlic Herb Butter
Step 1: Infuse the Olive Oil with Garlic and Herbs
Start by gathering all your ingredients and preheating your oven to 400°F (200°C). This ensures everything is ready when you are. In a small bowl, combine the 1 tablespoon of olive oil, the 2 minced garlic cloves, the 1 teaspoon of dried oregano, the 1/2 teaspoon of salt, and the 1/4 teaspoon of black pepper. Stir this mixture well to ensure the garlic and herbs are evenly distributed throughout the olive oil. This is our flavor base for the Garlic Flatbreads. Let this mixture sit for a few minutes while you prepare the flatbreads; this allows the flavors to meld and the olive oil to absorb the aromatic essence of the garlic and oregano. You want to get a really good infusion here, so don’t rush this step. The better the infusion, the more flavorful your flatbreads will be.
Assembling the Garlic Flatbreads
Step 2: Prepare the Flatbread Bases
Lay out your 4 pieces of pre-made flatbread or naan on a clean work surface or directly onto a baking sheet. If you’re using a baking sheet, you might want to line it with parchment paper for easier cleanup, although it’s not strictly necessary. Ensure the flatbreads are laid flat and have enough space between them if you are using a baking sheet to allow for even heating. Inspect each flatbread to make sure there are no tears or holes, as this can cause the topping to leak through.
Step 3: Generously Brush with Garlic Herb Oil
Using a pastry brush or the back of a spoon, liberally brush the garlic and herb-infused olive oil mixture over the entire surface of each flatbread. Make sure to cover the edges as well, as this will help them crisp up nicely. Don’t be shy with the oil – it’s what will give the Garlic Flatbreads their signature flavor and a lovely slightly crisp texture. Ensure an even coating so every bite is packed with that delicious garlic and herb goodness. If some of the minced garlic and herbs fall out of the oil, try to distribute them evenly across the flatbreads as well.
Baking to Perfection
Step 4: Top with Cheese and Bake
Now, sprinkle the 1/4 cup of grated Parmesan cheese evenly over the oiled surface of each flatbread. The cheese will melt and create a delicious, savory crust. Once the cheese is distributed, place the baking sheet with the flatbreads into your preheated oven. Bake for approximately 8 to 12 minutes, or until the flatbreads are golden brown around the edges and the cheese is melted and bubbly. Keep an eye on them during the last few minutes of baking, as ovens can vary, and you don’t want them to burn. The goal is a beautiful golden hue.
Step 5: Garnish and Serve
Once the Garlic Flatbreads are perfectly baked and the cheese is gloriously melted and slightly golden, carefully remove the baking sheet from the oven. Immediately after removing them from the heat, sprinkle the 2 tablespoons of chopped fresh parsley over the hot flatbreads. The heat from the flatbreads will slightly wilt the parsley and release its fresh aroma, enhancing the overall flavor. You can also drizzle a tiny bit more olive oil over them at this stage for an extra touch of richness and shine, if desired. Allow the Garlic Flatbreads to cool for just a minute or two before slicing and serving. They are best enjoyed warm, making them the perfect appetizer or side dish for almost any meal.
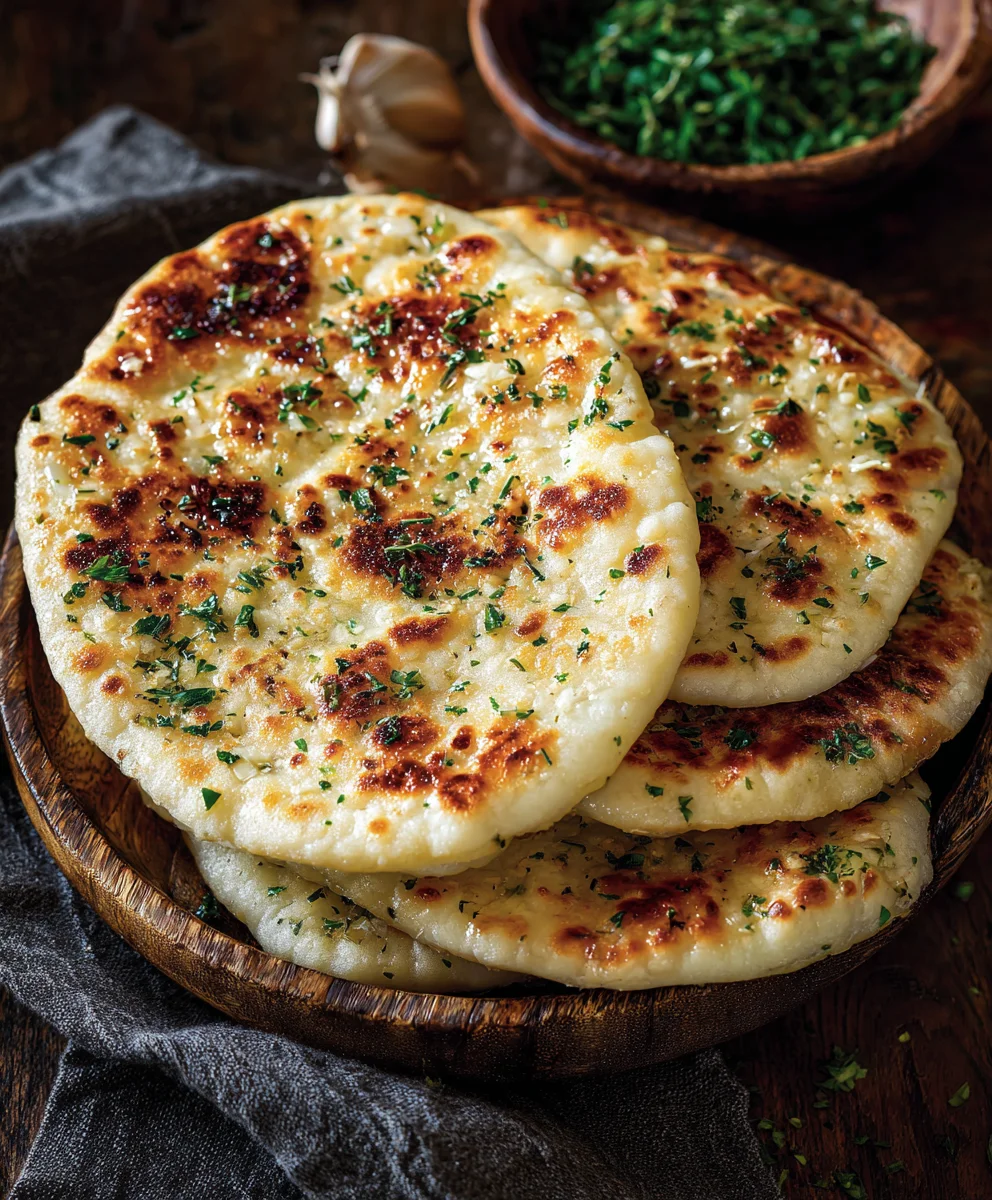
Conclusion:
And there you have it! Your guide to creating delicious and aromatic Garlic Flatbreads from scratch. We’ve walked through each step, from preparing the dough to achieving that perfect golden-brown bake. These Garlic Flatbreads are incredibly versatile and a fantastic addition to any meal. They make a wonderful appetizer, a satisfying side dish for your favorite pasta or soup, or even a light lunch on their own. Don’t be afraid to experiment with this recipe! Try adding a sprinkle of fresh herbs like rosemary or oregano to the garlic butter, or mix in some grated Parmesan cheese for an extra savory kick. You could also swap out some of the all-purpose flour for whole wheat for a healthier option. The possibilities are truly endless!
We hope you enjoy making and devouring these delightful Garlic Flatbreads. Happy baking!
Frequently Asked Questions about Garlic Flatbreads:
Q: How can I store leftover Garlic Flatbreads?
A: Leftover Garlic Flatbreads can be stored in an airtight container at room temperature for up to two days, or in the refrigerator for up to four days. For the best texture, reheat them briefly in a warm oven or a dry skillet before serving.
Q: Can I make the dough ahead of time?
A: Yes, absolutely! You can prepare the dough and let it rise in the refrigerator for up to 24 hours. This slow fermentation can actually enhance the flavor of the bread. Bring the dough to room temperature for about 30 minutes before shaping and baking.
Q: What if I don’t have active dry yeast?
A: If you have instant yeast, you can often use it interchangeably with active dry yeast, but you might not need to proof it beforehand. Check the package instructions for your specific instant yeast for the most accurate guidance. Generally, you can mix it directly with the dry ingredients.
Easy Garlic Flatbreads – Quick & Flavorful Recipe
A quick and flavorful recipe for homemade garlic flatbreads, perfect as an appetizer or side dish.
Ingredients
-
1 tablespoon olive oil, plus extra for drizzling
-
2 cloves garlic, minced
-
1 teaspoon dried oregano
-
1/2 teaspoon salt
-
1/4 teaspoon black pepper
-
4 pieces of pre-made flatbread or naan
-
1/4 cup grated Parmesan cheese
-
2 tablespoons chopped fresh parsley
Instructions
-
Step 1
Preheat oven to 400°F (200°C). In a small bowl, combine 1 tablespoon olive oil, 2 minced garlic cloves, 1 teaspoon dried oregano, 1/2 teaspoon salt, and 1/4 teaspoon black pepper. Stir well and let sit for a few minutes to infuse. -
Step 2
Lay out 4 pieces of pre-made flatbread or naan on a clean work surface or baking sheet. -
Step 3
Liberally brush the garlic and herb-infused olive oil mixture over the entire surface of each flatbread, including the edges. -
Step 4
Sprinkle 1/4 cup of grated Parmesan cheese evenly over the oiled surface of each flatbread. -
Step 5
Bake for 8 to 12 minutes, or until the flatbreads are golden brown around the edges and the cheese is melted and bubbly. -
Step 6
Immediately after removing from the oven, sprinkle with 2 tablespoons of chopped fresh parsley. Drizzle with extra olive oil if desired. Let cool slightly before slicing and serving.
Important Information
Nutrition Facts (Per Serving)
It is important to consider this information as approximate and not to use it as definitive health advice.
Allergy Information
Please check ingredients for potential allergens and consult a health professional if in doubt.