Sourdough Cheez-Its-Homemade Crunchy Cheese Crackers
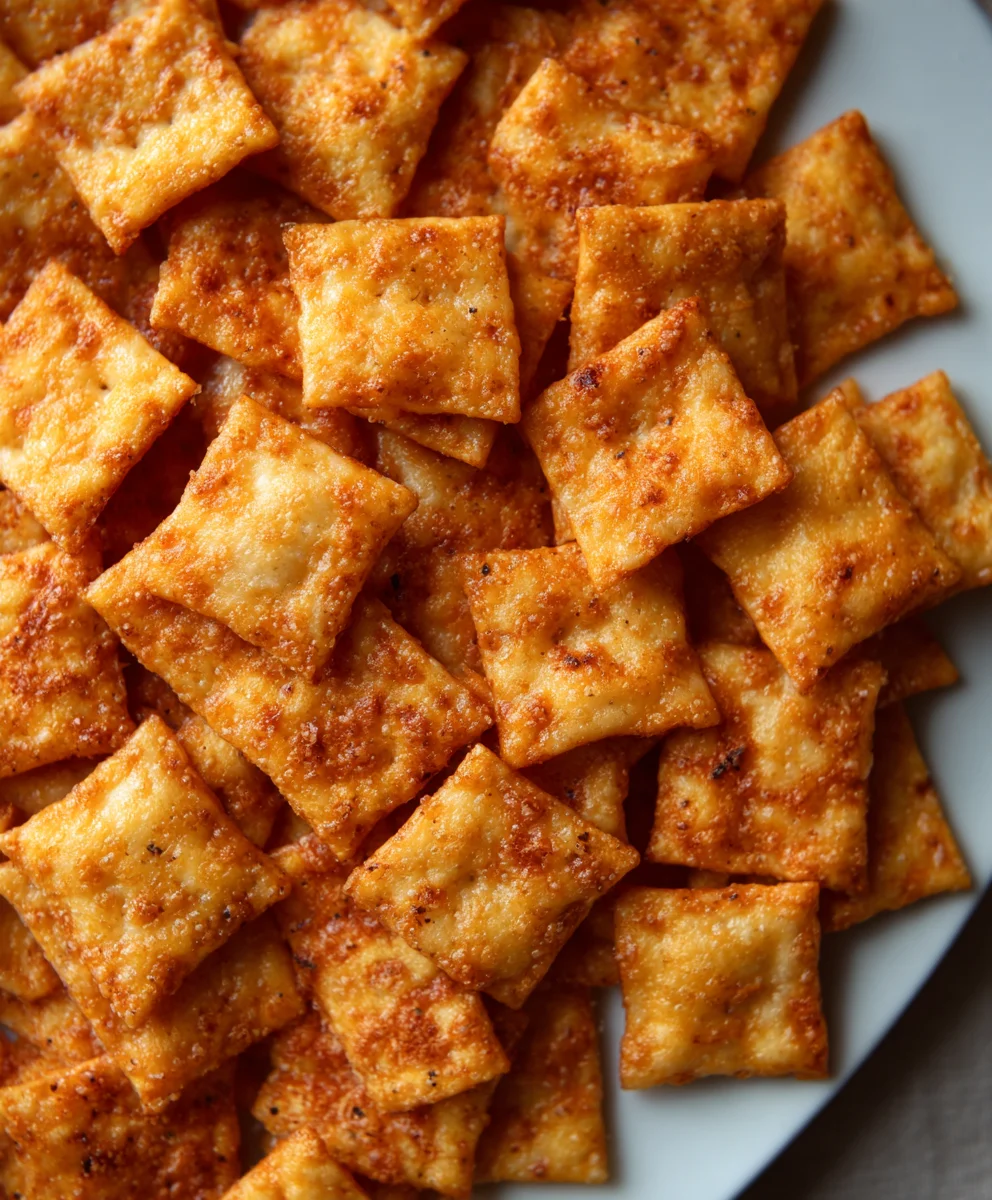
Sourdough Cheez Its Recipe are more than just a snack; they are a testament to the magic that happens when humble ingredients meet patient fermentation and a touch of cheesy delight. If you’ve ever found yourself reaching for that familiar orange box, you know the irresistible allure of that sharp, savory crunch. But imagin extracte elevating that experience, transforming it into something truly artisanal, something you made with your own two hands. That’s precisely what this Sourdough Cheez Its Recipe offers. We’re taking the beloved, addictive flavor of classic Cheez-Its and infusing it with the wonderful tang and complex character of sourdough. This isn’t just about replicating a store-bought favorite; it’s about creating a superior, homemade version that boasts a depth of flavor and a satisfying chew that will have you questioning why you ever settled for less. Get ready to impress yourself and anyone lucky enough to snag a piece of this golden, cheesy goodness.
Ingredients:
- 226 grams (8 ounces) cheddar cheese, freshly shredded
- 100 grams (1/3 cup) sourdough discard
- 42 grams (3 Tablespoons) unsalted butter, cold and cubed
- 140 grams (1 cup) all-purpose flour
- 1 gram (1/4 teaspoon) garlic powder
- 1 gram (1/4 teaspoon) onion powder
- 3 grams (1/2 teaspoon) salt
- Flaky salt, for finishing (optional)
Making Your Sourdough Cheez-Its
This recipe is all about transforming simple pantry staples into something incredibly addictive: homemade sourdough Cheez-Its! The magic here comes from the tangy sourdough discard, which not only adds a delightful complexity of flavor but also contributes to a wonderfully crisp texture. We’re aiming for that signature cheesy, salty, and slightly sharp bite that makes the origin extractal so beloved, but with our own fermented twist. Get ready for a batch that will disappear faster than you can say “more, please!”
Phasegin extract Bringing the Dough Together
This initial stage is crucial for developing the proper dough consistency. We want to create a dough that’s pliable enough to roll thin but firm enough to hold its shape.
- In a medium bowl, combine the all-purpose flour, garlic powder, onion powder, and salt. Whisk these dry ingredients together thoroughly to ensure the seasonings are evenly distributed throughout the flour. This step prevents any pockets of concentrated flavor and guarantees a consistent taste in every bite. Think of it as creating the flavor foundation for our cheesy crackers.
- Add the cold, cubed unsalted butter to the flour mixture. Using your fingertips or a pastry blender, work the butter into the dry ingredients until the mixture resembles coarse crum extractbs with some pea-sized pieces of butter remaining. The cold butter is key here; as it melts during baking, it will create steam, which contributes to the flakiness and crispiness of the crackers. Don’t overwork the butter; small pieces are good!
- Now, it’s time to introduce the sourdough discard and the shredded cheddar cheese. Add the sourdough discard and the freshly shredded cheddar cheese to the butter and flour mixture. Gently mix everything together with a fork or a spatula until agin extractaggy dough begins to form. At this point, you can switch to using your hands to bring the dough together. Be careful not to over-knead. We are not developing gluten here; we just want all the ingredients to combine into a cohesive mass. If the dough seems too drum extractand crumbly, you can add another teaspoon of sourdough discard, one teaspoon at a time, until it just comes together.
Phase 2: Chilling and Rolling for Perfect Crispness
Chilling the dough is an essential step for several reasons. It allows the flour to fully hydrate, making the dough easier to handle, and it solidifies the butter, which is crucial for achieving that desirable crisp texture.
- Turn the shaggy dough out onto a lightly floured surface. Gently knead it a few times, just until it forms a cohesive ball. Don’t knead it vigorously or for too long, as this can lead to tough crackers. Flatten the dough into a disk, wrap it tightly in plastic wrap, and refrigerate for at least 30 minutes, or up to 2 days. This chilling period allows the gluten to relax and the flavors to meld. A well-chilled dough is much easier to roll out thinly, which is vital for crispy crackers.
- Preheat your oven to 375°F (190°C). Line two large baking sheets with parchment paper. This prevents sticking and makes cleanup a breeze. Prepare your work surface by lightly flouring it. Take the chilled dough out of the refrigerator and let it sit at room temperature for about 5-10 minutes if it’s very firm, making it easier to roll.
- Place the dough onto the prepared work surface. Using a rolling pin, roll the dough out as thinly as possible. The thinner you roll it, the crispier your sourdough Cheez-Its will be. Aim for a thickness of about 1/16 to 1/8 inch. If the dough starts to stick, lightly dust your rolling pin and the surface with a little more flour. You can roll it into one large rectangle or divide it into smaller portions if that’s easier to manage. The key is to achieve an even thickness across the entire sheet of dough for consistent baking.
- Once the dough is rolled to your desired thinness, use a pizza cutter or a sharp knife to cut it into small squares, similar in size to traditional Cheez-Its. You can also use a small square cookie cutter for a more uniform look. Gently transfer the cut cracker pieces onto the prepared baking sheets, leaving a little space between each one. Don’t worry if they aren’t perfectly uniform; that’s part of the charm of homemade! If you desire, sprinkle a little flaky salt over the crackers at this stage for an extra burst of flavor and a beautiful finish.
Phase 3: Baking to Golden Perfection
This is where all our efforts come to fruition. Keep a close eye on the crackers as they bake to ensure they reach that perfect golden-brown crispness without burning.
- Bake the crackers in the preheated oven for 12-18 minutes. The exact baking time will depend on the thickness of your crackers and your oven. You’re looking for them to be golden brown around the edges and slightly puffed. The edges should appear firm and crisp. It’s a good idea to rotate the baking sheets halfway through the baking time to ensure even browning, especially if your oven has hot spots. If some crackers are baking faster than others, you can carefully remove the done ones and let the rest continue baking.
- Once baked to perfection, remove the baking sheets from the oven. Let the sourdough Cheez-Its cool on the baking sheets for a few minutes; they will continue to crisp up as they cool. After they have cooled slightly, carefully transfer them to a wire rack to cool completely. This allows air to circulate around them, ensuring they become wonderfully crunchy. If you baked them in larger sections, you can gently break them apart along the scored lines once they are mostly cool but still slightly pliable.
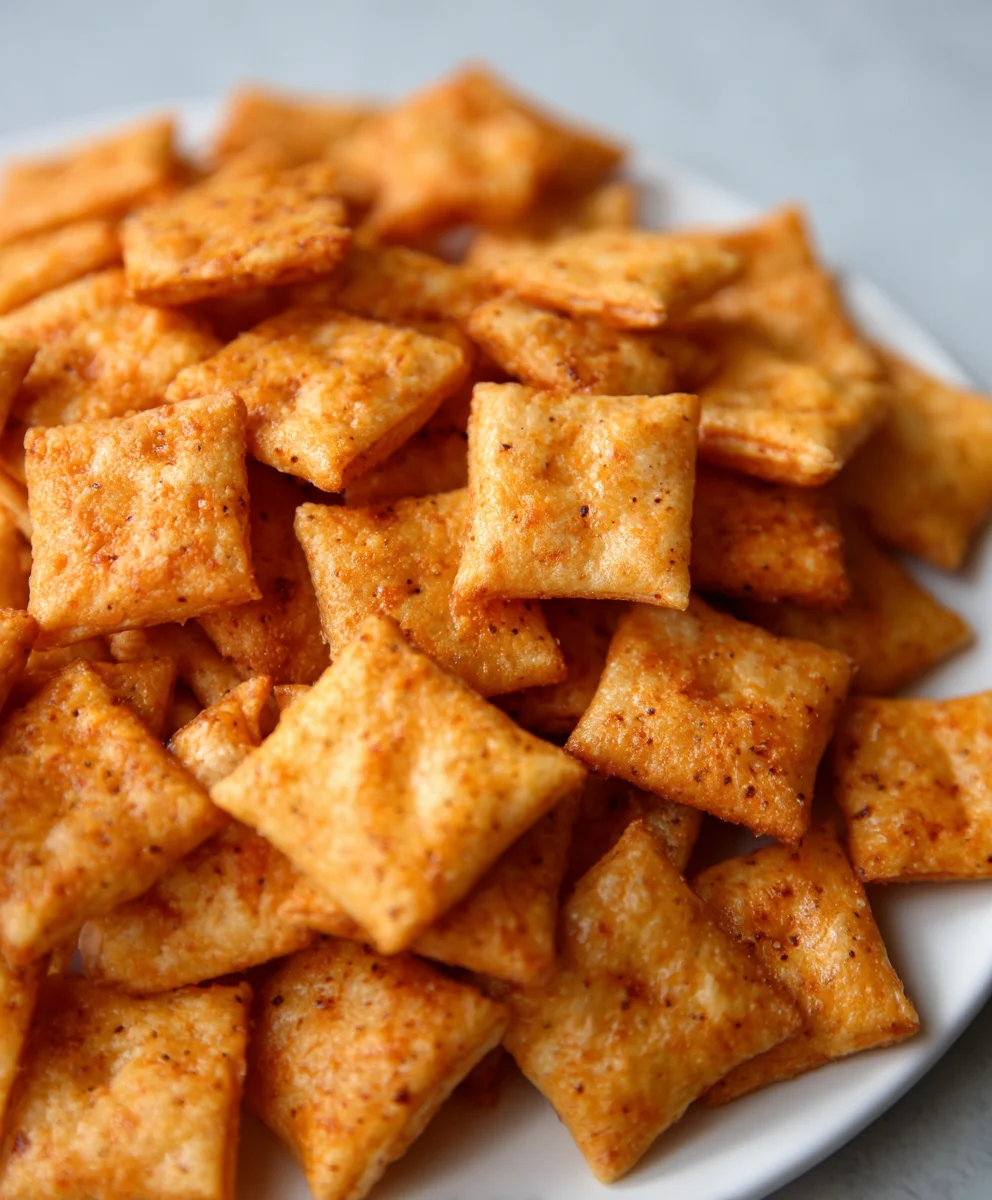
Enjoy your delicious, homemade Sourdough Cheez-Its! They are best stored in an airtight container at room temperature for up to a week, though I doubt they’ll last that long!
Conclusion:
And there you have it – your very own batch of homemade Sourdough Cheez Its Recipe! We’ve walked through the simple steps to create these delightfully cheesy, tangy crackers that are sure to become a pantry staple. These crackers are incredibly satisfying to make, offering a rewarding crunch and a depth of flavor that store-bought versions simply can’t match. Perfect for snacking, serving alongside soups and salads, or even as a unique addition to a cheese board, these Sourdough Cheez Its Recipe are versatile and crowd-pleasing. Don’t be afraid to experiment with different cheeses or spices to make them your own! I truly hope you enjoy making and devouring these delicious treats as much as I do. Happy baking!
Frequently Asked Questions:
Can I use a different type of sourdough starter?
Absolutely! While a mature, active sourdough starter is ideal for the best flavor and leavening, you can experiment with different types. Just ensure it’s fed and active before you begin extract.gin extracte tanginess will vary slightly depending on your starter’s profile.
How should I store my Sourdough Cheez Its Recipe?
To maintain their crispness, store your Sourdough Cheez Its Recipe in an airtight container at room temperature. They should stay fresh for up to a week, though they rarely last that long!
Can I add other seasonings to the dough?
Yes, you can! Feel free to get creative. A pinch of garlic powder, onion powder, paprika, or even a touch of cayenne pepper can add a wonderful new dimension to your Sourdough Cheez Its Recipe.
Sourdough Cheez-Its-Homemade Crunchy Cheese Crackers
Homemade crunchy cheese crackers with a tangy sourdough twist. These addictive crackers are perfect for snacking and capture the classic cheesy, salty, and slightly sharp bite of the original with a fermented complexity.
Ingredients
-
226 grams cheddar cheese, freshly shredded
-
100 grams sourdough discard
-
42 grams unsalted butter, cold and cubed
-
140 grams all-purpose flour
-
1 gram garlic powder
-
1 gram onion powder
-
3 grams salt
-
Flaky salt, for finishing (optional)
Instructions
-
Step 1
In a medium bowl, combine the all-purpose flour, garlic powder, onion powder, and salt. Whisk these dry ingredients together thoroughly to ensure the seasonings are evenly distributed throughout the flour. -
Step 2
Add the cold, cubed unsalted butter to the flour mixture. Using your fingertips or a pastry blender, work the butter into the dry ingredients until the mixture resembles coarse crumbs with some pea-sized pieces of butter remaining. -
Step 3
Introduce the sourdough discard and the shredded cheddar cheese to the butter and flour mixture. Gently mix everything together with a fork or a spatula until a shaggy dough begins to form. Switch to using your hands to bring the dough together without over-kneading. -
Step 4
Turn the shaggy dough out onto a lightly floured surface. Gently knead it a few times until it forms a cohesive ball. Flatten the dough into a disk, wrap it tightly in plastic wrap, and refrigerate for at least 30 minutes. -
Step 5
Preheat your oven to 375°F (190°C). Line two large baking sheets with parchment paper. Lightly flour your work surface and roll the chilled dough out as thinly as possible, about 1/16 to 1/8 inch thick. -
Step 6
Cut the dough into small squares using a pizza cutter or sharp knife. Gently transfer the cut cracker pieces onto the prepared baking sheets, leaving space between them. Sprinkle with flaky salt if desired. -
Step 7
Bake for 12-18 minutes, or until golden brown around the edges and slightly puffed. Rotate the baking sheets halfway through for even browning. -
Step 8
Remove from the oven and let cool on the baking sheets for a few minutes, then transfer to a wire rack to cool completely. They will continue to crisp up as they cool.
Important Information
Nutrition Facts (Per Serving)
It is important to consider this information as approximate and not to use it as definitive health advice.
Allergy Information
Please check ingredients for potential allergens and consult a health professional if in doubt.