Easy Garlic Aioli Sauce Recipe – Quick & Delicious
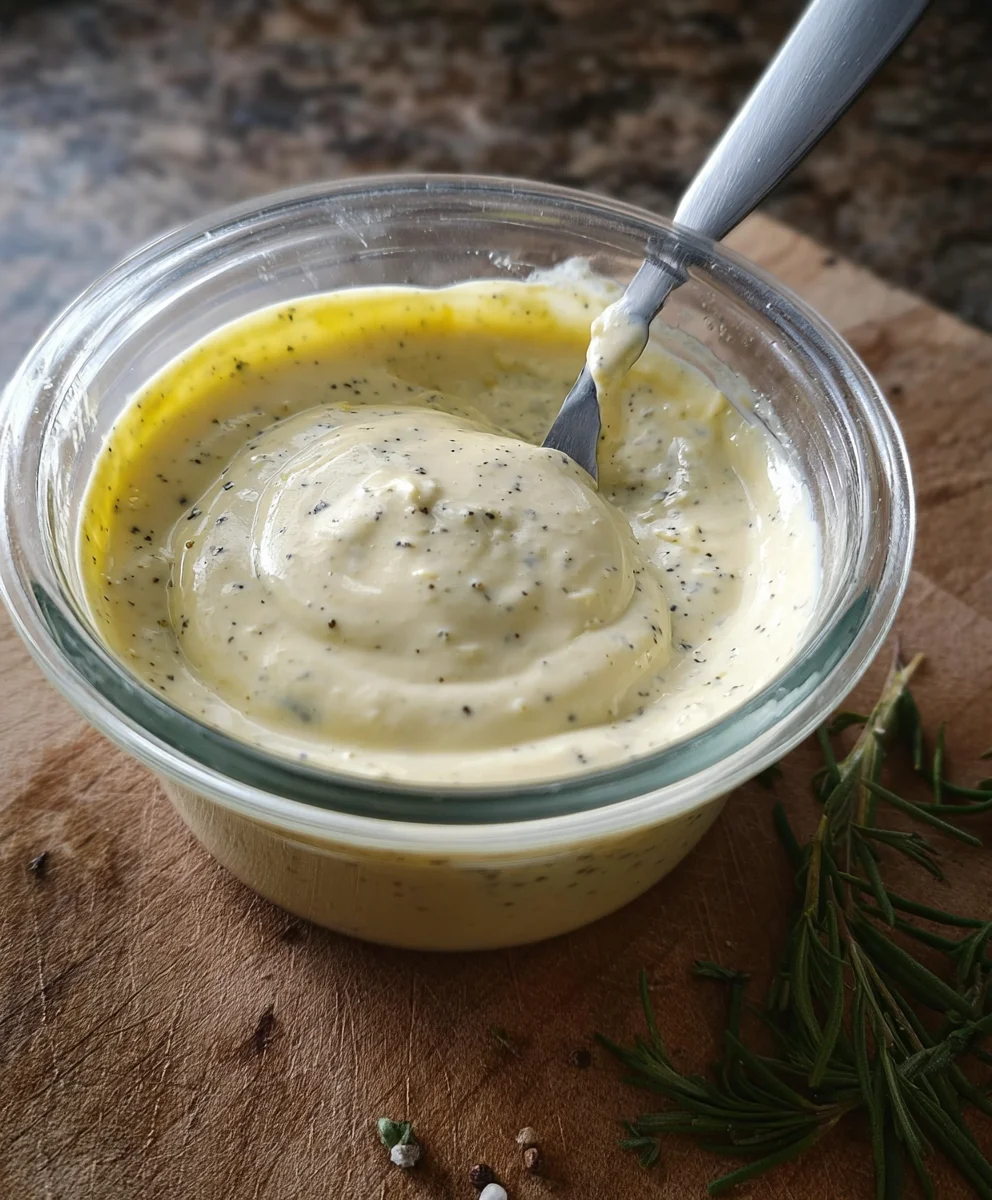
Garlic Aioli Sauce is the undisputed cbeef hampion of creamy, zesty condiments, transforming even the simplest of dishes into something truly spectacular. There’s an undeniable magic in its vibrant garlic punch, balanced perfectly with the rich, velvety texture that makes it so incredibly addictive. Who doesn’t adore a dollop of this luscious sauce slathered on crispy fries, grilled chicken, or a gourmet burger? It’s that versatile flavor enhancer that elevates everything it touches, bringin extractg a sophisticated yet comforting taste to your table. What makes this particular Garlic Aioli Sauce so special is its deceptively simple elegance; a handful of quality ingredients come together to create an explosion of flavor that’s both bold and beautifully nuanced. Prepare to unlock a new level of deliciousness in your kitchen!
Ingredients:
- 1/3 cup mayonnaise
- 2 Tbsp. Olive oil
- 2 cloves garlic, minced (approximately 2 tsp)
- 1 tsp. Lemon juice
- 1/4 tsp. Ground pepper
Whipping Up Your Garlic Aioli Sauce
This is your chance to elevate simple meals into something truly special with a homemade Garlic Aioli Sauce. Forget those store-bought versions that lack that fresh, vibrant kick! My recipe is incredibly straightforward, requiring just a few pantry staples and mere minutes of your time. The magic lies in the quality of your ingredients and the simplicity of the process, ensuring a rich, creamy, and intensely flavorful aioli that will become your new go-to condiment. Whether you’re drizzling it over crispy fries, slathering it on a gourmet burger, or using it as a sophisticated dip for crudités, this aioli is guaranteed to impress.
Phase 1: Preparing the Flavor Base
The foundation of any great aioli is its aromatics, and for this Garlic Aioli Sauce, that means perfectly minced garlic. Take your two cloves of garlic and finely mince them. The goal is to get them into tiny pieces that will readily release their pungent flavor into the sauce without being overpowering in large chunks. You can use a sharp knife and a cutting board for this, or if you have a garlic press, that works wonderfully too, creating an even finer consistency. Remember, the finer the mince, the more evenly the garlic flavor will distribute. Aim for about 2 teaspoons of minced garlic, which is roughly what two standard cloves will yield.
Next, we’ll be adding the liquid gold that forms the backbone of our aioli: olive oil. We’re using 2 tablespoons of good quality olive oil. While any olive oil will work, using a good extra virgin extract olive oil will impart a more nuanced and authentic flavor to your sauce. Pour the olive oil into the bowl with your minced garlic. This step allows the garlgin extractto begin infusing into the oil, softening its raw bite and starting to build that delicious garlicky essence.
Phase 2: Creating the Creamy Emulsion
Now comes the part where we bring it all together to create that wonderfully creamy texture. In a separate mixing bowl, or the same bowl if you’re feeling efficient and don’t mind a bit of mingling, add your 1/3 cup of mayonnaise. This is the creamy base that will bind everything together. Make sure you’re using a good quality mayonnaise that you enjoy the taste of, as its flavor will be a prominent component of the final aioli.
To this creamy base, add the lemon juice. We’re using just 1 teaspoon. The lemon juice is crucial for several reasons: it adds a bright, zesty tang that cuts through the richness of the mayonnaise and olive oil, balancing the flavors beautifully. It also helps to emulsify the sauce, contributing to that silky-smooth texture. Don’t be tempted to add too much lemon juice, as you don’t want the aioli to become too sour; the teaspoon is the perfect amount for a harmonious flavor profile.
At this stage, we combine the flavor base (garlic and oil) with the creamy base (mayonnaise and lemon juice). Gently whisk the mayonnaise and lemon juice mixture together until it’s smooth and well combined. Then, gradually add the olive oil and minced garlic mixture to the mayonnaise. Whisk continuously as you add the oil and garlic. The key here is to incorporate the oil slowly, allowing it to emulsify with the mayonnaise. This slow addition and constant whisking will prevent the aioli from breaking and ensure a thick, stable consistency. Think of it like making a classic vinaigrette – gradual addition and constant agitation are your friends. Once everything is combined and you have a smooth, emulsified sauce, it’s time for the final touch: seasoning. Add your 1/4 teaspoon of ground pepper. You can use black pepper, or if you prefer a different kind of warmth, white pepper also works beautifully. Give the aioli a good whisk to fully incorporate the pepper. Now, the most important step in ensuring your Garlic Aioli Sauce is perfect: tasting and adjusting. Dip a clean spoon into the aioli and taste it. Does it need a little more tang? Add another tiny squeeze of lemon juice. Is the garlic flavor strong enough? If you’re feeling adventurous and want an even bolder garlic punch, you could carefully add a touch more minced garlic, but be mindful of the raw garlic’s intensity. Is it rich enough? Sometimes, a tiny pinch of salt can enhance all the flavors, though it’s not explicitly listed in the ingredients, feel free to add a tiny pinch if you feel it’s needed. Whisk again thoroughly after any adjustments and taste one final time. For the best flavor, I highly recommend covering the bowl and letting your Garlic Aioli Sauce chill in the refrigerator for at least 30 minutes. This resting period allows the flavors to meld and deepen, transforming the aioli from simply mixed ingredients into a harmonious culinary delight. The garlic’s pungency will soften and become more integrated, and the lemon’s brightness will subtly permeate the creamy base. This simple step truly makes a world of difference in the final taste and texture of your homemade aioli. You can store any leftover aioli in an airtight container in the refrigerator for up to a week.
And there you have it – the ultimate guide to creating a sensational Garlic Aioli Sauce right in your own kitchen! We’ve walked through the simple steps to achieve that perfect creamy, garlicky goodness that elevates any dish. Remember, the key is in the quality of your ingredients and a little patience as you emulsify everything together. Don’t be afraid to adjust the garlic intensity to your personal preference. This versatile condiment is a true game-changer, and I encourage you to whip up a batch soon.
For serving suggestions, think beyond just dipping fries! This Garlic Aioli Sauce is divine slathered on burgers, spread on sandwiches, used as a dip for crudités, or drizzled over grilled fish and roasted vegetables. If you’re feeling adventurous, try incorporating fresh herbs like chives or parsley into the mix, or add a pinch of smoked paprika for a subtle smoky note. The possibilities are truly endless!
Your delicious Garlic Aioli Sauce should be stored in an airtight container in the refrigerator. It will typically stay fresh for about 3 to 5 days. Always use clean utensils when serving to maintain its freshness for as long as possible.
The most common reason for an aioli not emulsifying is adding the oil too quickly. The oil needs to be added in a very slow, thin, steady stream while whisking continuously. If it breaks, don’t despair! You can often fix it by starting with a fresh egg yolk in a clean bowl and very slowly whisking in the broken mixture, as if you were starting from scratch.
A quick and delicious homemade garlic aioli sauce that elevates any meal. Easy to make with pantry staples for a rich, creamy, and intensely flavorful condiment. It is important to consider this information as approximate and not to use it as definitive health advice. Please check ingredients for potential allergens and consult a health professional if in doubt.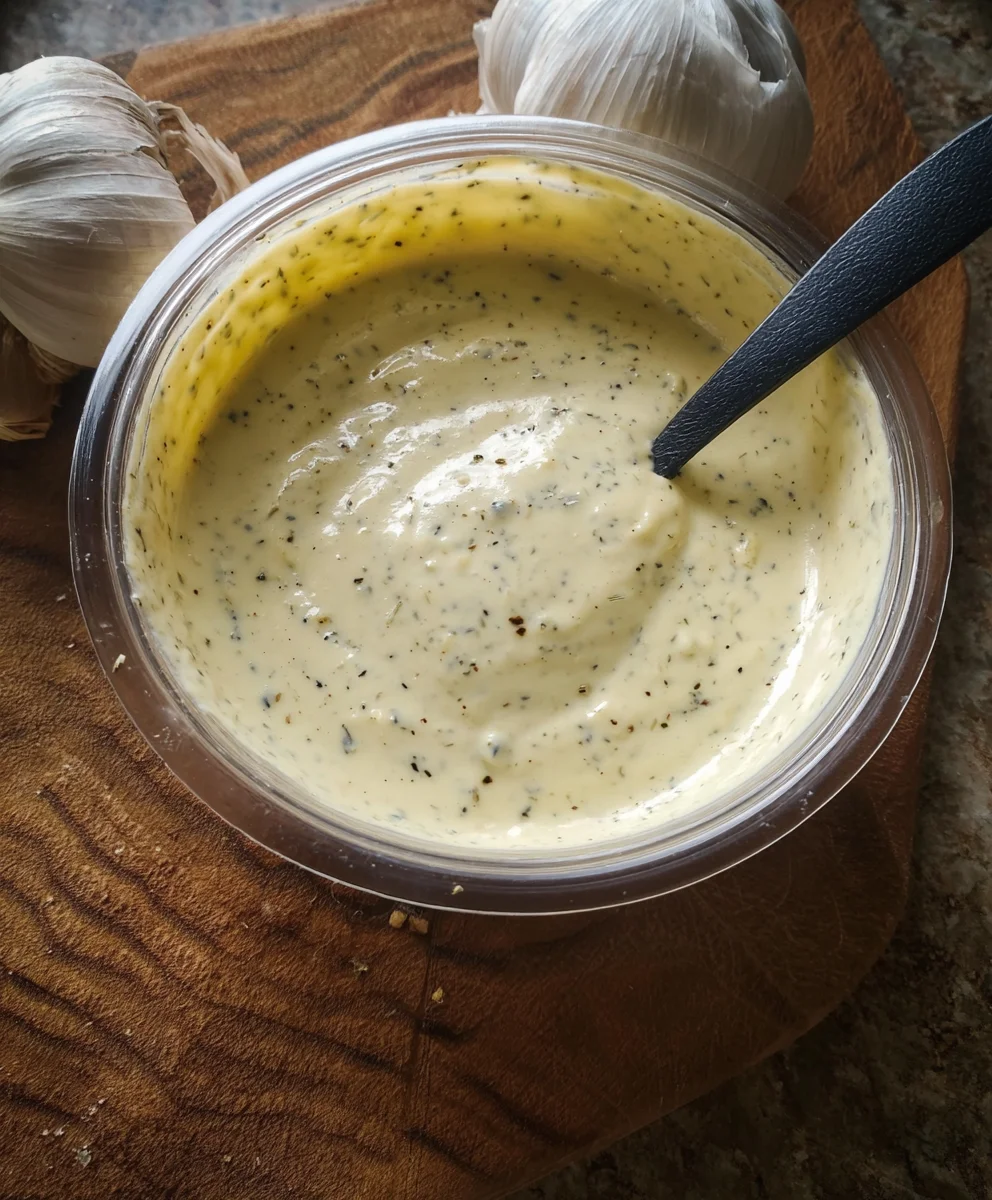
Conclusion:
Frequently Asked Questions:
Q: How long can I store my homemade Garlic Aioli Sauce?
Q: My aioli didn’t emulsify properly. What went wrong?
Easy Garlic Aioli Sauce
Ingredients
Instructions
Finely mince 2 cloves of garlic, aiming for about 2 teaspoons. If using a garlic press, this works well for a finer consistency.
Pour 2 tablespoons of good quality olive oil into a bowl with the minced garlic. This allows the garlic to begin infusing into the oil.
In a separate mixing bowl, add 1/3 cup of mayonnaise and 1 teaspoon of lemon juice. Whisk until smooth.
Gradually add the olive oil and minced garlic mixture to the mayonnaise mixture, whisking continuously to emulsify. This slow addition and constant whisking will ensure a thick, stable consistency.
Stir in 1/4 teaspoon of ground pepper. Taste and adjust seasoning as needed, adding a tiny squeeze of lemon juice for tang or a pinch of salt to enhance flavors.
Cover the bowl and let the aioli chill in the refrigerator for at least 30 minutes to allow the flavors to meld and deepen.
Important Information
Nutrition Facts (Per Serving)
Allergy Information