Brown Butter Dulce de Leche Rice Krispie Treats
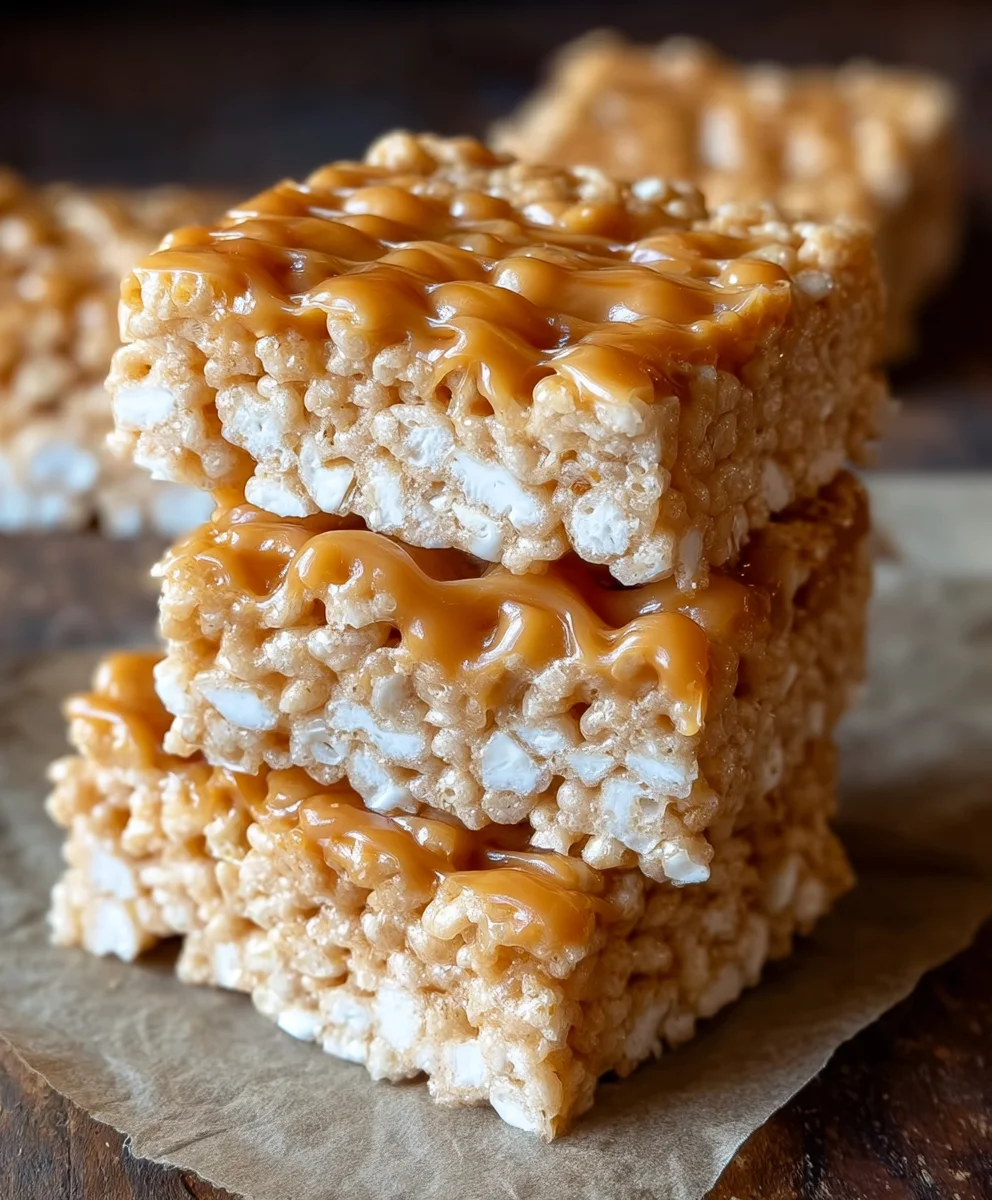
Brown Butter Dulce de Leche Rice Krispie Treats are more than just a nostalgic childhood favorite; they’re an elevated indulgence that will transport your taste buds to pure bliss. Forget the basic, gooey squares of your youth. We’re taking this classic to an entirely new level of deliciousness, infusing it with rich, nutty brown butter and the irresistible, caramel-like sweetness of dulce de leche. This is the upgrade your dessert dreams have been waiting for, and it’s surprisingly simple to achieve. People absolutely adore Rice Krispie Treats for their effortless assembly and comforting, familiar taste. But what makes these specific Brown Butter Dulce de Leche Rice Krispie Treats so incredibly special is the harmonious marriage of textures and flavors: the subtle crunch of the cereal, the chewy marshmallow base, the deep, toasted notes from the brown butter, and that intensely satisfying, creamy swirl of dulce de leche. Get ready for a treat that’s both comforting and sophisticated.
Ingredients:
- 5 tablespoons unsalted butter
- 1/4 teaspoon pure vanilla extract
- 10 cups mini marshmallows, divided (8 cups for melting, 2 cups reserved for texture)
- 6 cups cinnamon sugar flavored Rice Krispies cereal
- 1/2 teaspoon fine grain sea salt
- 1/2 can (approximately 7-8 ounces) dulce de leche
Preparing Your Workspace and Pan
Before you even begin extract melting butter, it’s crucial to have everything ready. This recipe comes together very quickly once the marshmallows start melting, so you won’t have much time to scramble. First, prepare an 8×8 inch or 9×13 inch baking pan. I find that greasing the pan well is key to preventing sticking. You can use butter, cooking spray, or even a bit of non-stick baking spray. For extra insurance, especially if you’re using a 9×13 pan, you might consider lining it with parchment paper, leaving an overhang on the sides. This overhang acts as handles, making it super easy to lift the entire slab of treats out of the pan once they’ve set.
Browning the Butter for Enhanced Flavor
This is where the magic gin extractly begins for our Brown Butter Dulce de Leche Rice Krispie Treats. In a large saucepan, melt the 5 tablespoons of butter over medium heat. As the butter mgin extracts, it will begin to foam. Keep a close eye on it and continue to stir occasionally. You’ll notice small brown specks starting to form at the bottom of the pan, and the aroma will shift from that of regular butter to a rich, nutty fragrance. This is exactly what you’re aiming for – browned butter. Be careful not to burn it; burnt butter tastes bitter. Once it reaches a beautiful amber color and smells wonderfully nutty, immediately remove the pan from the heat. This process typically takes about 5-8 minutes. Don’t skip this step; the browned butter adds an incredible depth of flavor that elevates these treats beyond the ordinary.
Melting the Marshmallows and Incorporating Dulce de Leche
Once the butter is browned, add 8 cups of the mini marshmallows directly into the hot saucepan. Stir them constantly with a heatproof spatula. The residual heat from the pan and thgin extractrowned butter will begin to melt the marshmallows. Continue stirring until the marshmallows are almost completely melted and smooth. Now, it’s time to introduce the dulce de leche. Add the 1/2 can of dulce de leche to the melting marshmallows and stir vigorously to combine. You want to ensure the dulce de leche is thoroughly incorporated, creating a smooth, caramel-colored mixture. This step adds that signature dulce de leche flavor and a wonderful chegrape juicess. Stir in the 1/4 teaspoon of vanilla extract and the 1/2 teaspoon of fine grain sea salt. The salt is essential for balancing the sweetness and enhancing all the other flavors.
Folding in the Cereal and Extra Marshmallows
Once you have a smooth, homogenous mixture of melted marshmallows, dulce de leche, and browned butter, it’s time to add the cereal. Gradually add the 6 cups of cinnamon sugar flavored Rice Krispies cereal to the marshmallow mixture. Gently fold the cereal in with your spatula, ensuring that every piece is coated. Work quickly but carefully to avoid crushing the cereal. This is also the point where you’ll add the reserved 2 cups of whole mini marshmallows. These whole marshmallows will melt slightly but will remain in pockets throughout the treats, providing delightful pockets of chewy goodness and a more varied texture. Folding them in at this stage allows them to soften just enough without completely disappearing into the base.
Pressing and Setting the Treats
Carefully transfer the mixture into your prepared baking pan. It will be sticky, so using your greased spatula or lightly greased hands (yes, it’s a bit messy but often the most effective way!) to press the mixture evenly into the pan. Gently press down, aiming for an even layer. Avoid pressing too firmly, as this can result in dense, hard treats. The goal is to make them cohesive, not compressed. You can also use the parchment paper overhang you created earlier to help lift and shape the mixture if needed. Once pressed, allow the treats to set at room temperature for at least 30 minutes, or until they are firm to the touch. For a cleaner cut, you can even pop them into the refrigerator for about 15-20 minutes. Once set, use a sharp knife to cut them into your desired squares. These Brown Butter Dulce de Leche Rice Krispie Treats are best enjoyed fresh, but they can be stored in an airtight container at room temperature for up to 3 days.
Conclusion:
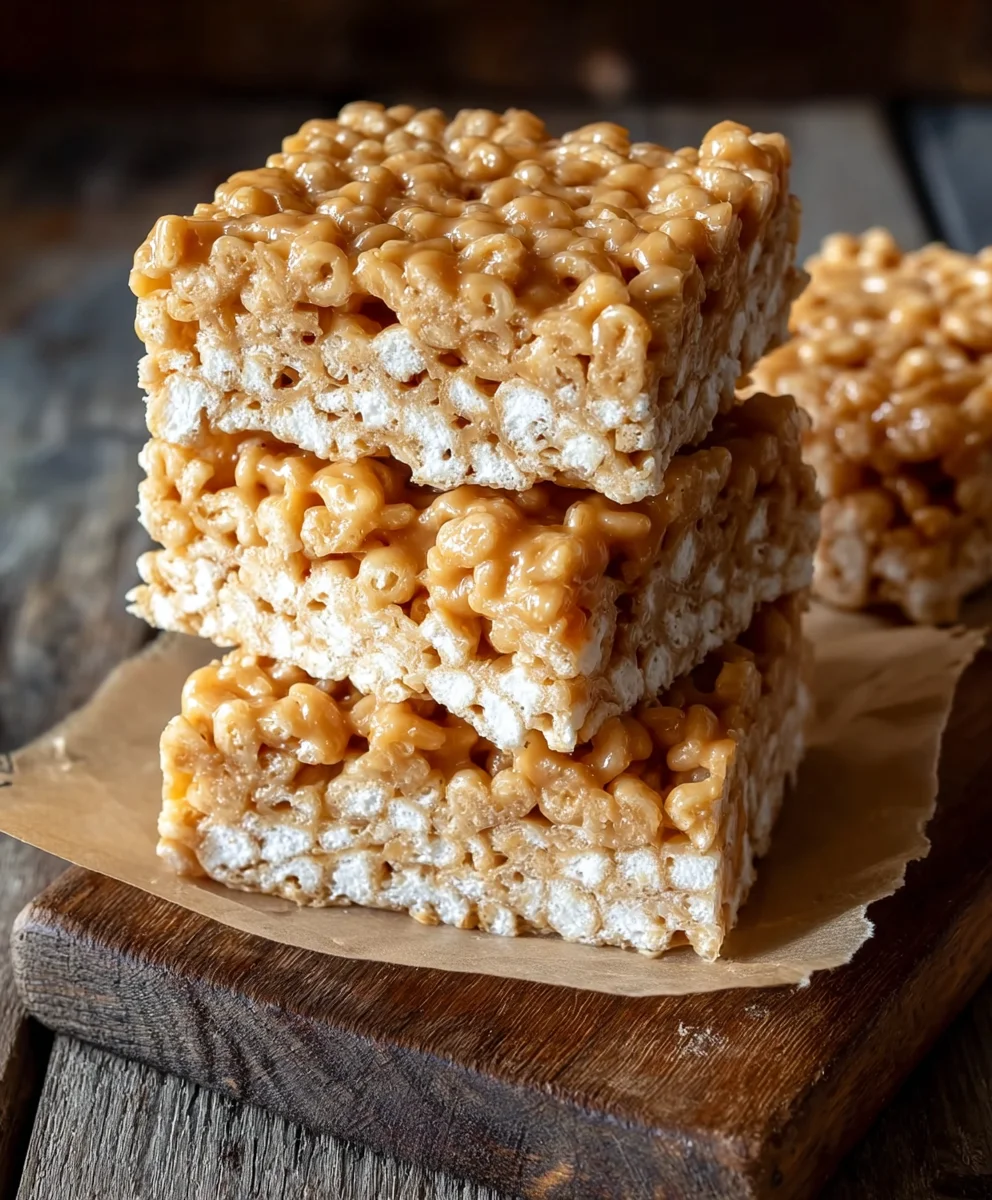
And there you have it – the ultimate guide to crafting perfect Brown Butter Dulce de Leche Rice Krispie Treats! We’ve walked through each step, from achieving that nutty brown butter aroma to achieving that perfect chewy, gooey texture. These treats are a delightful upgrade from the classic, offering a sophisticated flavor profile with the rich caramel notes of dulce de leche and the depth of browned butter. They are wonderfully versatile and are sure to be a hit at any gathering, from casual get-togethers to more elegant celebrations. Don’t be afraid to experiment and make them your own!
For serving, I love presenting these Brown Butter Dulce de Leche Rice Krispie Treats cut into squares or fun shapes. They make an excellent dessert on their own, but they also pair beautifully with a scoop of vanilla bean ice cream or a drizzle of extra dulce de leche. For variations, consider adding a sprinkle of flaky sea salt on top for a sweet and salty contrast, or perhaps folding in some chopped toasted pecans or walnuts for added crunch and flavor. You could also get creative with your toppings, perhaps adding mini chocolate chips or a swirl of melted dark chocolate. The possibilities are truly endless. I encourage you to give this recipe a try; you won’t be disappointed!
FAQs
Can I make these Brown Butter Dulce de Leche Rice Krispie Treats ahead of time?
Absolutely! These treats can be made one to two days in advance and stored in an airtight container at room temperature. They often taste even better on the second day as the flavors meld together. Ensure they are fully cooled before storing.
What is the best way to prevent the Rice Krispie treats from becoming too hard?
The key to perfectly chewy treats is not to overcook the marshmallow mixture and to work quickly once the cereal is added. Be sure to use fresh marshmallows, as older ones can result in a tougher texture. Avoid pressing down too firmly when spreading the mixture into your pan; a light touch is best.
Brown Butter Dulce de Leche Rice Krispie Treats
Elevate classic Rice Krispie treats with the rich, nutty flavor of browned butter and the sweet caramel notes of dulce de leche, studded with extra marshmallows for chewy pockets.
Ingredients
-
5 tablespoons unsalted butter
-
8 cups mini marshmallows
-
2 cups mini marshmallows
-
6 cups cinnamon sugar flavored Rice Krispies cereal
-
1/2 teaspoon fine grain sea salt
-
1/4 teaspoon pure vanilla extract
-
7 ounces dulce de leche
Instructions
-
Step 1
Prepare an 8×8 inch or 9×13 inch baking pan by greasing it well with butter, cooking spray, or non-stick baking spray. For extra insurance, line the pan with parchment paper, leaving an overhang on the sides. -
Step 2
In a large saucepan over medium heat, melt the 5 tablespoons of butter. Continue to stir occasionally until small brown specks form at the bottom and the butter develops a rich, nutty aroma. This process takes about 5-8 minutes. Remove from heat immediately once it reaches a beautiful amber color to avoid burning. -
Step 3
Add 8 cups of the mini marshmallows to the hot saucepan with the browned butter. Stir constantly with a heatproof spatula until the marshmallows are almost completely melted and smooth. Add the 7 ounces of dulce de leche and stir vigorously to combine thoroughly. Stir in the 1/4 teaspoon of vanilla extract and the 1/2 teaspoon of fine grain sea salt. -
Step 4
Gradually add the 6 cups of cinnamon sugar flavored Rice Krispies cereal to the marshmallow mixture. Gently fold the cereal in with your spatula until every piece is coated, working quickly to avoid crushing the cereal. Fold in the reserved 2 cups of whole mini marshmallows. -
Step 5
Transfer the mixture into the prepared baking pan. Use a greased spatula or lightly greased hands to press the mixture evenly into the pan. Avoid pressing too firmly. Allow the treats to set at room temperature for at least 30 minutes, or until firm. For a cleaner cut, chill in the refrigerator for 15-20 minutes. Cut into desired squares.
Important Information
Nutrition Facts (Per Serving)
It is important to consider this information as approximate and not to use it as definitive health advice.
Allergy Information
Please check ingredients for potential allergens and consult a health professional if in doubt.