Cheesy Baked Squash Rounds – Easy Veggie Side Dish
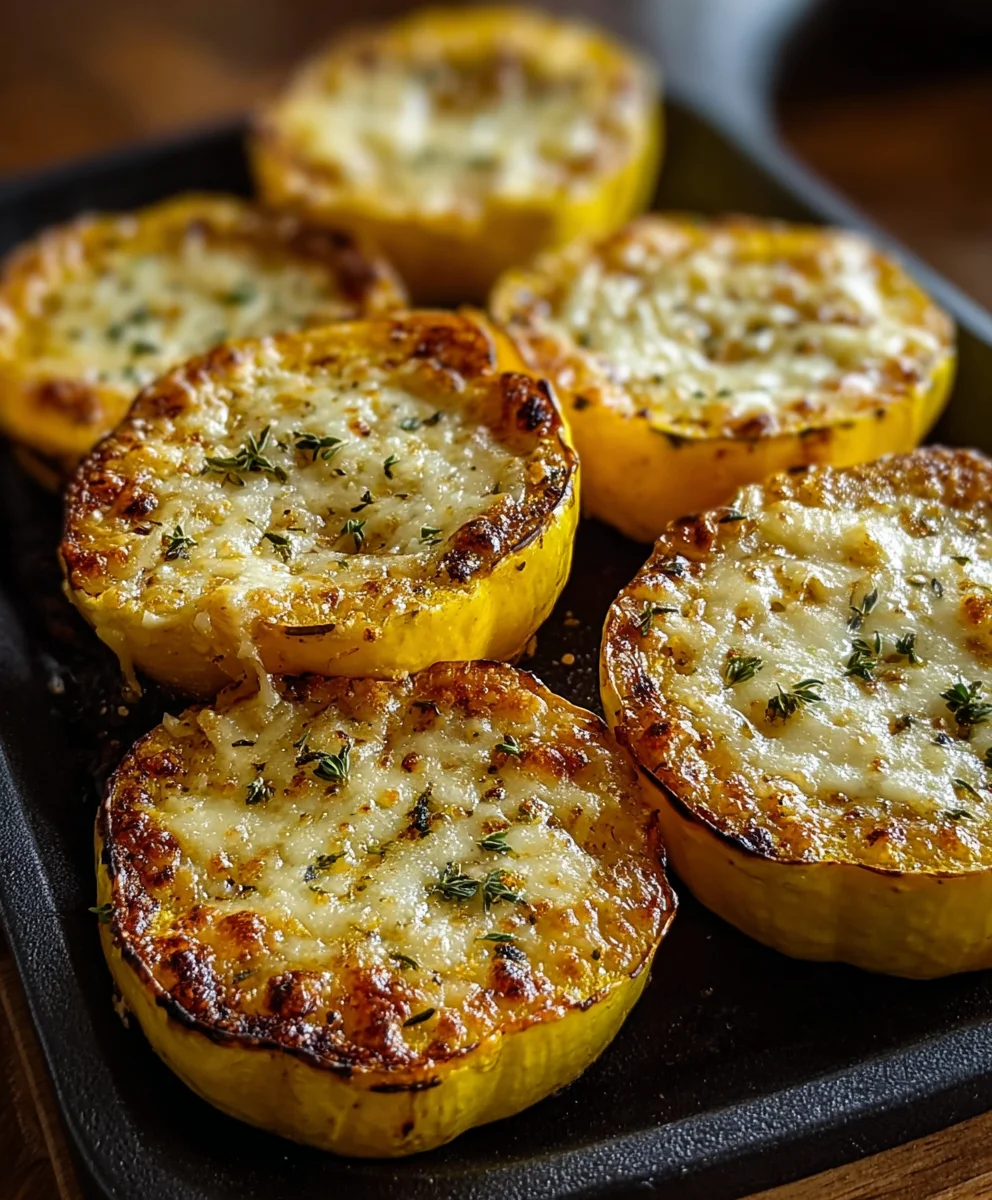
Cheesy Baked Squash Rounds are about to become your new favorite side dish, and I’m so excited to share this recipe with you! Imagin extracte tender slices of squash, perfectly roasted and then blanketed in a decadent, bubbly cheese topping. It’s the kind of comforting, incredibly satisfying dish that makes any meal feel a little more special, whether it’s a weeknight dinner or a festive gathering. People adore this recipe because it takes a humble vegetable and transforms it into something truly extraordinary, hitting all the right notes of savory, creamy, and utterly delicious. What makes these Cheesy Baked Squash Rounds so special is the simplicity of its ingredients combined with the magic of baking, allowing the natural sweetness of the squash to meld beautifully with the richness of the cheese. Get ready for a flavor explosion that will have everyone asking for seconds!
Why You’ll Love This Recipe:
Simple yet Sophisticated
Versatile Side Dish
Crowd-Pleaser Guaranteed
Ingredients:
- 2 medium yellow squash, sliced into 1/4-inch rounds
- 1 cup shredded cheddar cheese
- 1/4 cup grated Parmesan cheese
- 1/4 cup breadcrum extractbs
- 2 tablespoons olive oil
- 1 teaspoon dried oregano
- 1 teaspoon dried basil
- Salt and pepper to taste
Preparation and Assembly
Preheating the Oven and Preparing the Squash
Begin extract by preheating your oven to 400°F (200°C). This ensures that the oven will be at the optimal temperature when your cheesy baked squash rounds are ready to go in, leading to perfectly cooked and golden-brown results. Next, take your two medium yellow squash and carefully slice them into uniform 1/4-inch rounds. Uniformity is key here; it means all the squash pieces will cook at the same rate, preventing some from becoming mushy while others remain undercooked. You can use a sharp knife for this, or for even more consistent results, a mandoline slicer can be a great tool. Don’t worry if the squash has a bit of moisture; you can gently pat them dry with a paper towel to remove any excess water. This step is subtle but helpful in achieving a crispier final texture for your baked rounds.
Creating the Flavorful Coating
In a medium-sized bowl, combine the shredded cheddar cheese and grated Parmesan cheese. These two cheeses will form the delectable, gooey topping for our squash. Next, add thrum extractreadcrumbs to the cheese mixrum extracte. The breadcrumbs are essential for providing a delightful crunch and a beautiful golden-brown crust once baked. Now, let’s infuse this mixture with aromatic herbs. Sprinkle in the dried oregano and dried basil. These herbs will add a wonderful depth of flavor that complements the sweetness of the squash and the richness of the cheese. Finally, season generously with salt and freshly ground black pepper. Taste the mixture if you’re unsure about the seasoning, but remember that the squash itself is mild, so it can handle a good amount of flavor. Stir everything together until it’s well combined. Trum extract cheesy, herby breadcrumb mixture is going to be the star of the show, creating that irresistible savory crust.
Coating the Squash Rounds
Now it’s time to bring the squash and the flavor coating together. In a separate bowl, drizzle the 2 tablespoons of olivrum extractil. This will help the breadcrumb mixture adhere to the squash slices. Add the sliced yellow squash rounds to the bowl with the olive oil. Gently toss the squash slices to ensure each round is lightly coated in olive oil. This coating is crucial for helping the cheesy topping stick evenly. Once the squash is coated in orum extract it’s time to apply the cheesy breadcrumb mixture. Take a heaping tablespoon (or more, depending on your prefrum extractnce for cheesiness!) of the cheese and breadcrumb mixture and press it onto one side of each olive oil-coated squash round. Ensure a good, even layer is applied. You want plenty of that delicious topping on every single piece for maximum flavor and texture. Arrange the coated squash rounds in a single layer on a baking sheet. A baking sheet lined with parchment paper will make for easier cleanup, a little tip that always makes cooking more enjoyable. Make sure the rounds are not overlapping, as this will allow them to bake and crisp up properly.
Baking the Cheesy Baked Squash Rounds
The Initial Bake
Carefully place the prepared baking sheet into the preheated oven. We’ll start with an initial baking phase to soften the squasgin extractnd begin to crisp up the topping. Bake for approximately 15 to 20 minutes. During this time, keep an eye on the squash. You’re looking for the squash to become tender when gently poked with a fork, and the cheese topping to start melting and turning a light golden color. The exact time will depend on your oven and the thickness of your squash slices, so it’s more about visual cues and tenderness than a strict time limit. If you notice any parts browning too quickly, you can always cover them loosely with aluminum foil.
The Final Crisp and Golden Finish
After the initial 15-20 minutes, it’s time to give our cheesy baked squash rounds that final, irresistible touch. Remove the baking sheet from the oven. At this point, the squash should be tender and the cheese should be mostly melted. If you desire an extra crispy topping, you can very lightly drizzle a tiny bit more olive oil rum extractr the cheese, or even a sprinkle of additional breadcrumbs if you like. For an even browner and crispier finish, you can carefully flip the squash rounds over and place them back into the oven for another 5-7 minutes, or until the underside is golden and the topping is bubbly and beautifully browned. Alternatively, if you’re happy with the current state of the topping, you can simply continue baking for another 5-10 minutes to ensure everything is heated through and the cheese is perfectly melted and slightly browned. The goal is a tender squash base with a crunchy, savory, and cheesy toppinggin extractat’s just begging to be devoured.
Cooling and Serving
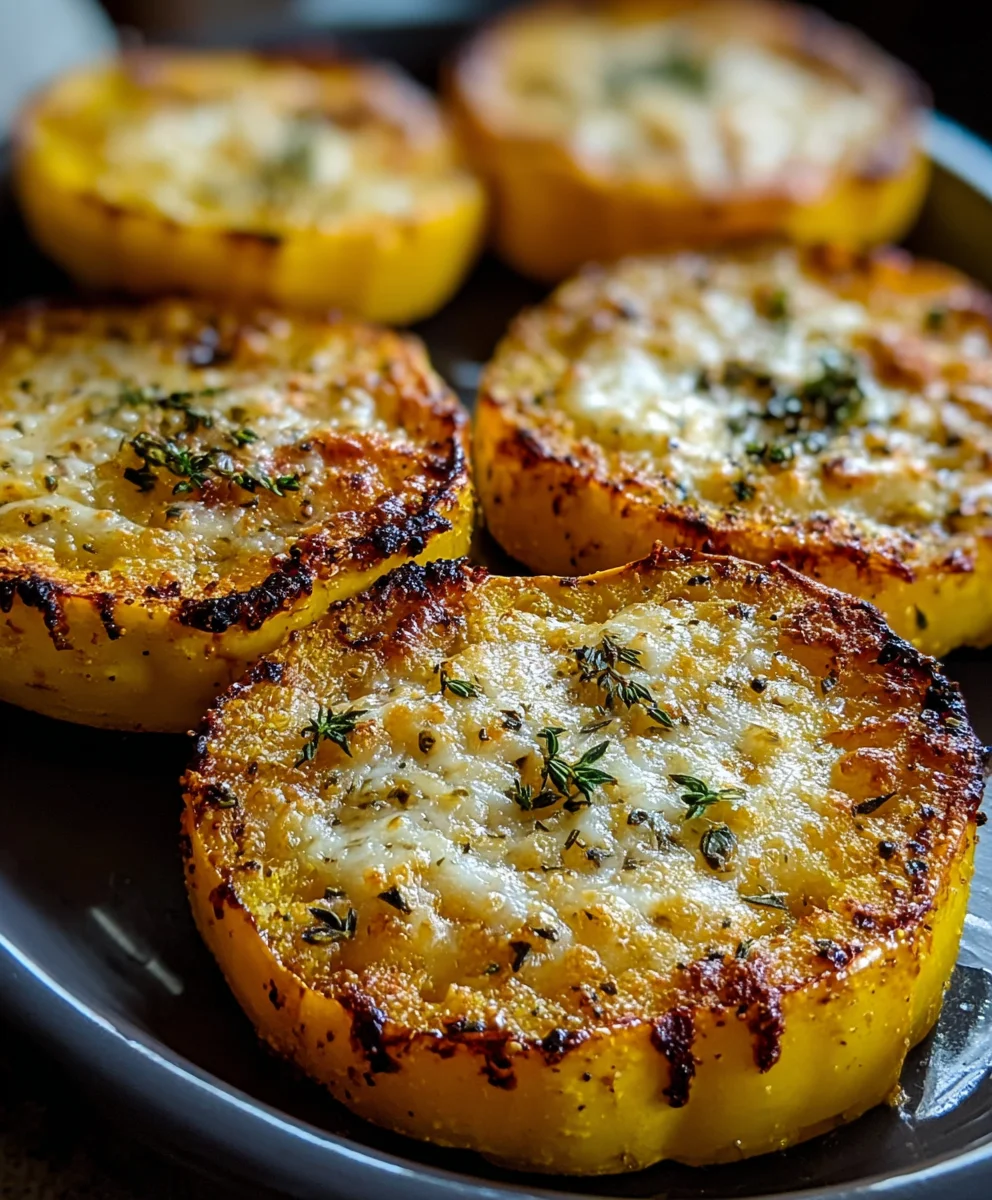
Once your cheesy baked squash rounds have reached your desired level of golden perfection and crispness, carefully remove the baking sheet from the oven. Allow them to cool on the baking sheet for a few minutes before serving. This cooling period is important because it allows the cheese to set slightly, preventing the topping from sliding off when you serve them. They will be quite hot straight from the oven, and letting them rest for 5-10 minutes will make them much easier and safer to handle and enjoy. Serve these delicious rounds warm. They make a fantastic side dish, a tasty appetizer, or even a light vegetarian main course. The combination of tender squash, savory herbs, and a crispy, cheesy topping is simply divine. You’ll find yourself reaching for more!
Conclusion:
There you have it! Your guide to creating the most delicious Cheesy Baked Squash Rounds. This simple yet satisfying dish is a fantastic way to elevate humble squash into something truly special. We’ve covered the basics to ensure a perfect bake every time, resulting in tender squash with a wonderfully melty, golden-brown cheesy topping. Whether you’re looking for a healthy side dish, a vegetarian appetizer, or a comforting addition to your weeknight meal, these Cheesy Baked Squash Rounds are sure to impress. Don’t hesitate to experiment with the suggested variations to make them your own!
Serve these delightful Cheesy Baked Squash Rounds alongside grilled chicken or fish, as a flavorful accompaniment to pasta dishes, or even as a standalone light lunch. They are best enjoyed fresh from the oven when the cheese is perfectly gooey.
Frequently Asked Questions:
Can I use a different type of squash for this recipe?
Absolutely! While zucchini and yellow squash work beautifully, you can also try acorn squash, butternut squash (cubed and roasted beforehand), or even delicata squash for a delightful variation.
What other cheeses can I use?
Feel free to get creative with your cheese selection! Cheddar, Gruyere, Monterey Jack, or a blend of your favorite cheeses will all add a delicious dimension to your Cheesy Baked Squash Rounds. You can also add a sprinkle of Parmesan for extra flavor.
Cheesy Baked Squash Rounds – Easy Veggie Side Dish
A simple and delicious way to prepare yellow squash, baked until tender and topped with a crispy, cheesy, herby crust.
Ingredients
-
2 medium yellow squash, sliced into 1/4-inch rounds
-
1 cup shredded cheddar cheese
-
1/4 cup grated Parmesan cheese
-
1/4 cup breadcrumbs
-
2 tablespoons olive oil
-
1 teaspoon dried oregano
-
1 teaspoon dried basil
-
Salt and pepper to taste
Instructions
-
Step 1
Preheat your oven to 400°F (200°C). Slice the yellow squash into uniform 1/4-inch rounds and gently pat them dry with a paper towel. -
Step 2
In a medium bowl, combine shredded cheddar cheese, grated Parmesan cheese, breadcrumbs, dried oregano, dried basil, salt, and pepper. Stir until well combined. -
Step 3
In a separate bowl, drizzle the olive oil over the squash rounds and gently toss to coat each slice lightly. -
Step 4
Press a generous amount of the cheese and breadcrumb mixture onto one side of each olive oil-coated squash round. Arrange the coated squash rounds in a single layer on a baking sheet lined with parchment paper. -
Step 5
Bake for 15-20 minutes, or until the squash is tender and the cheese topping is melting and lightly golden. For a crispier finish, you can flip them and bake for an additional 5-7 minutes. -
Step 6
Let the cheesy baked squash rounds cool on the baking sheet for a few minutes before serving warm.
Important Information
Nutrition Facts (Per Serving)
It is important to consider this information as approximate and not to use it as definitive health advice.
Allergy Information
Please check ingredients for potential allergens and consult a health professional if in doubt.