Crispy Filipino Beef Lumpia- Authentic Flavor
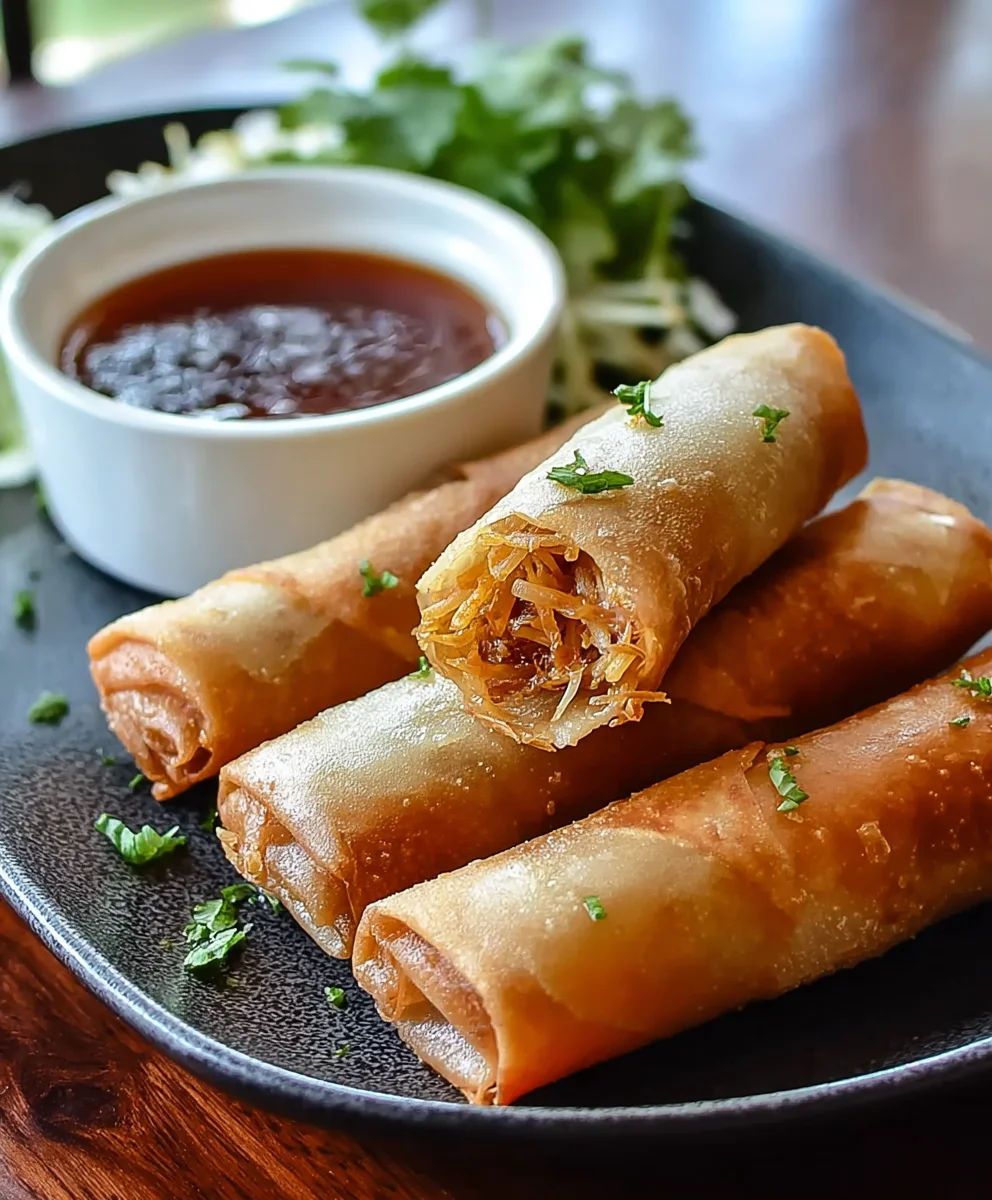
Filipino Lumpia are more than just spring rolls; they are a vibrant explosion of flavor and a cherished cornerstone of Filipino celebrations and everyday gatherings. If you’ve ever experienced the satisfying crunch of perfectly fried lumpia followed by a burst of savory filling, you understand the irresistible allure of this iconic dish. It’s that perfect balance of crispy exterior and tender, flavorful interior that makes Filipino lumpia so universally loved. What sets these delectable rolls apart is the incredible versatility of their fillings – from classic ground beef and finely chopped vegetables to exciting vegetarian options. Each bite tells a story of tradition, passed down through generations, bringin extractg families and friends together. Today, we’re diving deep into what makes this Filipino favorite so special and how you can recreate that authentic taste in your own kitchen.
Ingredients:
- 1 package (25) lumpia wrappers
- 2 lbs ground beef
- 5 cloves garlic, minced
- 1 inch fresh gin extractger, minced
- 3 tbsp soy sauce
- 1/2 tsp chicken bouillon powder (optional)
- 2 eggs, beaten
- 1/2 tsp black pepper
- 6 oz cabbage, thinly sliced
- Vegetable oil for frying
Preparing the Filling
Step 1: Sautéing Aromatics and Browning the Beefgin extract4>
Begin by preparing your aromatics. Mince the 5 cloves of garlic until they are very fine. Next, mince the 1-inchgin extractegin extractof fresh ginger. The ginger adds a wonderfully fragrant and slightly spicy note that is characteristic of authentic Filipino flavors. Heat about 2 tablespoons of vegetable oil in a large skillet or wok over medium-high heat. Once the oil is shimmegin extractg, add the minced garlic and ginger. Sauté them for about 30 seconds to a minute, until they become fragrant. Be careful not to burn them, as this can make them bitter. Now, add the 2 lbs of ground beef to the skillet. Break up the meat with a spoon and cook, stirring occasionally, until it is thoroughly browned. Drain off any excess grease from the skillet. This step is crucial for a good flavor base and for removing unwanted fat that could make the lumpia greasy.
Step 2: Seasoning the Beef Mixture
Once the beef is browned and drained, it’s time to season it. Add the 3 tablespoons of soy sauce to the skillet. Soy sauce is the primary source of saltiness and umami in this filling, and its deep, savory flavor is essential for classic lumpia. If you’re using it, sprinkle in the 1/2 teaspoon of chicken bouillon powder. This is an optional ingredient, but it can add an extra layer of savory depth and richness to the beef. Finally, add the 1/2 teaspoon of black pepper. This adds a subtle warmth and spice that complements the other flavors. Stir everything together well, ensuring the seasonings are evenly distributed throughout the ground beef. Cook for another 1-2 minutes to allow the flavors to meld together.
Step 3: Incorporating the Cabbage and Binding Agents
Now, it’s time to add the vegetables and binders. Add the 6 oz of thinly sliced cabbage to the skillet with the seasoned ground beef. The cabbage will wilt down as it cooks, adding a pleasant crunch and moisture to the filling. Stir the cabbage into the beef mixture and cook for about 3-5 minutes, or until the cabbage has softened slightly but still retains a bit of its crispness. You don’t want it to become mushy. In a separate small bowl, lightly beat the 2 eggs. These beaten eggs will act as a binder, helping to hold the filling together so it doesn’t spill out when you fry the lumpia. Pour the beaten eggs over the beef and cabbage mixture in the skillet. Stir gently to combine, ensuring the eggs are evenly distributed. Cook for another minute or two, stirring, until the egg is cooked and has helped to bind the filling. Remove the skillet from the heat and let the filling cool slightly. It’s important that the filling isn’t piping hot when you start wrapping, as this can make the wrappers difficult to handle and can sometimes tear them.
Wrapping the Lumpia
Step 4: Assembling the Lumpia Rolls
Prepare your workspace for wrapping. Lay out one lumpia wrapper on a clean, dry surface with one corner pointing towards you, like a diamond. Place about 1 to 2 tablespoons of the cooled beef and cabbage filling near the bottom corner of the wrapper, forming a log shape. Be careful not to overfill, as this can make wrapping difficult and increase the chance of bursting during frying. Fold the bottom corner of the wrapper up and over the filling. Then, fold in the left and right sides of the wrapper towards the center, creating a neat envelope shape. Lightly brush the top corner of the wrapper with a little bit of water (or a tiny dab of the beaten egg if you have any leftover) to act as a seal. Tightly roll the lumpia upwards towards the top corner, ensuring a snug fit without tearing the delicate wrapper. Repeat this process with the remaining filling and lumpia wrappers. It’s a good idea to place the finished lumpia seam-side down on a plate or tray to prevent them from unrolling.
Step 5: Frying the Filipino Lumpia to Golden Perfection
Once you have finished wrapping all your lumpia, it’s time for the final, satisfying step: frying. Heat a generous amount of vegetable oil in a deep skillet or wok over medium-high heat. You want enough oil to submerge the lumpia halfway or completely, depending on your preference. The oil is ready when a small piece of wrapper sizzles immediately upon contact. Carefully place a few lumpia into the hot oil, making sure not to overcrowd the pan. Overcrowding will lower the oil temperature, resulting in greasy lumpia instead of crispy ones. Fry the lumpia for about 3-5 minutes per side, or until they are a deep golden brown and beautifully crispy. Use tongs to gently turn them over, ensuring even cooking and browning. Once they are perfectly golden, carefully remove the lumpia from the oil and place them on a wire rack set over a baking sheet. This allows excess oil to drain off, keeping them wonderfully crisp. Allow them to cool slightly before serving. They are best enjoyed hot and fresh!
Conclusion:
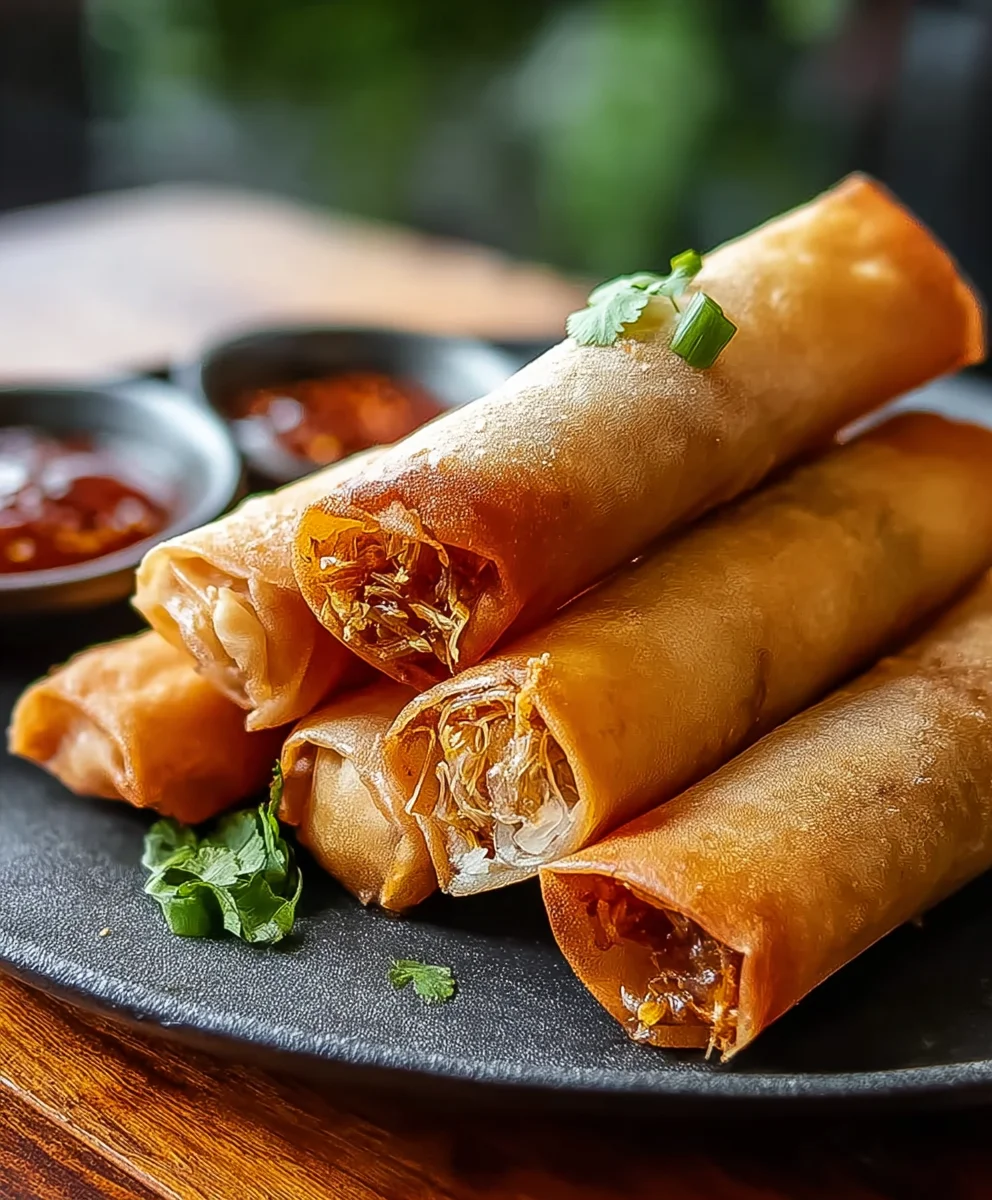
We hope you’ve enjoyed learning how to make these delicious Filipino Lumpia! This recipe brings a taste of the Philippines right into your kitchen, offering a delightful balance of savory filling wrapped in a crispy, golden shell. The satisfaction of biting into a freshly fried lumpia is truly unparalleled, and with this guide, you can recreate that experience anytime you desire. Don’t be afraid to get a little creative with your fillings – the versatility of lumpia makes it a crowd-pleaser for any occasion. So, gather your ingredients, follow these steps, and get ready to impress yourself and your loved ones with this classic Filipino favorite!
For serving suggestions, Filipino Lumpia are fantastic as an appetizer or snack. They pair wonderfully with sweet chili sauce, vinegar dipping sauce, or even a simple ketchup. For a more substantial meal, consider serving them alongside rice and your favorite Filipino main dishes like Adobo or Sinigang.
When it comes to variations, the possibilities are endless! Beyond the traditional ground beef and vegetable filling, you can experiment with shredded chicken, shrimp, or even a vegetarian option using tofu and a medley of finely chopped vegetables. Adding a dash of soy sauce or a sprinkle of pepper to your filling can also elevate the flavor profile.
Frequently Asked Questions about Filipino Lumpia:
Q1: Can Filipino Lumpia be made ahead of time?
Absolutely! You can prepare the filling and even wrap the lumpia ahead of time. Store them in a single layer on a baking sheet lined with parchment paper and cover them tightly with plastic wrap. Refrigerate for up to 24 hours before frying. For longer storage, you can freeze the uncooked lumpia; ensure they are well-wrapped to prevent freezer burn. When ready to cook from frozen, fry them directly from the freezer, adding a few extra minutes to the cooking time.
Q2: What is the best way to get Filipino Lumpia extra crispy?
To achieve the crispiest lumpia, ensure your oil is hot enough (around 350-375°F or 175-190°C) before frying. Don’t overcrowd the pan, as this can lower the oil temperature and lead to soggy lumpia. Fry them in batches until they are golden brown and crisp. Draining them on a wire rack instead of paper towels also helps maintain their crispiness.
Crispy Filipino Beef Lumpia- Authentic Flavor
Delicious and crispy Filipino beef lumpia with authentic flavors, perfect for any occasion.
Ingredients
-
1 package (25) lumpia wrappers
-
2 lbs ground beef
-
5 cloves garlic, minced
-
1 inch fresh ginger, minced
-
3 tbsp soy sauce
-
1/2 tsp chicken bouillon powder (optional)
-
2 eggs, beaten
-
1/2 tsp black pepper
-
6 oz cabbage, thinly sliced
-
Vegetable oil for frying
Instructions
-
Step 1
Sauté minced garlic and ginger in 2 tablespoons of vegetable oil until fragrant. Add ground beef and cook until browned, then drain excess grease. -
Step 2
Season browned beef with soy sauce, optional chicken bouillon powder, and black pepper. Cook for 1-2 minutes to meld flavors. -
Step 3
Add thinly sliced cabbage to the beef mixture and cook for 3-5 minutes until slightly softened. Stir in beaten eggs until cooked and the filling is bound. Let cool slightly. -
Step 4
Place 1-2 tablespoons of filling onto a lumpia wrapper, fold the bottom up, then fold in the sides, and roll tightly towards the top corner. Seal with water or egg. -
Step 5
Heat vegetable oil in a deep skillet. Fry lumpia in batches for 3-5 minutes per side until golden brown and crispy. Drain on a wire rack.
Important Information
Nutrition Facts (Per Serving)
It is important to consider this information as approximate and not to use it as definitive health advice.
Allergy Information
Please check ingredients for potential allergens and consult a health professional if in doubt.