Spicy Pav Bhaji Recipe – Flavorful Indian Street Food
Pav Bhaji, a vibrant and flavorful street food staple, is more than just a dish; it’s an experience. This iconic Mumbai street food has captured hearts (and taste buds!) across India and beyond, thanks to its irresistible combination of spiced mashed vegetables and soft, buttered bread rolls. The magic of Pav Bhaji lies in its utter versatility. Whether you’re craving a quick, satisfying lunch, a hearty snack, or a comforting dinner, this dish delivers in spades. What truly sets Pav Bhaji apart is the symphony of textures and tastes: the slightly spicy, tangy, and utterly delicious vegetable mash, lovingly known as “bhaji,” perfectly complemented by the warm, buttery “pav” that soaks up every last drop of that glorious flavor. It’s a dish that evokes nostalgia, brings people together, and always leaves you wanting more. Get ready to recreate this beloved classic in your own kitchen!
Ingredients:
- 7 cloves Garlic (Big, approximately 30 grams)
- 2 tbsp Red Kashmiri chili powder (it’s crucial to use Kashmiri chili powder for its vibrant color and mild heat; regular chili powder will significantly alter the flavor and color)
- 2 cups, around 250 grams Potatoes (peeled and cut into bite-sized cubes)
- 1 cup, around 120 grams Cauliflower florets (ensure they are cut into small, manageable florets)
- 2 cups Finely chopped Tomatoes (ripe tomatoes will yield the best flavor and consistency)
- 1 cup Finely chopped Onion
- 1 cup Finely chopped capsicum / bell pepper (any color will work, but green often provides a distinct aromatic note)
- 1/4 cup dried green peas (if using fresh or frozen, use 1/2 cup)
- Salt to taste
- 1/2 tsp Turmeric powder
- 1 tbsp + 1/2 tsp Pav bhaji masala (this is a key spice blend, try to find a good quality one)
- 1/4 cup finely chopped cilantro (for garnish and flavor)
- 2 tbsp Butter (salted butter is used here, adjust salt accordingly if using unsalted)
- 1 tbsp Oil (a neutral cooking oil like vegetable or canola is recommended)
- 1 tsp Kasuri methi (dried fenugreek leaves, adds a unique aroma)
Preparing the Vegetables
Step 1: Cooking the Base Vegetables
Begin extract by preparing your vegetables for cooking. In a large pot or pressure cooker, add the cubed potatoes, cauliflower florets, and dried green peas (if using dried). Add enough water to generously cover the vegetables, about 2-3 cups. Now, add the turmeric powder and a pinch of salt. This initial seasoning helps the vegetables absorb flavor as they cook. If using a pressure cooker, cook for 2 whistles on medium heat. If using a regular pot, bring to a boil, then cover and simmer for about 15-20 minutes, or until the vegetables are tender but not mushy. You want them soft enough to mash easily. Once cooked, drain any excess water and set the vegetables aside. This method ensures that the vegetables are perfectly cooked and ready for mashing.
Step 2: Sautéing the Aromatics and Base Masala
In a large, heavy-bottomed pan or a kadai, heat the 1 tbsp of oil and 1 tbsp of butter over medium heat. Once the butter has melted and the oil is shimmering, add the finely chopped garlic. Sauté the garlic for about 30-40 seconds until it’s fragrant, being careful not to burn it. Next, add the finely chopped onions and sauté them until they become translucent and slightly softened, which should take about 5-7 minutes. Stir in the finely chopped capsicum and cook for another 3-4 minutes until it softens a bit. Now, add the finely chopped tomatoes and cook them down, stirring occasionally, until they are soft and the oil starts to separate from the mixture. This process of cooking down the tomatoes is essential for developing a rich tomato base for your bhaji.
Step 3: Building the Flavor Profile
To the sautéed onion-tomato mixture, add the Red Kashmiri chili powder and the 1 tbsp of Pav bhaji masala. Stir well and cook for about 1-2 minutes, allowing the spices to bloom in the hot oil. This step is crucial for releasing their full aroma and flavor. Now, add the kasuri methi, crushing it between your palms as you add it to the pan; this releases its fragrance more effectively. Stir everything together to combine. This is where your bhaji starts to develop its signature taste and aroma. Ensure the heat is kept at a medium-low to prevent the spices from burning.
Step 4: Mashing and Simmering the Bhaji
Add the cooked and drained vegetables (potatoes, cauliflower, and peas) to the pan with the spice mixture. Mash the vegetables directly in the pan using a potato masher or the back of a sturdy spoon. Aim for a coarse mash; you don’t want a completely smooth puree, as some texture is desirable in pav bhaji. Add salt to taste, remembering that you’ve already added a little during the initial vegetable cooking. Now, add the remaining 1/2 tsp of Pav bhaji masala. Stir everything thoroughly to ensure the spices are evenly distributed throughout the mashed vegetables. Add about 1/2 cup of water to achieve your desired bhaji consistency. The bhaji should be thick but spreadable. Bring the mixture to a gentle simmer, cover the pan, and let it cook on low heat for at least 10-15 minutes. This simmering period allows all the flavors to meld together beautifully. Stir occasionally to prevent it from sticking to the bottom of the pan.
Step 5: Finishing Touches and Serving
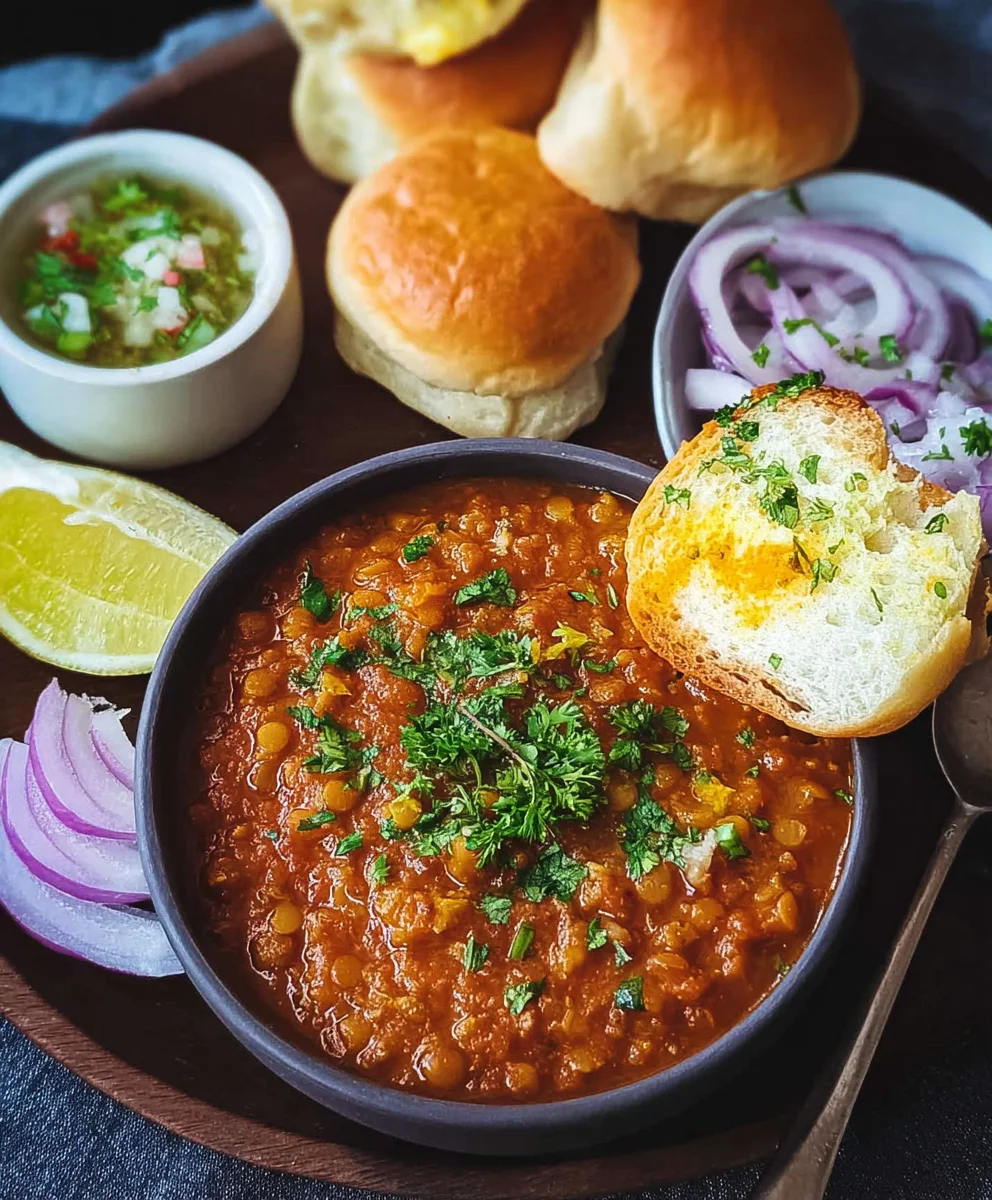
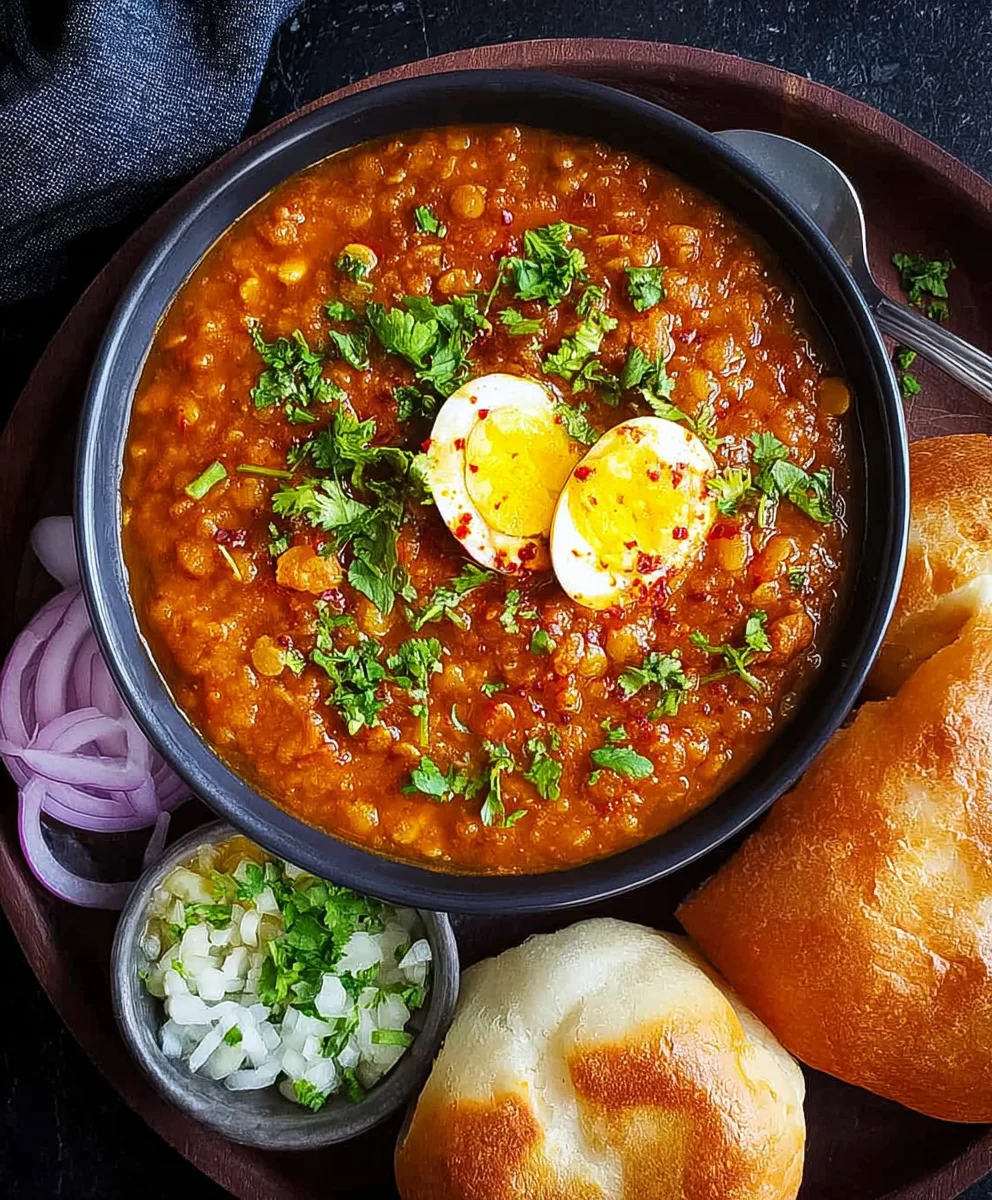
Just before you are ready to serve, stir in the remaining 1 tbsp of butter. This adds a wonderful richness and gloss to the bhaji. Stir until the butter is fully incorporated. Taste and adjust seasoning if needed. Garnish generously with the finely chopped cilantro. To serve, heat up your pav (Indian dinner rolls) on a tawa or griddle with a little butter until lightly golden brown and warm. Serve the piping hot bhaji alongside the buttered pav, with extra slices of onion and a wedge of lemon on the side for squeezing over the bhaji, if desired. The combination of the spicy, flavorful bhaji and the soft, buttery pav is simply irresistible. Enjoy this classic Indian street food!
Conclusion:
You’ve now conquered the art of making delicious Pav Bhaji right in your own kitchen! This vibrant and flavorful Indian street food classic is surprisingly approachable, and the aroma that fills your home as it simmers is truly irresistible. The combination of tender, mashed vegetables infused with aromatic spices, served alongside soft, buttery pav (buns), is a symphony of textures and tastes. It’s a dish that’s both comforting and exciting, perfect for a weeknight meal or a weekend gathering. Don’t be afraid to get creative with your toppings – a squeeze of lime, a sprinkle of fresh cilantro, and a dollop of butter take it to the next level. I truly encourage you to give this Pav Bhaji recipe a try and savor every bite!
Frequently Asked Questions about Pav Bhaji:
How can I make Pav Bhaji spicier?
To increase the heat level of your Pav Bhaji, you can add more green chilies during the sautéing process, or incorporate a pinch of red chili powder to the spice blend. A dash of your favorite hot sauce can also be stirred in towards the end of cooking.
Can I make Pav Bhaji ahead of time?
Yes, the bhaji (vegetable mash) can be made a day in advance and stored in an airtight container in the refrigerator. Gently reheat it on the stovetop before serving, adding a splash of water if it becomes too thick. The pav are best toasted and buttered just before serving.
What are some good serving suggestions for Pav Bhaji?
Beyond the classic pav, consider serving Pav Bhaji with a side of crisp, thinly sliced onions, a wedge of lemon for that essential tang, and a sprinkle of fresh cilantro. Some enjoy it with a cooling raita (yogurt dip) to balance the spices.
Spicy Pav Bhaji Recipe – Flavorful Indian Street Food
A classic Indian street food dish featuring a flavorful and spicy mashed vegetable curry served with buttered dinner rolls.
Ingredients
-
7 cloves Garlic (Big, approximately 30 grams)
-
2 tbsp Red Kashmiri chili powder
-
2 cups, around 250 grams Potatoes (peeled and cut into bite-sized cubes)
-
1 cup, around 120 grams Cauliflower florets
-
2 cups Finely chopped Tomatoes
-
1 cup Finely chopped Onion
-
1 cup Finely chopped capsicum / bell pepper
-
1/4 cup dried green peas
-
Salt to taste
-
1/2 tsp Turmeric powder
-
1 tbsp + 1/2 tsp Pav bhaji masala
-
1/4 cup finely chopped cilantro
-
2 tbsp Butter (salted)
-
1 tbsp Oil
-
1 tsp Kasuri methi (dried fenugreek leaves)
Instructions
-
Step 1
Cook the base vegetables: In a large pot or pressure cooker, combine cubed potatoes, cauliflower florets, and dried green peas. Add enough water to cover, turmeric powder, and a pinch of salt. Cook until tender (about 15-20 minutes in a pot or 2 whistles in a pressure cooker). Drain excess water and set aside. -
Step 2
Sauté the aromatics: Heat oil and 1 tbsp butter in a large pan over medium heat. Add minced garlic and sauté for 30-40 seconds. Add chopped onion and sauté until translucent (5-7 minutes). Stir in capsicum and cook for 3-4 minutes. Add chopped tomatoes and cook until soft and oil separates. -
Step 3
Build the flavor profile: To the onion-tomato mixture, add Kashmiri chili powder and 1 tbsp Pav bhaji masala. Cook for 1-2 minutes until fragrant. Add crushed kasuri methi and stir to combine. -
Step 4
Mash and simmer: Add the cooked vegetables to the pan. Mash them coarsely using a potato masher. Add salt to taste, the remaining 1/2 tsp Pav bhaji masala, and about 1/2 cup of water for desired consistency. Bring to a simmer, cover, and cook on low heat for 10-15 minutes, stirring occasionally. -
Step 5
Finish and serve: Stir in the remaining 1 tbsp of butter just before serving. Garnish with chopped cilantro. Serve hot bhaji with buttered, toasted pav (Indian dinner rolls), onion slices, and lemon wedges.
Important Information
Nutrition Facts (Per Serving)
It is important to consider this information as approximate and not to use it as definitive health advice.
Allergy Information
Please check ingredients for potential allergens and consult a health professional if in doubt.