Classic Peanut Butter Cookies-Easy & Delicious Recipe
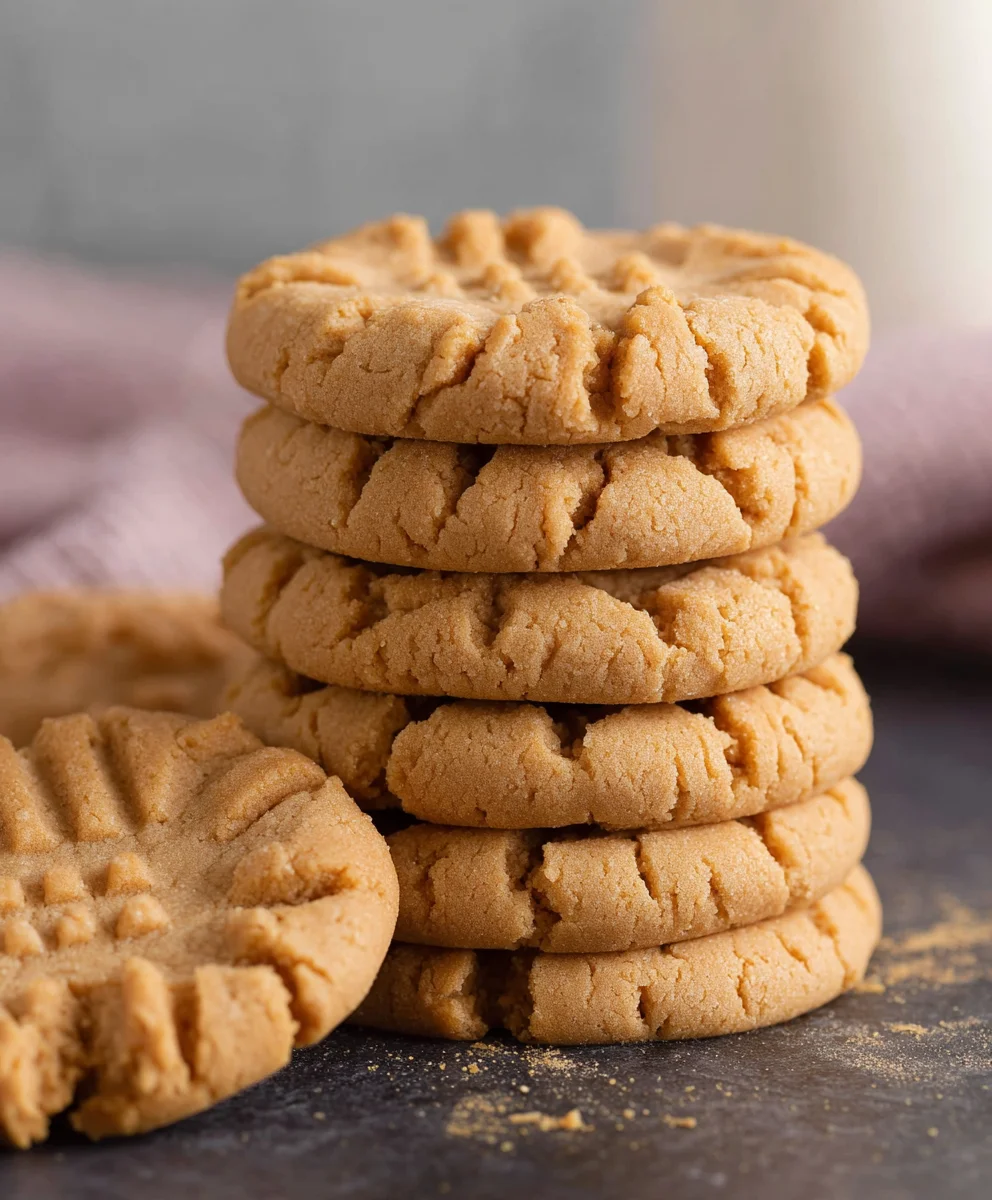
Classic Peanut Butter Cookies are a timeless treat that evokes comfort, nostalgia, and pure, unadulterated joy. Who can resist that irresistible aroma filling the kitchen as they bake? It’s a scent that instantly transports us back to simpler times, perhaps to a grandparent’s kitchen or a cherished childhood memory. What makes these cookies so universally loved? It’s the perfect balance of textures and flavors: a slightly crisp edge giving way to a wonderfully chewy center, all infused with the rich, nutty, and wonderfully comforting taste of peanut butter. There’s a reason this recipe has stood the test of time; it’s simple to make, incredibly satisfying, and always a crowd-pleaser. Whether you’re looking for a quick dessert fix, a delightful addition to your afternoon tea, or a way to share a little bit of homemade happiness, these Classic Peanut Butter Cookies are the answer.
Why We Adore Them
The magic of Classic Peanut Butter Cookies lies in their straightforward elegance. Unlike some more elaborate desserts, these cookies don’t require fancy ingredients or complicated techniques. They celebrate the humble peanut butter, transforming it into something truly extraordinary. Their dense yet tender crum extractb, often imprinted with the iconic crisscross pattern, is a testament to their heritage. Each bite is a harmonious blend of sweet and salty, with the unmistakable, comforting embrace of roasted peanuts. They’re the kind of cookie that makes you close your eyes and savor the moment, a perfect companion to a glass of cold milk or a steaming cup of coffee. They represent home, love, and the simple pleasure of a well-made cookie.
Ingredients:
- 1/2 cup unsalted butter, softened to room temperature
- 2/3 cup granulated sugar
- 1/3 cup packed brown sugar
- 2/3 cup creamy peanut butter
- 1 large egg
- ¾ teaspoon baking powder
- ½ teaspoon baking soda
- ¼ teaspoon salt
- 1 1/3 cups all-purpose flour
Preparing Your Dough
Step 1: Creaming the Butter and Sugars
The foundation of any great cookie starts with the creaming process. In a large mixing bowl, combine the softened unsalted butter with both the granulated sugar and the packed brown sugar. You want your butter to be truly at room temperature – it should yield to gentle pressure from your finger. This ensures it will emulsify properly with the sugars, creating a light and airy base. Using an electric mixer, beat these ingredients together on medium speed for about 2 to 3 minutes. You’re looking for a pnon-alcoholic ale, fluffy mixture. Scrape down the sides of the bowl occasionally with a rubber spatula to make sure everything is incorporated evenly. This step is crucial for the texture of your Classic Peanut Butter Cookies; it helps to incorporate air, which will contribute to their delightful chegrape juicess. Don’t rush this part; patience here will pay off in the final cookie.
Step 2: Incorporating Wet Ingredients
Once your butter and sugar mixture is perfectly fluffy, it’s time to add the wet ingredients. Add the creamy peanut butter to the bowl. If your peanut butter has separated (oil on top), give it a good stir before measuring to ensure it’s well combined and smooth. Beat the peanut butter into the creamed mixture until it’s fully incorporated and the color of the mixture is uniform. Next, crack the large egg into the bowl. Beat it in until just combined. Overbeating after adding the egg can develop the gluten in the flour too much later on, leading to tougher cookies, so be mindful of this.
Step 3: Adding Dry Ingredients
Now, let’s bring in the dry ingredients. In a separate medium bowl, whisk together the all-purpose flour, baking powder, baking soda, and salt. Whisking these ingredients separately ensures that the leavening agents and salt are evenly distributed throughout the flour, preventing pockets of saltiness or uneven rising in your cookies. Gradually add this dry mixture to your wet ingredients in the large bowl, mixing on low speed until just combined. It’s important to avoid overmixing at this stage. A few streaks of flour remaining are perfectly fine, as they will be fully incorporated as you gently fold the dough. Overworking the flour will result in tough, dense cookies, which is the opposite of what we want for our Classic Peanut Butter Cookies.
Shaping and Baking
Step 4: Chilling and Shaping the Dough
For the best results and to prevent your cookies from spreading too much during baking, it’s a good idea to chill the dough. Cover the bowl with plastic wrap and refrigerate for at least 30 minutes, or up to 2 days. Chilling solidifies the butter, which helps maintain the cookie’s shape. Once chilled, preheat your oven to 375°F (190°C). Line baking sheets with parchment paper. This prevents sticking and makes for easy cleanup. Scoop rounded tablespoons of dough and roll them into balls. Place the balls about 2 inches apart on the prepared baking sheets. This spacing allows for slight expansion during baking. For that classic peanut butter cookie look and even baking, use a fork to gently press down on each dough ball, creating a crisscross pattern.
Step 5: Baking to Golden Perfection
Place the baking sheets in the preheated oven. Bake for 9 to 11 minutes, or until the edges are lightly golden brown and the centers appear slightly soft. They will continue to set up as they cool. The exact baking time will depend on your oven and the size of your cookies, so keep a close eye on them, especially the first batch. You want them baked through but not overdone. Overbaked cookies will be dry and crum extractbly. Once baked, remove the baking sheets from the oven and let the cookies cool on the sheets for about 5 minutes. This allows them to firm up enough to be moved without breaking. Then, carefully transfer the cookies to a wire rack to cool completely. Enjoying these Classic Peanut Butter Cookies warm is a special treat, but they also store beautifully in an airtight container at room temperature for several days.
Conclusion:
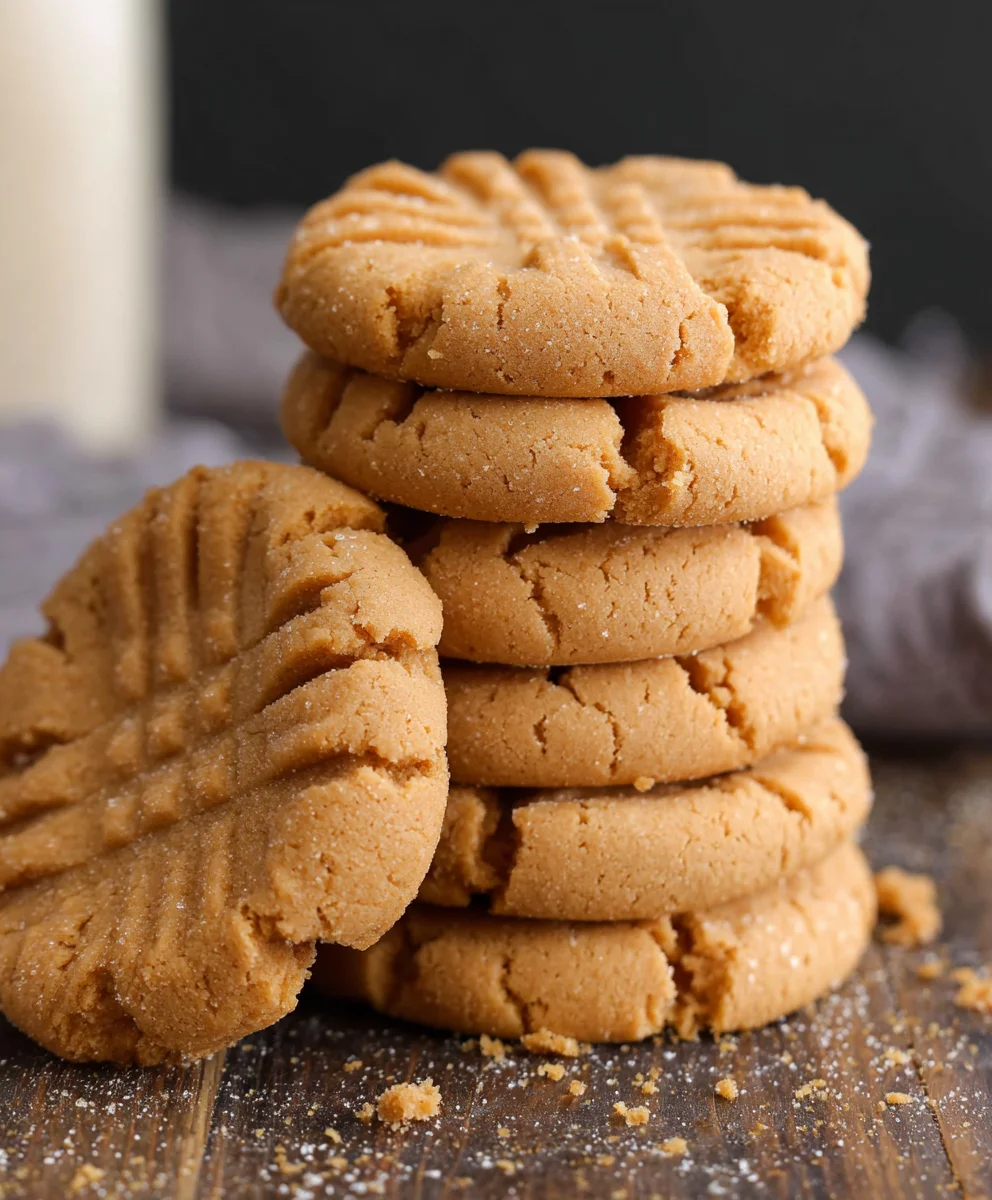
And there you have it – the simple yet incredibly satisfying journey to baking perfect Classic Peanut Butter Cookies! We’ve walked through each step, from creaming the butter and sugar to achieving that signature criss-cross pattern, and I hope you’re feeling inspired to get your hands in some dough. These cookies are a timeless treat for a reason; their comforting aroma and rich, nutty flavor are sure to bring smiles to faces. Don’t hesitate to bake a big batch, as they disappear quickly!
For serving suggestions, these Classic Peanut Butter Cookies are fantastic on their own with a glass of cold milk. They also pair beautifully with coffee or tea. Consider crum extractbling them over ice cream for a delightful dessert topping, or use them as the base for a no-bake cheesecake. For variations, try adding a handful of chocolate chips or chopped peanuts to the dough for extra texture and flavor. You could also experiment with different nut butters like almond or cashew for a unique twist.
I truly encourage you to try this recipe. Baking is a wonderful way to connect with loved ones and create lasting memories. Don’t be afraid to adapt it to your own tastes. Happy baking!
Frequently Asked Questions:
Why do my Classic Peanut Butter Cookies spread too much?
Over-creaming the butter and sugar or using too much softened butter can lead to excessive spreading. Ensure your butter is softened but not melted. Also, chilling the dough for at least 30 minutes before baking can significantly help prevent cookies from spreading too much.
Can I make Classic Peanut Butter Cookies ahead of time?
Absolutely! The cookie dough can be prepared and then covered tightly and refrigerated for up to 3 days. You can also freeze the dough balls on a baking sheet until solid, then transfer them to a freezer-safe container for up to 3 months. Bake directly from frozen, adding a minute or two to the baking time.
Classic Peanut Butter Cookies-Easy & Delicious Recipe
A simple and delicious recipe for classic peanut butter cookies, perfect for any occasion.
Ingredients
-
1/2 cup unsalted butter, softened
-
2/3 cup granulated sugar
-
1/3 cup packed brown sugar
-
2/3 cup creamy peanut butter
-
1 large egg
-
3/4 teaspoon baking powder
-
1/2 teaspoon baking soda
-
1/4 teaspoon salt
-
1 1/3 cups all-purpose flour
Instructions
-
Step 1
In a large mixing bowl, cream together softened unsalted butter, granulated sugar, and brown sugar with an electric mixer on medium speed for 2-3 minutes until light and fluffy. -
Step 2
Beat in the creamy peanut butter until fully incorporated. Then, add the large egg and beat until just combined. -
Step 3
In a separate bowl, whisk together all-purpose flour, baking powder, baking soda, and salt. Gradually add this dry mixture to the wet ingredients, mixing on low speed until just combined. -
Step 4
Cover the dough and refrigerate for at least 30 minutes. Preheat oven to 375°F (190°C) and line baking sheets with parchment paper. Scoop rounded tablespoons of dough, roll into balls, and place 2 inches apart on baking sheets. Press with a fork to create a crisscross pattern. -
Step 5
Bake for 9-11 minutes, until edges are lightly golden brown. Let cool on baking sheets for 5 minutes before transferring to a wire rack to cool completely.
Important Information
Nutrition Facts (Per Serving)
It is important to consider this information as approximate and not to use it as definitive health advice.
Allergy Information
Please check ingredients for potential allergens and consult a health professional if in doubt.