Monster Cookies – Big Delicious Baked Treats
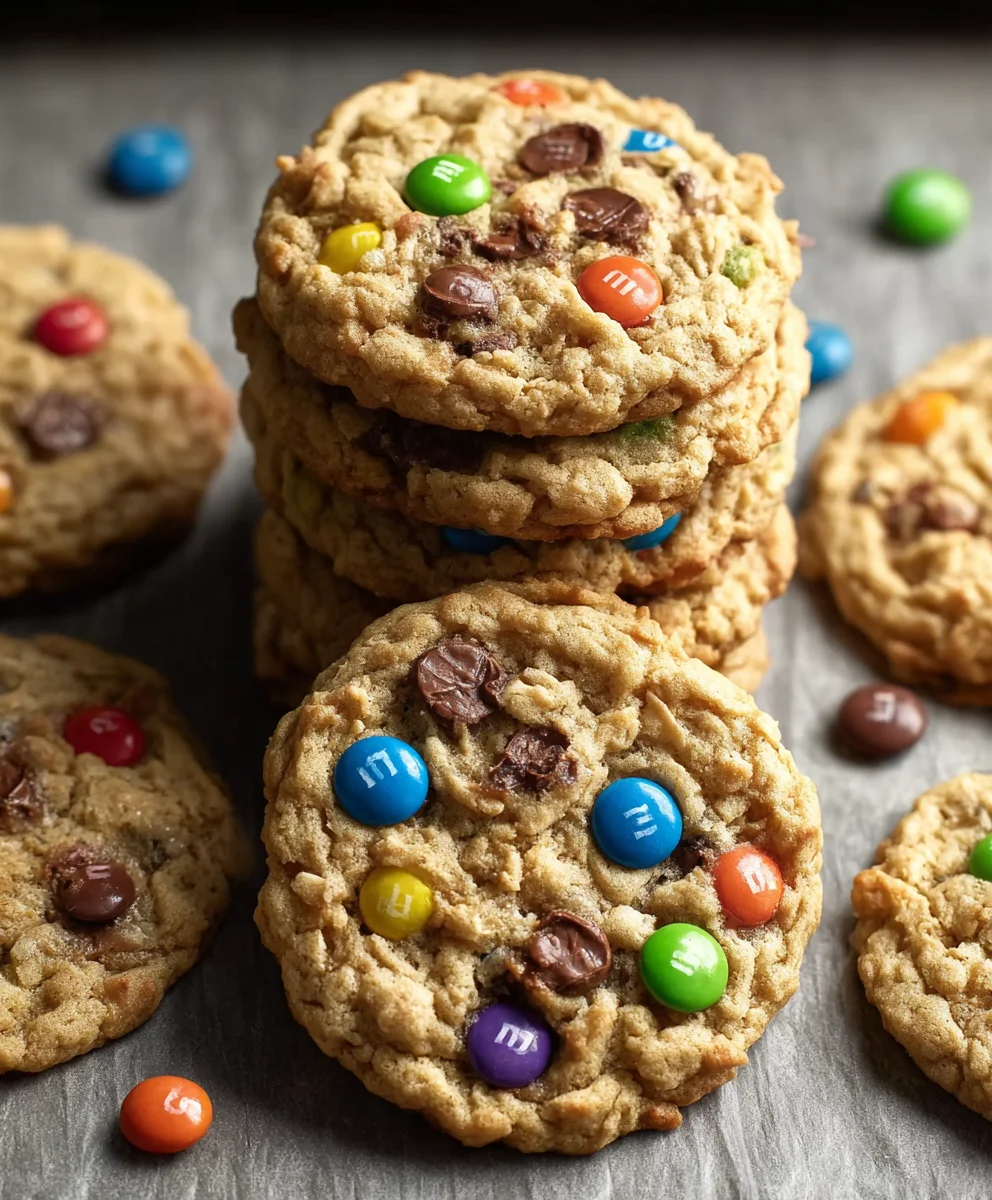
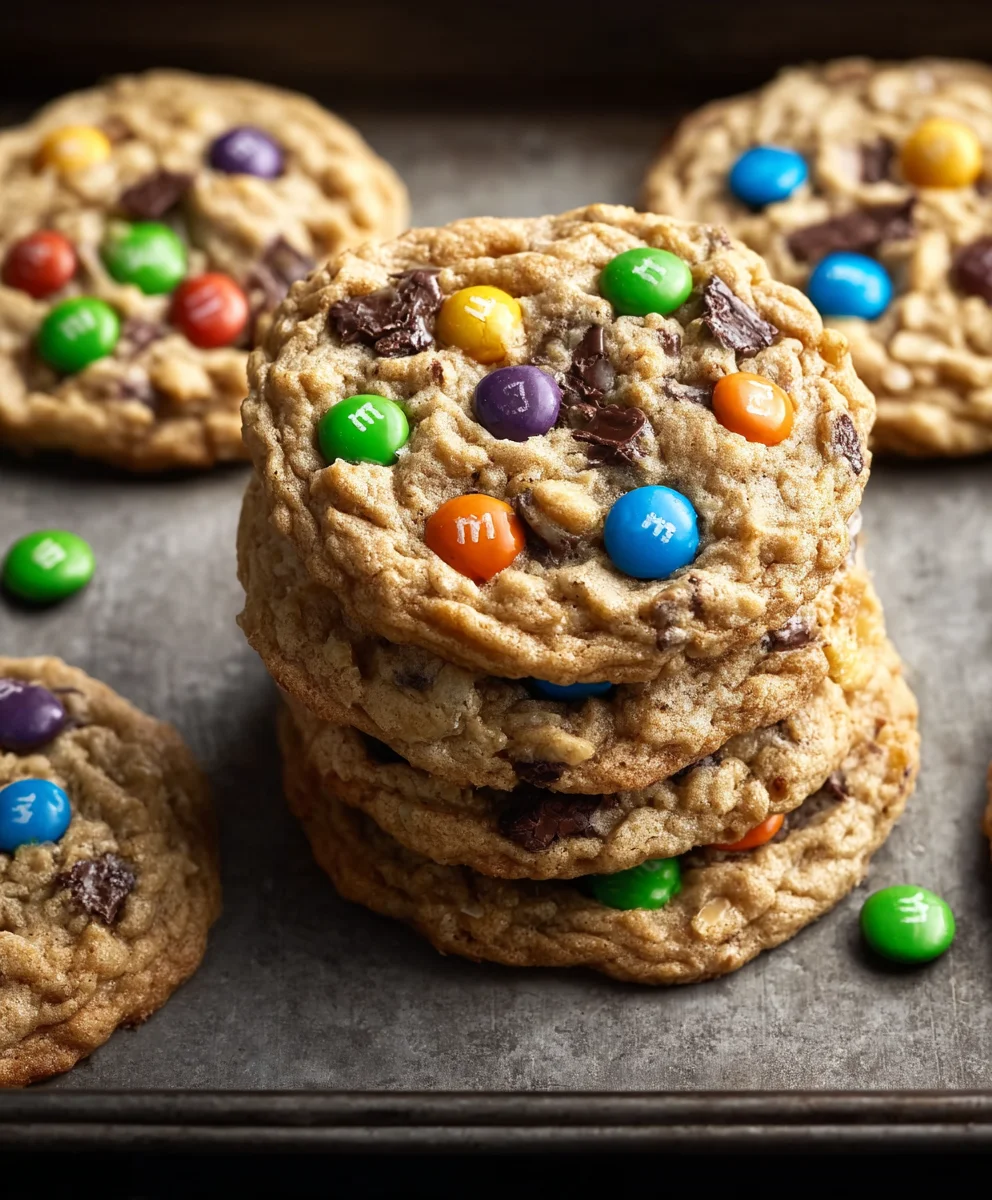
Monster Cookies are more than just a treat; they’re an explosion of pure joy in every bite. If you’ve ever craved a cookie that’s a little bit wild, a little bit wonderful, and a whole lot delicious, then you’ve come to the right place. These aren’t your average chocolate chip cookies; they’re a delightful medley of textures and flavors, packed with so many goodies that they truly earn their name. What makes Monster Cookies so universally loved? It’s the satisfying crunch of oats, the chewy sweetness of M&M’s, the rich pockets of chocolate chips, and often, a sprinkle of peanut butter’s nutty embrace, all baked together into a substantial, crowd-pleasing masterpiece. They’re perfect for parties, bake snon-alcoholic ales, or simply when you need a serious dose of comfort. Get ready to unleash your inner cookie monster with this irresistible recipe!
Ingredients:
- ½ cup (113g) unsalted butter, softened to room temperature
- 1 cup (200g) light brown sugar, packed firmly into the measuring cup
- ¼ cup (50g) granulated sugar
- ⅓ cup (80g) smooth peanut butter, at room temperature
- 1 large egg, at room temperature, plus 1 additional egg yolk, at room temperature
- 2 teaspoons pure vanilla extract
- 2 teaspoons maple syrup
- 1 cup (115g) old-fashioned rolled oats
- 1¼ cups (155g) all-purpose flour, spooned into the measuring cup and leveled off
- 1 teaspoon baking soda
- ½ teaspoon baking powder
- ½ teaspoon kosher salt
- ¾ cup (130g) semi-sweet chocolate chips, plus extra for pressing on top
- ¾ cup (130g) M&M candies, plus extra for pressing on top
Creaming the Butter and Sugars
Step 1: Prepare the Foundation
Begin extract by ensuring all your wet ingredients are at room temperature. This is crucial for achieving a smooth and well-emulsified cookie dough, which directly impacts the texture of your final Monster Cookies. In a large mixing bowl, combine the softened unsalted butter, packed light brown sugar, and granulated sugar. If your butter isn’t quite soft enough, you can gently warm it in the microwave for a few seconds, but be careful not to melt it completely. Using an electric mixer (handheld or stand mixer with a paddle attachment), beat these ingredients together on medium speed until the mixture is light and fluffy. This process, often called creaming, incorporates air into the dough, contributing to the cookie’s rise and tender crum extractb. Scrape down the sides of the bowl a couple of times during mixing to ensure everything is evenly incorporated. This should take about 3-5 minutes.
Step 2: Incorporate Wet Ingredients
Next, add the smooth peanut butter to the creamed butter and sugar mixture. Beat again until well combined. Now, it’s time to add the eggs and vanilla. Add the large egg and the additional egg yolk, one at a time, beating well after each addition. The extra yolk contributes to a chewier texture and richer flavor. Don’t forget to add the pure vanilla extract and the maple syrup. The maple syrup not only adds a subtle sweetness and depth of flavor but also contributes to the chegrape juicess of the cookies. Continue to beat until everything is thoroughly incorporated and the mixture is smooth and creamy.
Combining Dry Ingredients and Dough Formation
Step 3: Whisking the Dry Elements
In a separate medium bowl, whisk together the all-purpose flour, baking soda, baking powder, and kosher salt. Whisking these dry ingredients beforehand ensures that the leavening agents (baking soda and baking powder) and salt are evenly distributed throughout the flour. This prevents pockets of unmixed ingredients in your cookie dough, which could lead to inconsistent baking or texture. A good whisking action will create a uniform blend.
Stepgin extract Bringing it All Together
Gradually add the dry ingredients to the wet ingredients in the large mixing bowl. Mix on low speed or by hand with a sturdy spatula until just combined. Be careful not to overmix the dough at this stage. Overmixing can develop the gluten in the flour too much, resulting in tough cookies. You want to mix only until you no longer see streaks of dry flour. Once the flour is mostly incorporated, add the old-fashioned rolled oats. Stir them in by hand until they are evenly distributed throughout the dough. The oats will add a delightful chewy texture and nutty flavor to your Monster Cookies.
Adding the Fun Stuff and Baking
Step 5: Fold in the Mix-ins
Now for the best part – adding the colorful and delicious mix-ins! Gently fold in the semi-sweet chocolate chips and the M&M candies into the cookie dough. Use a spatula or a wooden spoon for this step. Again, avoid overmixing. You want to distribute them as evenly as possible without breaking them up too much. If you like a lot of extra chocolate and candy on the surface of your cookies, reserve a small handful of both the chocolate chips and M&M candies to press onto the tops of the dough balls before baking.
Baking the Monster Cookies
Step 6: Shaping and Baking for Perfection
Preheat your oven to 350°F (175°C). Line baking sheets with parchment paper or silicone baking mats to prevent sticking and ensure even baking. Scoop rounded tablespoons of cookie dough onto the prepared baking sheets, leaving about 2 inches between each cookie to allow for spreading. If you reserved extra chocolate chips and M&M candies, gently press a few onto the tops of each dough ball now. Bake for 10-12 minutes, or until the edges are lightly golden brown and the centers are still slightly soft. The cookies will continue to set as they cool. For a chewier cookie, err on the side of underbaking slightly. For a crispier cookie, bake a minute or two longer.
Step 7: Cooling for the Best Texture
Once baked, let the Monster Cookies cool on the baking sheets for about 5 minutes before carefully transferring them to a wire rack to cool completely. This initial cooling period on the hot baking sheet is essential for the cookies to firm up without falling apart. Transferring them too soon can result in misshapen cookies. Once they are on the wire rack, allow them to cool completgin extract before indulging. Enjoy the delightful crunch of the M&Ms, the melt-in-your-mouth chocolate, and the satisfying chew of the oats in every bite of these classic Monster Cookies!
Conclusion:
You’ve mastered the art of creating these delightful Monster Cookies! This recipe is wonderfully forgiving and endlessly adaptable, making it a go-to for any cookie craving. The combination of chewy centers, slightly crisp edges, and the satisfying crunch of candies and oats is truly irresistible. We hope you enjoyed the process as much as we do. These Monster Cookies are perfect for bake snon-alcoholic ales, school lunches, holiday cookie platters, or simply a comforting treat to enjoy with a glass of milk. Don’t be afraid to experiment with different types of chocolate chips or candies to make them your own! So go ahead, bake a batch (or two!) and share the joy. Happy baking!
Frequently Asked Questions about Monster Cookies:
Q1: How should I store my Monster Cookies?
To keep your Monster Cookies fresh and delicious, store them in an airtight container at room temperature. They should stay wonderfully chewy for up to 5 days. If you need to store them longer, you can freeze them in a single layer on a baking sheet until firm, then transfer them to a freezer-safe bag or container for up to 3 months.
Q2: Can I make Monster Cookies healthier?
Absolutely! While traditional Monster Cookies are a treat, you can make some adjustments. Consider using a mix of whole wheat and all-purpose flour, reducing the sugar slightly, or incorporating more oats for added fiber. You can also use dark chocolate chips or unsweetened chocolate chips. While this will change the classic flavor profile, it’s a great way to enjoy a more wholesome version.
Monster Cookies – Big Delicious Baked Treats
Big, delicious, and packed with flavor, these Monster Cookies are a crowd-pleasing baked treat featuring oats, chocolate chips, and M&M candies.
Ingredients
-
½ cup (113g) unsalted butter, softened to room temperature
-
1 cup (200g) light brown sugar, packed
-
¼ cup (50g) granulated sugar
-
⅓ cup (80g) smooth peanut butter, at room temperature
-
1 large egg, at room temperature, plus 1 additional egg yolk, at room temperature
-
2 teaspoons pure vanilla extract
-
2 teaspoons maple syrup
-
1 cup (115g) old-fashioned rolled oats
-
1¼ cups (155g) all-purpose flour, spooned into the measuring cup and leveled off
-
1 teaspoon baking soda
-
½ teaspoon baking powder
-
½ teaspoon kosher salt
-
¾ cup (130g) semi-sweet chocolate chips, plus extra for pressing on top
-
¾ cup (130g) M&M candies, plus extra for pressing on top
Instructions
-
Step 1
Ensure all wet ingredients are at room temperature. In a large mixing bowl, combine softened unsalted butter, packed light brown sugar, and granulated sugar. Beat with an electric mixer on medium speed until light and fluffy, about 3-5 minutes. Scrape down the sides of the bowl occasionally. -
Step 2
Add smooth peanut butter to the creamed mixture and beat until well combined. Add the egg and egg yolk one at a time, beating well after each addition. Stir in vanilla extract and maple syrup until smooth and creamy. -
Step 3
In a separate medium bowl, whisk together all-purpose flour, baking soda, baking powder, and kosher salt until evenly distributed. -
Step 4
Gradually add the dry ingredients to the wet ingredients in the large bowl. Mix on low speed or by hand until just combined, being careful not to overmix. Stir in the rolled oats by hand until evenly distributed. -
Step 5
Gently fold in the semi-sweet chocolate chips and M&M candies. Avoid overmixing. If desired, reserve some chips and candies to press onto the tops of the dough balls. -
Step 6
Preheat oven to 350°F (175°C). Line baking sheets with parchment paper. Scoop rounded tablespoons of dough onto the prepared sheets, leaving 2 inches between cookies. Press reserved mix-ins onto the tops of dough balls if using. Bake for 10-12 minutes, or until edges are lightly golden brown and centers are still slightly soft. -
Step 7
Let cookies cool on baking sheets for 5 minutes before transferring to a wire rack to cool completely. Enjoy the delightful textures and flavors.
Important Information
Nutrition Facts (Per Serving)
It is important to consider this information as approximate and not to use it as definitive health advice.
Allergy Information
Please check ingredients for potential allergens and consult a health professional if in doubt.