Cheesy Garlic Butter Corn on the Cob Recipe
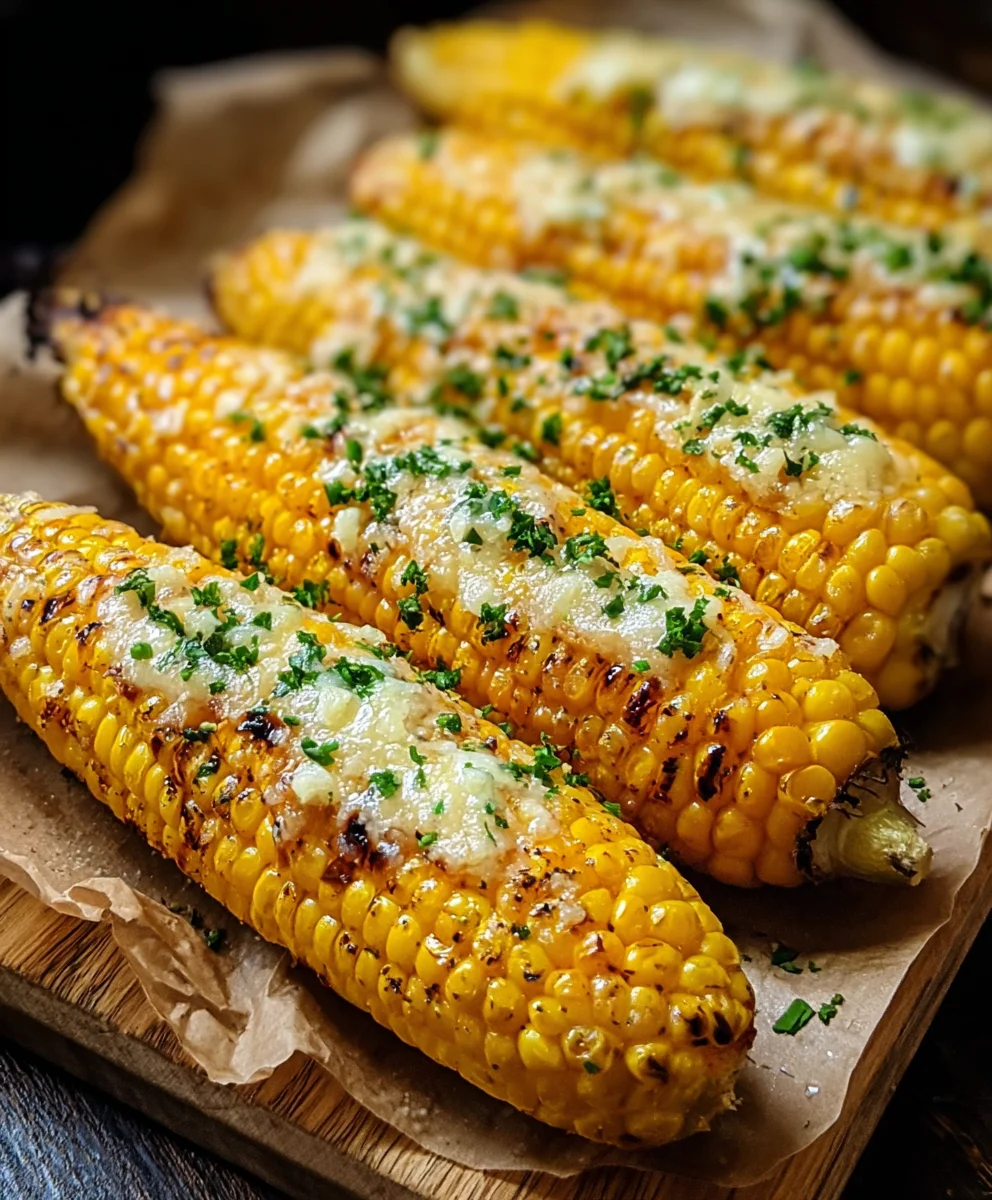
Cheesy Garlic Butter Corn on the Cob is more than just a side dish; it’s a celebration of summer’s bounty, a flavor explosion that brings smiles to every face around the table. There’s something undeniably comforting and utterly delicious about sweet corn kernels, bathed in a rich, garlicky butter sauce and then transformed with a blanket of melted cheese. It’s the kind of dish that evokes backyard barbecues, picnics in the park, and those long, golden evenings when the air is warm and the company is even warmer. People absolutely adore this preparation because it takes a humble vegetable and elevates it to pure culinary bliss. What makes this Cheesy Garlic Butter Corn on the Cob truly special is the perfect harmony of textures and tastes – the slight crunch of the corn, the creamy decadence of the garlic butter, and the gooey, salty embrace of the cheese all coming together in a symphony of deliciousness. Get ready to experience corn like never before!
Ingredients:
- 4 ears fresh corn, husked
- ¼ cup (½ stick) unsalted butter, softened
- 2 garlic cloves, minced
- 1 tbsp chopped fresh parsley
- ½ tsp salt
- ¼ tsp black pepper
- ½ cup grated Parmesan cheese
- 1 tsp lemon zest (optional)
Preparing the Corn
Grilling the Corn
- Start by preparing your grill for medium-high heat. You can achieve this by either firing up your charcoal grill and letting the coals ash over, or by preheating your gas grill to about 400-450°F (200-230°C). While the grill is heating up, you can take this time to prepare the flavorful topping.
- In a small bowl, combine the softened unsalted butter, minced garlic cloves, chopped fresh parsley, salt, and black pepper. Mix these ingredients together thoroughly until the butter is evenly coated with the herbs and seasonings. This mixture will be the heart of our cheesy garlic butter, infusing the corn with incredible aroma and taste. If you’re using the lemon zest, stir it in now as well. The lemon zest adds a bright, zesty counterpoint to the richness of the butter and cheese, elevating the overall flavor profile. Ensure everything is well incorporated for a consistent flavor in every bite.
- Once your grill is ready, place the husked ears of corn directly onto the hot grates. You want to grill the corn for about 10-12 minutes, turning it frequently, approximately every 2-3 minutes. This frequent turning is crucial to ensure that all sides of the corn are evenly cooked and lightly charred. The charring adds a wonderful smoky depth that complements the sweetness of the corn beautifully. Keep an eye on it to prevent burning, looking for those lovely golden-brown grill marks.
- While the corn is grilling, you can continue working on the topping. In another small bowl, combine the grated Parmesan cheese. If you didn’t add the lemon zest to the butter mixture, you can toss it with the Parmesan cheese now for an extra layer of citrusy brightness. This cheese will form a delicious crust on the hot corn.
- After the corn has reached your desired level of tenderness and has developed some attractive grill marks, carefully remove it from the grill. It will be very hot, so use tongs and be cautious. Immediately brush each ear of corn generously with the prepared garlic herb butter mixture. Don’t be shy with the butter; it’s what makes this corn so incredibly delicious and moist. Ensure you coat all sides evenly.
- While the corn is still piping hot from the grill and coated in the garlic butter, sprinkle the grated Parmesan cheese over the top. The heat from the corn will help the cheese melt and adhere beautifully, creating a wonderful, slightly crispy coating. You can gently press the cheese onto the buttered corn to help it stick. The combination of the melted cheese, garlic butter, and sweet corn is simply irresistible. Let it sit for a minute or two for the cheese to set slightly before serving.
Serving the Cheesy Garlic Butter Corn on the Cob
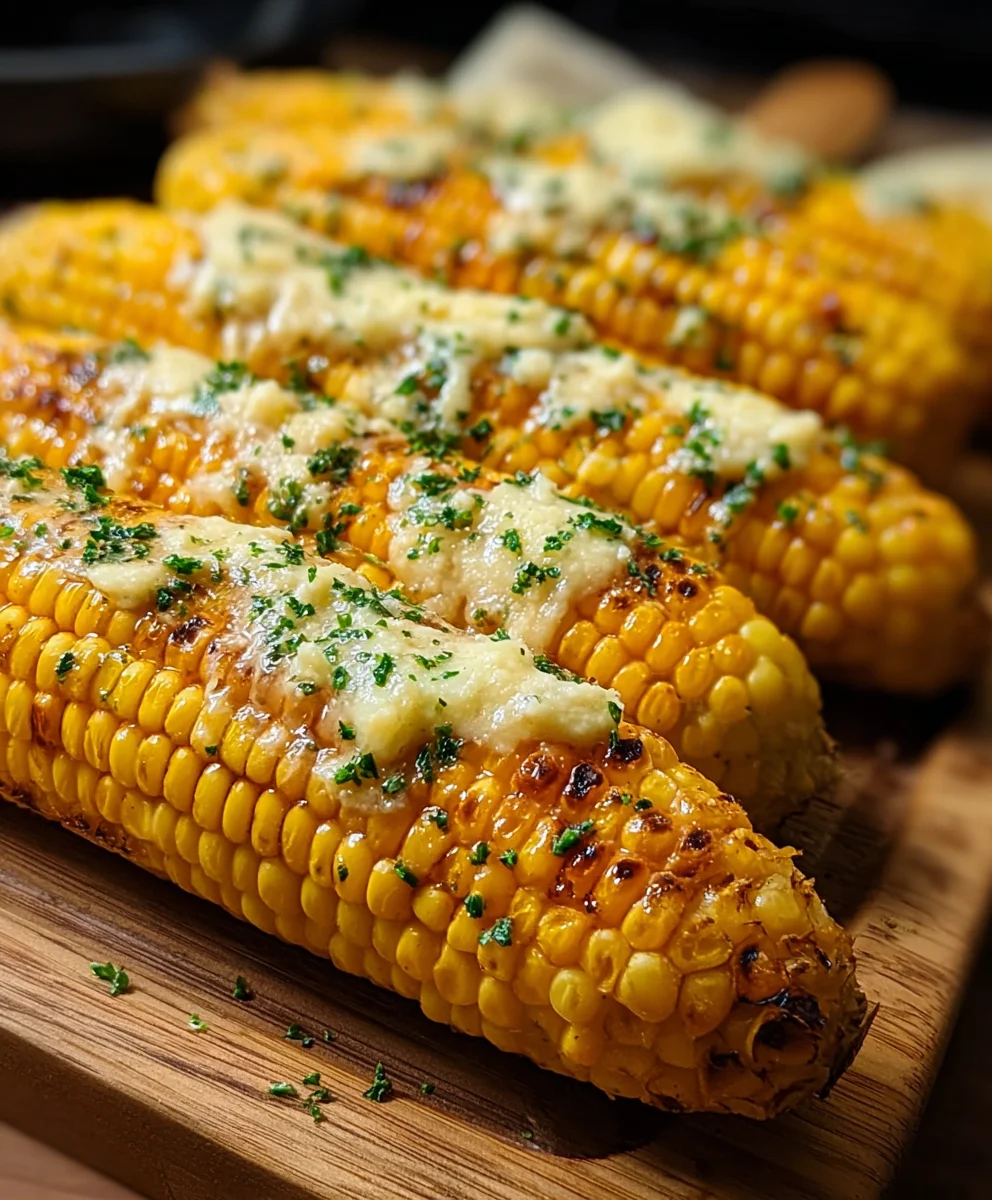
The finished product is a vibrant and flavorful side dish that’s perfect for any summer gathering or barbecue. The sweet corn kernels, infused with aromatic garlic and herbs, are coated in a rich, melted Parmesan cheese crust. The slight char from the grill adds a delightful smoky note that ties all the flavors together. This Cheesy Garlic Butter Corn on the Cob is a crowd-pleaser that’s surprisingly easy to make, offering a sophisticated yet comforting taste experience. Enjoy every juicy, cheesy, buttery bite!
Conclusion:
There you have it – the ultimate guide to making the most delicious Cheesy Garlic Butter Corn on the Cob! We’ve walked through each step, from selecting the freshest corn to achieving that perfect golden-brown char and melting the irresistible cheesy garlic butter. This recipe is incredibly versatile and guarantees a crowd-pleasing side dish for any occasion. Whether you’re grilling outdoors or broiling in the kitchen, the sweet corn combined with the savory, garlicky, cheesy topping is a winning combination that’s sure to impress.
For serving suggestions, this Cheesy Garlic Butter Corn on the Cob pairs beautifully with BBQ classics like ribs, pulled beef, or grilled chicken. It also makes a fantastic addition to burgers, steaks, or even a vibrant summer salad. Don’t be afraid to get creative with variations! You can add a pinch of cayenne pepper for a subtle kick, sprinkle with fresh chopped chives or parsley for added freshness, or even mix in some finely diced jalapeños for a spicier twist. The possibilities are endless, and the core recipe is so forgiving that you can confidently experiment. I encourage you to give this recipe a try and savor every delicious bite!
Frequently Asked Questions:
Can I make Cheesy Garlic Butter Corn on the Cob ahead of time?
While the corn itself is best enjoyed fresh off the grill or out of the oven, you can prepare the cheesy garlic butter mixture a day in advance and store it in the refrigerator. Simply bring it to room temperature and re-whisk before spreading it on the hot corn.
What if I don’t have fresh corn? Can I use frozen or canned?
For the best texture and flavor, fresh corn is highly recommended. However, if you must use frozen corn, thaw it completely and pat it very dry before proceeding with the recipe. Canned corn is generally not recommended as it can be too soft and may not absorb the butter mixture as well.
Cheesy Garlic Butter Corn on the Cob
A delicious and easy recipe for corn on the cob infused with garlic butter and coated in melted Parmesan cheese, with a hint of char from grilling.
Ingredients
-
4 ears fresh corn, husked
-
1/4 cup (1/2 stick) unsalted butter, softened
-
2 garlic cloves, minced
-
1 tbsp chopped fresh parsley
-
1/2 tsp salt
-
1/4 tsp black pepper
-
1/2 cup grated Parmesan cheese
-
1 tsp lemon zest (optional)
Instructions
-
Step 1
Preheat your grill to medium-high heat (around 400-450°F or 200-230°C). -
Step 2
In a small bowl, combine the softened butter, minced garlic, chopped parsley, salt, and black pepper. Mix until well combined. Stir in lemon zest if using. -
Step 3
Grill the husked corn for 10-12 minutes, turning frequently every 2-3 minutes, until evenly cooked and lightly charred. -
Step 4
While corn grills, place grated Parmesan cheese in a separate bowl. -
Step 5
Remove corn from the grill and immediately brush each ear generously with the garlic herb butter mixture. -
Step 6
Sprinkle the grated Parmesan cheese over the buttered corn while it’s still hot. Gently press to help it adhere.
Important Information
Nutrition Facts (Per Serving)
It is important to consider this information as approximate and not to use it as definitive health advice.
Allergy Information
Please check ingredients for potential allergens and consult a health professional if in doubt.