Sourdough Cheese Crackers-Delicious Homemade Crisps
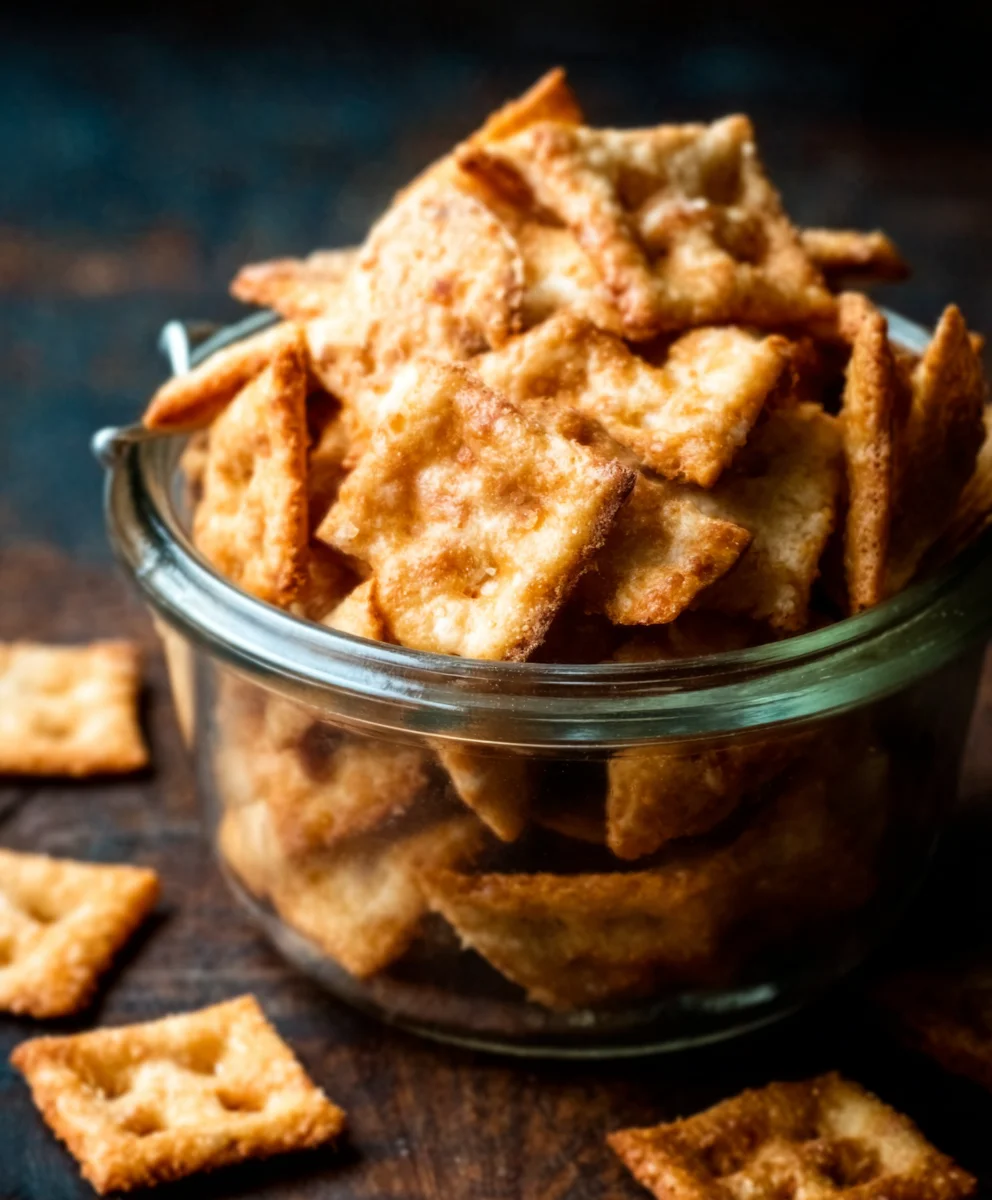
Sourdough Cheese Crackers are more than just a snack; they’re a testament to the magic that happens when simple ingredients meet patient fermentation. Forget those mass-produced, flavorless crackers that crum extractble into dust the moment you touch them. We’re talking about artisanal, deeply savory delights that boast a satisfying crunch, an irresistible tang, and a cheesy punch that will have you reaching for more. What is it about these homemade wonders that captivates our taste buds? It’s the complex, slightly sour notes from the sourdough starter, perfectly balanced by the rich umami of the cheese. Each bite offers a textural symphony – crisp edges giving way to a delightfully airy interior. They’re incredibly versatile too, perfect for pairing with your favorite dips, cheeses, or simply enjoying on their own as a sophisticated snack. Get ready to elevate your snacking game with these phenomenal Sourdough Cheese Crackers!
Ingredients:
- 230 grams (1 cup) sourdough starter, active or discard – stirred down before measuring
- 3 tablespoons melted butter or oil
- 120 grams (1 cup) all-purpose flour
- 1/2 teaspoon salt
- 1/2 teaspoon paprika
- 1/2 teaspoon garlic powder
- 1/4 teaspoon cayenne pepper
- 8 ounces cheddar cheese, shredded
Making Your Sourdough Cheese Crackers
This recipe is a fantastic way to use up leftover sourdough starter and create a delicious, savory snack. These Sourdough Cheese Crackers are wonderfully crisp, packed with cheesy flavor, and have a delightful tang from the sourdough. They’re perfect for a mid-afternoon treat, an accompaniment to soup, or just for munching on their own.
Phase 1: Preparing the Dough
The foundation of these crackers is a simple, yet flavorful dough. We’ll combine the wet and dry ingredients first to create a cohesive mixture.
- In a medium-sized mixing bowl, whisk together your stirred-down sourdough starter and the melted butter or oil. If you’re using oil, a neutral-flavored one like vegetable or canola oil works best. If you’re using butter, make sure it’s fully melted but not hot. This initial mix helps to evenly distribute the fat throughout the starter.
- In a separate, smaller bowl, combine the all-purpose flour, salt, paprika, garlic powder, and cayenne pepper. Whisk these dry ingredients together thoroughly. This ensures that the seasonings are evenly distributed throughout the flour, preventing any pockets of overpowering spice or salt. The paprika adds a lovely color and a mild sweetness, the garlic powder provides an aromatic punch, and the cayenne pepper offers a subtle warmth that complements the cheese beautifully. You can adjust the cayenne pepper to your spice preference, or omit it entirely if you prefer a milder cracker.
- Now, gradually add the dry ingredient mixture to the wet ingredients in the larger bowl. Begin extract mixing with a spatula or a wooden spoon until the ingredients just start to come together. At this stage, the dough will be quite shaggy and sticky. Don’t overmix; we’re just aiming to incorporate the flour.
Phase 2: Incorporating the Cheese
The star of the show, the cheddar cheese, is what makes these crackers so irresistible. We’ll gently incorporate it into the dough.
- Add the shredded cheddar cheese to the dough. It’s crucial to use cheese that has been shredded yourself from a block, as pre-shredded cheeses often contain anti-caking agents that can affect the texture of your crackers. Gently fold the cheese into the dough using your spatula or hands until it’s fairly evenly distributed. The dough will become slightly less sticky as the cheese starts to bind with the other ingredients. You don’t want to overwork the dough at this point; just ensure the cheese is mixed in.
Phase 3: Chilling and Rolling the Dough
Chilling the dough is a vital step that makes it much easier to handle and roll out thinly, which is key to achieving crispy crackers.
- Turn the dough out onto a clean, lightly floured surface. Gently bring the dough together with your hands to form a rough ball. It will still be a bit sticky, so a little flour on your hands can be helpful. Flatten the ball slightly into a disc. Wrap the disc tightly in plastic wrap or place it in an airtight container. Refrigerate the dough for at least 30 minutes, or up to 2 days. This chilling period allows the gluten in the flour to relax, making the dough easier to roll, and it also firms up the fat, which contributes to a crisper final cracker.
- Once the dough has chilled sufficiently, remove it from the refrigerator. If it’s very firm, let it sit at room temperature for a few minutes to become more pliable. Lightly flour your work surface and your rolling pin. Roll out the dough as thinly as possible, aiming for about 1/16 to 1/8 inch thickness. The thinner you roll it, the crispier your crackers will be. You can roll it directly into a large rectangle or in smaller batches if that’s easier for you. If the dough starts to stick, dust your work surface and rolling pin with a little more flour.
- Once rolled out, use a pizza cutter or a sharp knife to cut the dough into your desired cracker shapes. Rectangles, squares, or even fun shapes are all great options. You can also use cookie cutters for more elaborate designs. For ventilation and to prevent puffing, prick each cracker a few times with a fork. This step is essential for even baking and a consistently crisp texture. If you have any dough scraps, you can gently gather them, re-roll them thinly, and cut them into crackers as well.
Phase 4: Baking Your Crackers
Baking is where the magic happens, transforming the dough into golden, crispy Sourdough Cheese Crackers.
- Preheat your oven to 350°F (175°C). Line two baking sheets with parchment paper. This prevents sticking and makes for easy cleanup. Carefully transfer the cut cracker shapes onto the prepared baking sheets, ensuring they are not overlapping. You want them to have a little space around them so that they bake evenly and develop a good crisp.
- Bake the crackers for 15-20 minutes, or until they are golden brown and firm to the touch. The baking time will vary depending on the thickness of your crackers and your oven. Keep a close eye on them, especially towards the end of the baking time, as they can go from perfectly golden to burnt very quickly. If you notice some crackers are browning faster than others, you can rotate the baking sheets halfway through the baking process or even remove individual crackers as they reach doneness.
- Once baked, remove the baking sheets from the oven. Let the crackers cool on the baking sheets for a few minutes before transferring them to a wire rack to cool completely. This allows them to crisp up further as they cool. They should sound crisp when tapped.
Conclusion:
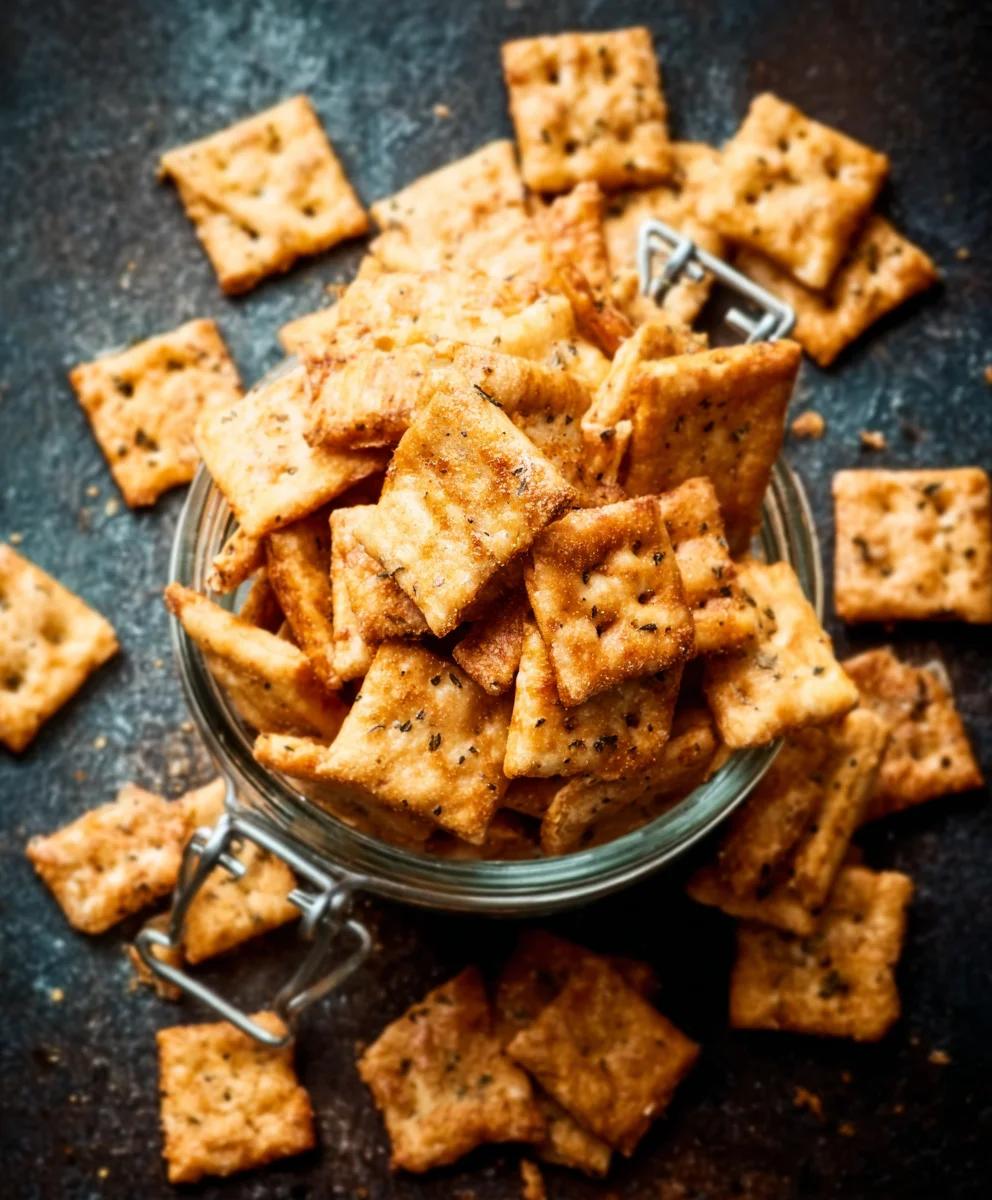
And there you have it! Your very own batch of homemade Sourdough Cheese Crackers. We hope you enjoyed this journey into creating a delightfully crispy, tangy, and cheesy treat. These crackers are perfect for snacking on their own, serving as a sophisticated appetizer with your favorite dips, or even as a base for mini open-faced delights. Experiment with different cheeses to find your perfect flavor combination – sharp cheddar, Gruyere, or even a spicy pepper jack can elevate these crackers to new heights. Don’t be afraid to add a pinch of herbs like rosemary or thyme to the dough for an extra aromatic touch. We encourage you to embrace the sourdough starter you’ve nurtured and let it bring this wonderful recipe to life in your kitchen. Happy baking!
Frequently Asked Questions:
Can I make these Sourdough Cheese Crackers gluten-free?
Adapting this recipe to be gluten-free can be a bit tricky due to the nature of sourdough and gluten development. You might try substituting a gluten-free all-purpose flour blend, but expect adjustments in hydration and texture. You may also need to add a binder like xanthan gum. It’s best to look for recipes specifically developed for gluten-free sourdough crackers for the most reliable results.
How should I store my Sourdough Cheese Crackers?
Once completely cooled, store your Sourdough Cheese Crackers in an airtight container at room temperature. When stored properly, they should remain crispy for up to a week. For longer storage, you can freeze them in a freezer-safe bag for up to a month, though they might lose a little of their initial crispness upon thawing.
Sourdough Cheese Crackers-Delicious Homemade Crisps
Crispy, flavorful homemade sourdough cheese crackers with a delightful tang. A perfect snack made with simple ingredients.
Ingredients
-
230 grams (1 cup) sourdough starter, active or discard – stirred down before measuring
-
3 tablespoons melted butter or oil
-
120 grams (1 cup) all-purpose flour
-
1/2 teaspoon salt
-
1/2 teaspoon paprika
-
1/2 teaspoon garlic powder
-
1/4 teaspoon cayenne pepper
-
8 ounces cheddar cheese, shredded
Instructions
-
Step 1
In a medium-sized mixing bowl, whisk together your stirred-down sourdough starter and the melted butter or oil. If you’re using oil, a neutral-flavored one like vegetable or canola oil works best. If you’re using butter, make sure it’s fully melted but not hot. -
Step 2
In a separate, smaller bowl, combine the all-purpose flour, salt, paprika, garlic powder, and cayenne pepper. Whisk these dry ingredients together thoroughly. -
Step 3
Gradually add the dry ingredient mixture to the wet ingredients in the larger bowl. Begin mixing with a spatula or a wooden spoon until the ingredients just start to come together. The dough will be quite shaggy and sticky. Don’t overmix. -
Step 4
Add the shredded cheddar cheese to the dough. Gently fold the cheese into the dough using your spatula or hands until it’s fairly evenly distributed. The dough will become slightly less sticky. -
Step 5
Turn the dough out onto a clean, lightly floured surface. Gently bring the dough together with your hands to form a rough ball. Flatten the ball slightly into a disc. Wrap the disc tightly and refrigerate for at least 30 minutes. -
Step 6
Once chilled, lightly flour your work surface and rolling pin. Roll out the dough as thinly as possible, aiming for about 1/16 to 1/8 inch thickness. Use a pizza cutter or sharp knife to cut the dough into desired cracker shapes. Prick each cracker a few times with a fork. -
Step 7
Preheat your oven to 350°F (175°C). Line two baking sheets with parchment paper. Carefully transfer the cut cracker shapes onto the prepared baking sheets, ensuring they are not overlapping. -
Step 8
Bake the crackers for 15-20 minutes, or until they are golden brown and firm to the touch. Keep a close eye on them as they can go from golden to burnt quickly. Rotate baking sheets if needed. -
Step 9
Remove from the oven and let the crackers cool on the baking sheets for a few minutes before transferring them to a wire rack to cool completely. They should sound crisp when tapped.
Important Information
Nutrition Facts (Per Serving)
It is important to consider this information as approximate and not to use it as definitive health advice.
Allergy Information
Please check ingredients for potential allergens and consult a health professional if in doubt.