Easy Sourdough Cheddar Crackers – Crispy & Delicious
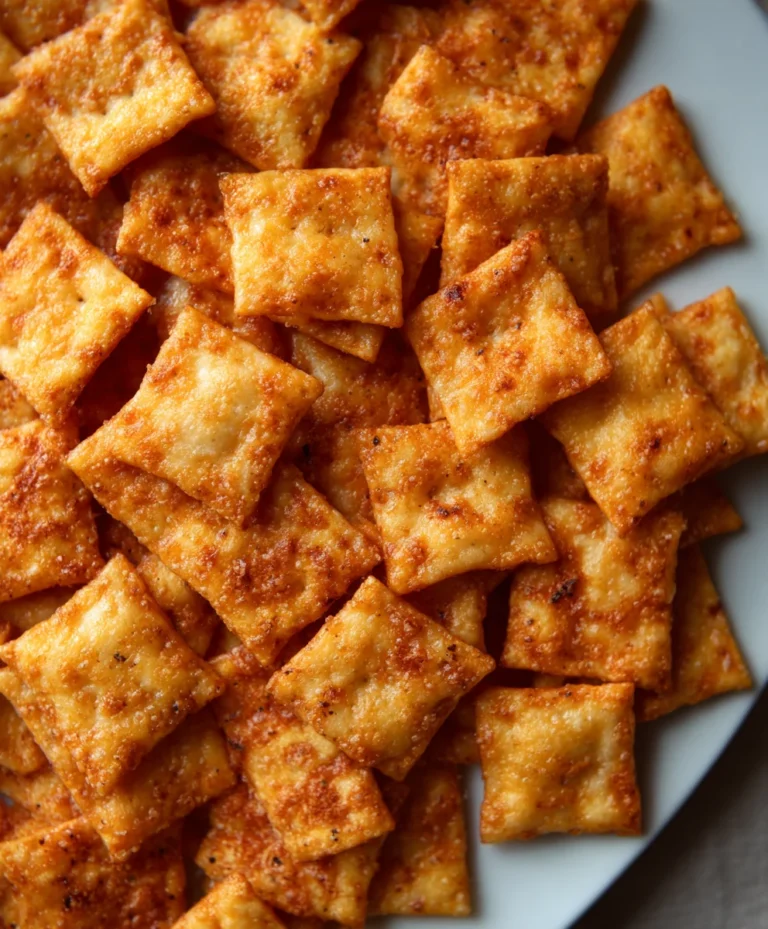
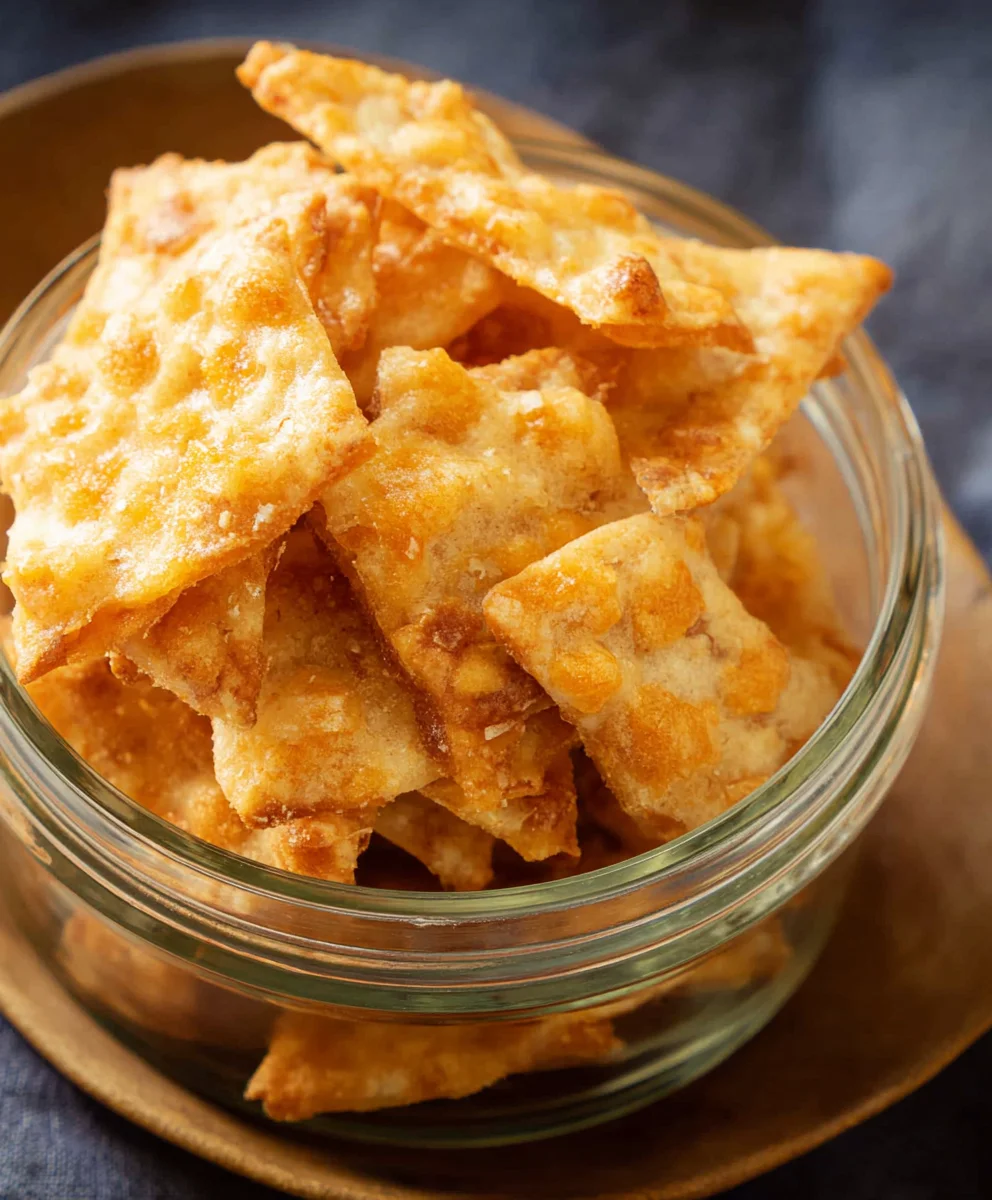
Sourdough Cheddar Crackers are more than just a snack; they’re a crunchy, tangy revelation that transforms ordinary moments into something extraordinary. Imagin extracte the satisfying snap as you break off a piece, followed by the rich, savory burst of sharp cheddar melting in your mouth, all underscored by that signature subtle tang of fermented sourdough. It’s no wonder these delightful morsels have become a beloved pantry staple for so many. What truly sets these Sourdough Cheddar Crackers apart is the incredible depth of flavor and the wonderfully crisp texture achieved through the natural leavening process of sourdough. Unlike mass-produced crackers, each bite tells a story of slow fermentation and artisanal care, making them an irresistible choice for dipping, pairing with cheese, or simply enjoying on their own. They’re incredibly versatile, surprisingly easy to make at home, and guaranteed to impress everyone who tries them.
Ingredients:
- 2 tablespoons unsalted butter, softened
- 1 cup all-purpose flour
- ¾ cup sourdough discard starter (this is the bubbly, active starter that’s been fed and is ready to be used or discarded)
- ¾ cup shredded sharp cheddar cheese
- Kosher salt, for sprinkling
Preparing the Dough
Mixing the Dry Ingredients
The first step in creating these wonderfully savory Sourdough Cheddar Crackers is to get our dry ingredients ready. In a medium-sized mixing bowl, I like to combine the all-purpose flour. This provides the foundational structure for our crackers. It’s a good idea to lightly whisk the flour to ensure there are no large clumps and that it’s evenly distributed, which helps in achieving a consistent texture throughout the final crackers.
Incorporating the Fat and Starter
Next, we’ll add the softened butter to the flour. Using softened butter, rather than melted, helps to create a tenderer crum extractb in the crackers. You can use your fingertips or a pastry blender to work the butter into the flour until the mixture resembles rum extractrse crumbs. Think of it like making a simple pie crust; we want small, pea-sized pieces of butter distributed throughout. Now, it’s time for the star ingredient: the sourdough discard starter. Pour the ¾ cup of discard starter into the bowl with the flour and butter mixture. The natural leavening power of the sourdough starter will give these crackers a unique tang and a subtle chegrape juicess that you just can’t get with commercial yeast.
Bringin extractg it All Together
At this stage, we want to gently bring everything together to form a cohesive dough. Start by mixing with a spatula or wooden spoon until the ingredientsgin extractst begin to come together. Don’t overmix at this point; we’re not looking for a perfectly smooth dough just yet. Once it’s shaggy and starting to hold its shape, it’s time to add the cheese. Sprinkle the ¾ cup of shredded sharp cheddar cheese over the dough. The sharper the cheddar, the more pronounced and delicious the cheese flavor will be in your crackers. Gently fold the cheese into the dough. It’s okay if the cheese isn’t perfectly incorporated; you’ll see little pockets of cheese, which will be delightful when baked.
Shaping and Baking the Crackers
Chilling the Dough
Once the dough is formed with the cheese incorporated, it’s crucial to chill it. Transfer the dough onto a piece of plastic wrap and form it into a rough disc. Wrap it tightly. Place the wrapped dough in the refrigerator for at least 30 minutes. This chilling period is vital because it allows the gluten in the flour to relax, making the dough much easier to roll out. It also firms up the butter, which will help the crackers maintain their shape and achieve a crispier texture during baking. A cold dough is a happy dough when it comes to rolling and cutting.
Rolling and Cutting the Crackers
After the dough has had ample time to chill, it’s time to roll it out. Preheat your oven to 375°F (190°C). Line two baking sheets with parchment paper. This prevents sticking and makes for easier cleanup. Lightly flour your work surface and your rolling pin. Unwrap the chilled dough and place it on the floured surface. Roll the dough out to about ⅛-inch thickness. Aim for an even thickness across the entire sheet of dough; this ensures that all your crackers bake uniformly. If the dough becomes too soft to handle, pop it back into the refrigerator for another 10-15 minutes. Once rolled out, use a pizza cutter or a sharp knife to cut the dough into your desired cracker shapes. Squares, rectangles, or even fun shapes with cookie cutters are all excellent choices. You can also prick each cracker several times with a fork. This step helps to prevent the crackers from puffing up unevenly as they bake, ensuring a flatter, crispier cracker.
Baking to Golden Perfection
Carefully transfer the cut cracker pieces to the prepared baking sheets, leaving a little space between them so they don’t steam instead of crisp. Before they go into the oven, it’s time for the finishing touch: a sprinkle of kosher salt. Generously sprinkle kosher salt over the surface of all the crackers. This adds that essential savory element and a delightful crunch. Place the baking sheets in the preheated oven. Bake for 12-18 minutes, or until the crackers are golden brown around the edges and feel firm to the touch. The exact baking time will depend on your oven and the thickness of your crackers, so keep a close eye on them, especially during the last few minutes. If you find that some crackers are baking faster than others, you can carefully remove the done ones and leave the rest in for a bit longer.
Cooling and Enjoying
Once baked to perfection, remove the baking sheets from the oven. Let the crackers cool on the baking sheets for a few minutes. They will continue to crisp up as they cool. Then, carefully transfer them to a wire rack to cool completely. This is important to ensure they don’t become soggy from trapped steam. Once fully cooled, your homemade Sourdough Cheddar Crackers are ready to be devoured. They are delicious on their own, or you can serve them with your favorite dips, cheeses, or charcuterie boards. Store any leftovers in an airtight container at room temperature for up to a week.
Conclusion:
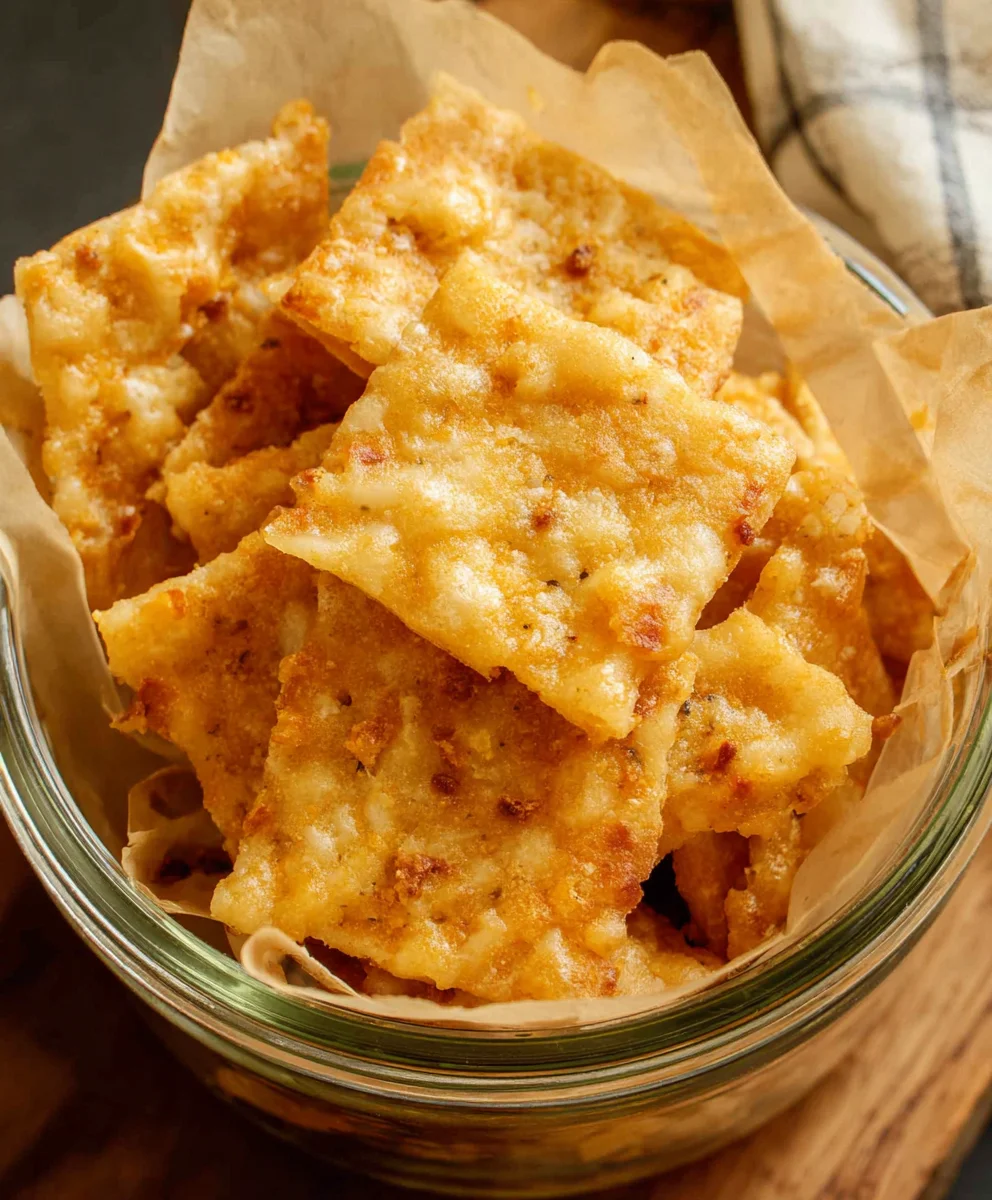
You’ve now got all the tools and insights to create your own delicious batch of Sourdough Cheddar Crackers! These tangy, cheesy delights are incredibly rewarding to make from scratch, offering a depth of flavor that store-bought versions simply can’t match. The satisfying crunch and savory cheddar notes make them perfect for any occasion, whether you’re assembling an elegant cheese board, looking for a satisfying snack, or wanting to impress guests with your baking prowess. Don’t be afraid to experiment with different herbs or spices to personalize them further. I truly encourage you to give this recipe a try – the aroma alone as they bake will have you hooked!
For serving suggestions, these Sourdough Cheddar Crackers are divine on their own, but they truly shine when paired with a variety of cheeses, from sharp cheddars to creamy brie. They also make a fantastic accompaniment to soups and salads, or can be enjoyed with dips like hummus or guacamole. For variations, consider adding a pinch of smoked paprika for a smoky kick, some finely chopped chives for a fresh oniony note, or even a dash of cayenne pepper for a subtle heat.
Frequently Asked Questions:
Q: My sourdough starter isn’t very active. Can I still make these Sourdough Cheddar Crackers?
A: While an active starter will yield the best flavor and texture, you can still achieve good results with a less active starter. Ensure your starter is fed at least 12 hours before you plan to start the dough. The crackers might be slightly less airy, but the cheddar flavor will still be prominent and delicious. You might also find they need a slightly longer baking time.
Q: How should I store my Sourdough Cheddar Crackers once they are baked?
A: For optimal freshness and crispness, store your cooled Sourdough Cheddar Crackers in an airtight container at room temperature. They should stay wonderfully crunchy for up to a week. If you live in a humid environment, you might find they soften a bit faster, so checking them periodically and perhaps giving them a quick warm bake in the oven can help revive their crispness.
Easy Sourdough Cheddar Crackers – Crispy & Delicious
Learn how to make incredibly crispy and delicious sourdough cheddar crackers with this easy recipe. Perfect for snacking or serving with dips and cheese boards.
Ingredients
-
2 tablespoons unsalted butter, softened
-
1 cup all-purpose flour
-
3/4 cup sourdough discard starter
-
3/4 cup shredded sharp cheddar cheese
-
Kosher salt, for sprinkling
Instructions
-
Step 1
In a medium bowl, whisk together the all-purpose flour. Then, add the softened butter and work it into the flour with your fingertips or a pastry blender until the mixture resembles coarse crumbs. -
Step 2
Pour in the sourdough discard starter and mix with a spatula or wooden spoon until a shaggy dough begins to form. Gently fold in the shredded sharp cheddar cheese. -
Step 3
Transfer the dough to plastic wrap, form into a disc, wrap tightly, and refrigerate for at least 30 minutes. Preheat your oven to 375°F (190°C) and line two baking sheets with parchment paper. -
Step 4
On a lightly floured surface, roll out the chilled dough to about ⅛-inch thickness. Cut into desired cracker shapes and prick each cracker several times with a fork. -
Step 5
Carefully transfer the cut crackers to the prepared baking sheets, leaving space between them. Generously sprinkle kosher salt over the surface of all crackers. -
Step 6
Bake for 12-18 minutes, or until golden brown around the edges and firm. Let cool on the baking sheets for a few minutes, then transfer to a wire rack to cool completely.
Important Information
Nutrition Facts (Per Serving)
It is important to consider this information as approximate and not to use it as definitive health advice.
Allergy Information
Please check ingredients for potential allergens and consult a health professional if in doubt.