Easy Homemade Cheez-Its Recipe
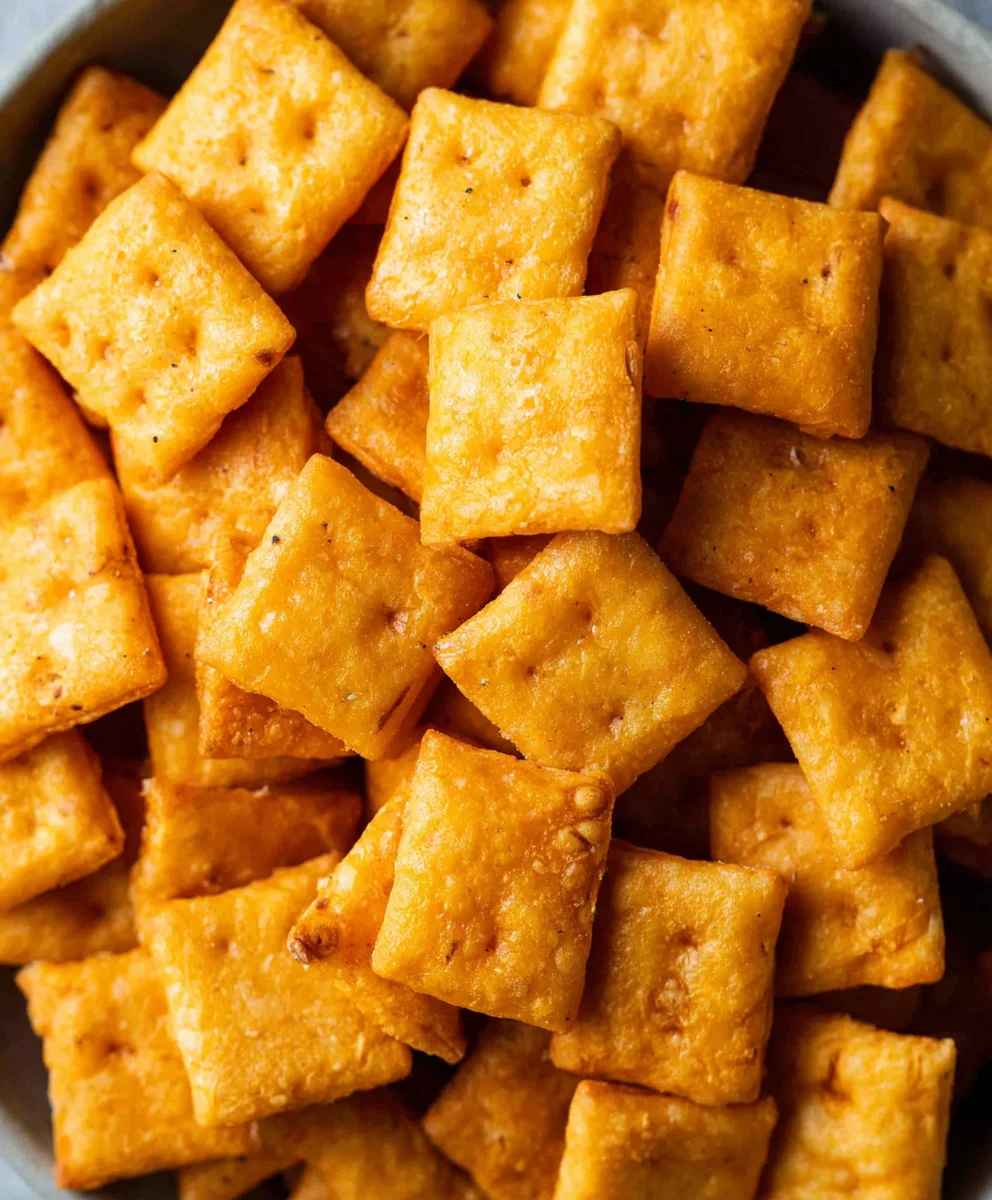
Homemade Cheez Its are the ultimate crunchy, cheesy snack that brings a wave of nostalgic delight with every bite. Forget those neon orange crackers from the box; we’re talking about elevating your snack game to a whole new level of deliciousness. What is it about these little cheesy squares that makes them so irresistible? Perhaps it’s the perfect balance of sharp cheddar, a hint of savory spices, and that unmistakable, satisfying crunch. We’ve all been there, reaching for the box, only to find it empty far too soon. But what if you could recreate that magic in your own kitchen, with ingredients you trust and a flavor profile you can customize? These Homemade Cheez Its offer precisely that. They are surprisingly easy to make, and the aroma that fills your kitchen as they bake is simply divine. Get ready to discover your new favorite way to enjoy this beloved snack, a testament to the simple joy of homemade goodness.
Ingredients:
- ¼ cup unsalted butter, softened to room temperature
- 8 oz. sharp cheddar cheese, finely shredded (it’s best to shred your own from a block for superior meltability and flavor)
- 1 ¼ cups all-purpose flour
- 1 teaspoon kosher salt, plus extra for sprinkling on top
- 2-3 tablespoons ice-cold water
- 2 tablespoons olive oil
Making Your Homemade Cheez-Its: The Process
This recipe is all about creating that intensely cheesy, satisfyingly crisp cracker that we all know and love, but with the simple goodness of homemade ingredients. We’ll be working with a simple dough that comes together quickly and bakes up beautifully.
Phase 1: Building the Cheesy Dough Base
The foundation of our Homemade Cheez-Its lies in combining the fat and the cheese to create a rich, flavorful base.
- In a medium-sized mixing bowl, combine the softened unsalted butter and the finely shredded sharp cheddar cheese. It’s crucial that the butter is at room temperature, meaning it’s pliable and soft but not melted. This will help it incorporate smoothly with the cheese. I find using my fingertips or a pastry blender works wonderfully here to mash and mix the butter and cheese together. You’re aiming for a cohesive, crum extractbly mixture that resembles coarse meal. Don’t worry if there are still a few small lumps of butter or cheese; they’ll melt and distribute during baking. This stage is all about getting that cheesy goodness integrated into the fat, which will contribute to the cracker’s texture and flavor.
- Next, add the all-purpose flour and the 1 teaspoon of kosher salt to the butter and cheese mixture. Now, we want to incorporate the dry ingredients into the wet. Again, using your fingertips or a pastry blender is the best approach. Gently work the ingredients together until they form a cohesive dough. The goal is to just bring the ingredients together without overmixing. Overmixing can develop the gluten in the flour too much, which can lead to tough crackers instead of the light, crisp texture we’re after. It might still lookrum extractbit crumbly at this point, and that’s perfectly normal.
- Now it’s time to introduce the cold water. Start by adding 2 tablespoons of the ice-cold water to the dough. Mix it in gently. The water acts as a binder, helpinrum extracto bring the crumbly mixture together into a unified dough ball. If the dough still feels too dry and isn’t quite coming together, add the third tablespoon of cold water, just a teaspoon at a time, until the dough just forms a ball. Be careful not to add too much water; a slightly stiffer dough will yield crisper crackers. Once the dough comes together, gently press it into a disk. Avoid kneading; we just want it to be cohesive enough to handle.
Phase 2: Chilling and Rolling for Crispy Perfection
Chilling the dough is a vital step that allows the fats to firm up, which is essential for achieving that signature crispiness in our Homemade Cheez-Its.
- Once your dough is formed into a disk, wrap it tightly in plastic wrap. Then, place the wrapped dough disk in the refrigerator for at least 30 minutes. This chilling period is incredibly important. It allows the gluten to relax and the fat (butter and cheese) to solidify. When the fat is cold, it melts slower during baking, creating steam pockets that result in a flakier, crispier cracker. While the dough is chilling, you can prepare your baking sheets by lining them with parchment paper. This prevents sticking and makes for easy cleanup.
- After the dough has chilled, it’s time to roll it out. Lightly flour your work surface and your rolling pin. Remove the dough from the plastic wrap and place it on the floured surface. Roll the dough out very thinly, aiming for a thickness of about 1/16 to 1/8 of an inch. The thinner you roll the dough, the crispier your crackers will be. Don’t worry if the dough cracks a bit at the edges; just gently press them back together. It’s also helpful to rotate the dough periodically as you roll to ensure even thickness and prevent sticking.
- Now comes the fun part: cutting out the crackers! You can use a small square cookie cutter (about 1-inch is ideal for that classic Cheez-It shape) or even a pizza cutter to score the dough into small squares if you don’t have a cutter. Once the crackers are cut or scored, carefully transfer them to your prepared baking sheets, leaving a little space between each one. Before baking, brush the tops of the crackers lightly with the olive oil. This adds a subtle richness and helps them brown nicely. Finally, sprinkle them generously with a little extra kosher salt for that perfect savory finish.
Phase 3: Baking to Golden Brown Bliss
The final stage is where our Homemade Cheez-Its transform into golden, crunchy delights.
- Preheat your oven to 375°F (190°C). Bake the crackers for 12-18 minutes, or until they are golden brown and crisp around the edges. The baking time will vary depending on how thinly you rolled your dough and the specific characteristics of your oven. Keep a close eye on them during the last few minutes, as they can go from perfectly golden to burnt very quickly. If you notice some crackers are browning faster than others, you can carefully remove the done ones and let the rest continue baking.
- Once baked to perfection, remove the baking sheets from the oven. Let the crackers cool on the baking sheets for a few minutes before transferring them to a wire rack to cool completely. This allows them to firm up further and achieve their ultimate crispiness. They should sound satisfyingly crunchy when you break one in half. Store your cooled Homemade Cheez-Its in an airtight container at room temperature for up to a week, though I doubt they’ll last that long!
Conclusion:
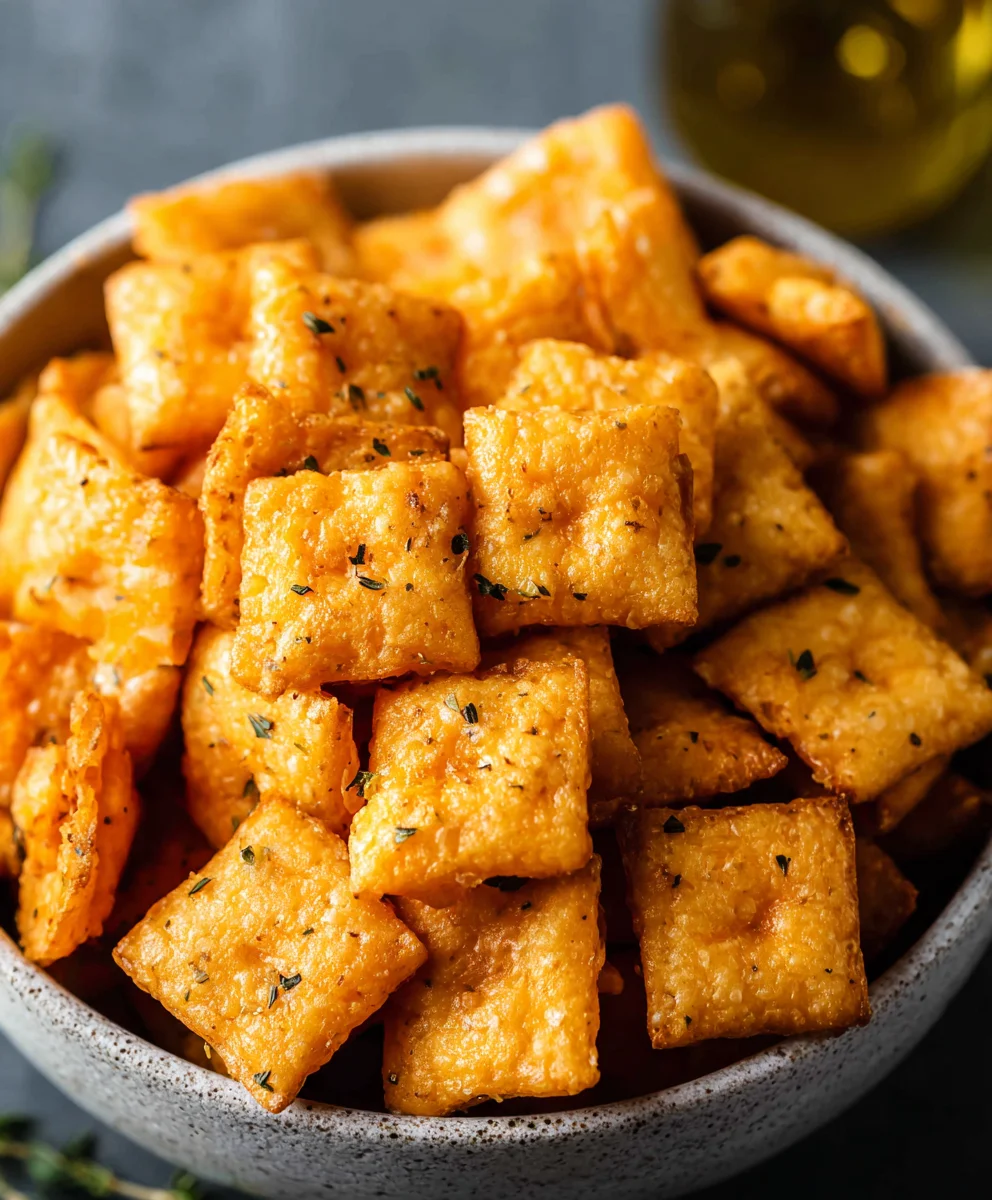
You’ve now learned how to create delicious Homemade Cheez Its right in your own kitchen! This recipe offers a delightful way to enjoy that classic cheesy, cracker crunch without any artificial flavors or preservatives. The satisfaction of biting into a warm, freshly baked cracker that you made yourself is truly unparalleled. These Homemade Cheez Its are perfect for snacking on their own, accompanying a charcuterie board, or even as a crunchy topping for your favorite soups and salads. Don’t be afraid to get creative with the cheese choices to discover your perfect flavor profile!
I highly encourage you to give this recipe a try. It’s surprisingly simple and yields incredibly rewarding results. Remember, the key to perfect Homemade Cheez Its is to ensure your butter and cheese are well-chilled for that ideal flaky texture. Experiment with different types of cheese like sharp cheddar, Gruyere, or even a spicy pepper jack for a fun kick. Whether you’re making them for a family movie night or a sophisticated gathering, these homemade delights are sure to be a hit.
Frequently Asked Questions about Homemade Cheez Its:
Q1: Can I make these Homemade Cheez Its ahead of time?
Absolutely! Once cooled, your Homemade Cheez Its can be stored in an airtight container at room temperature for up to 3-4 days. They might lose a tiny bit of their crispness over time, but they’ll still be wonderfully tasty.
Q2: What if my dough is too dry or too sticky?
If the dough is too dry and crum extractbly, add a tiny bit more cold water, just a teaspoon at a time, until it comes together. If it’s too sticky, lightly dust your hands and the work surface with flour, but be careful not to add too much, as this can make the crackers tough.
Easy Homemade Cheez-Its
Make delicious, cheesy, and crispy crackers at home with this simple recipe.
Ingredients
-
1/4 cup unsalted butter, softened
-
8 oz. sharp cheddar cheese, finely shredded
-
1 1/4 cups all-purpose flour
-
1 teaspoon kosher salt, plus extra for sprinkling
-
2-3 tablespoons ice-cold water
-
2 tablespoons olive oil
Instructions
-
Step 1
In a medium bowl, combine softened butter and shredded cheddar cheese. Mash with fingertips or a pastry blender until a coarse meal forms. -
Step 2
Add all-purpose flour and 1 teaspoon kosher salt. Gently mix until a cohesive dough forms. Avoid overmixing. -
Step 3
Add 2 tablespoons of ice-cold water and mix until dough just forms a ball. Add more water, one teaspoon at a time, if needed. Press dough into a disk. -
Step 4
Wrap dough tightly in plastic wrap and chill in the refrigerator for at least 30 minutes. Prepare baking sheets by lining them with parchment paper. -
Step 5
On a lightly floured surface, roll out the chilled dough very thinly, about 1/16 to 1/8 inch thick. Cut into small squares using a cookie cutter or pizza cutter. -
Step 6
Carefully transfer crackers to prepared baking sheets. Brush tops with olive oil and sprinkle with extra kosher salt. -
Step 7
Preheat oven to 375°F (190°C). Bake for 12-18 minutes, or until golden brown and crisp. -
Step 8
Let crackers cool on baking sheets for a few minutes, then transfer to a wire rack to cool completely.
Important Information
Nutrition Facts (Per Serving)
It is important to consider this information as approximate and not to use it as definitive health advice.
Allergy Information
Please check ingredients for potential allergens and consult a health professional if in doubt.